


DON’T CONNECT THE RED WIRE!
Some guides show the Raspberry Pi (RPi) being powered by the flight controller. However, to be safe, you’ll need a BEC to power the RPi.
DON’T CONNECT Tx to Tx and/or Rx to Rx.
Did you see that Pixhawk/RPi post where they did that? I did. It’s bad. because reasons: https://elinux.org/RPi_Serial_Connection#H.2FW_considerations
Let's get started.
1. Configuring the serial on the RPi- Install Raspbian via NOOBS
- Enable SSH
- Most RPi’s have two UARTs (serial) which are used by the OS and if you tell it not to use one it gives you lower quality one of the two. So. Go here,
ctrl-F" Disabling Linux’s use of console UART", and disable Linux’s use of console UART. If your RPi has bluetooth, murder it by editingconfig.txtwith$ sudo nano /boot/config.txtand add the line:dtoverlay=disable-btto the end of the file, then double murder it with$ sudo systemctl disable hciuart - reboot
- The serial port we are going to use is now:
/dev/serial0all otherttysare just imitating.
- Aquire solder skillz
- Aquire wires and connectors.
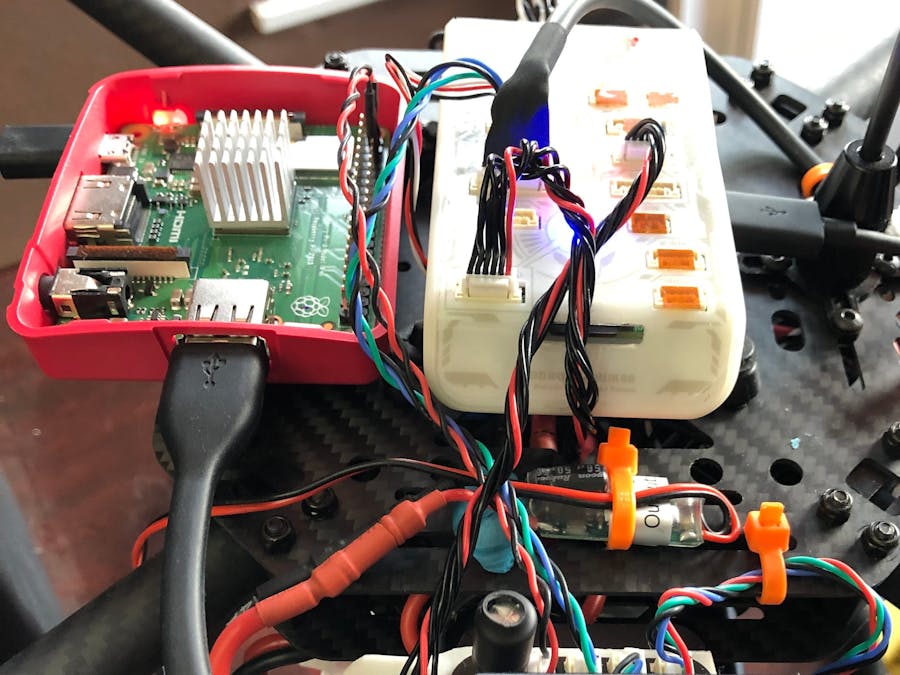
- Make thing that connects the RPi UART to TELEM 2 on your flight controller: GND (Pin 6) to GND, TXD (Pin 8) to RXD, RXD (Pin 10) to TXD
We’re going to build this on the RPi. You might be able to cross compile and have it work however I was not able to.
Prep the RPi:
$ sudo apt update$ sudo apt upgrade<-- Upgrade all the things$ sudo apt install python3-pip
Next:
- Go here and Follow the ‘Building SDK from Source’ instructions for ‘Linux’. Step 5 will take a while! Then finish with
cmake --build build/default - Install system-wide as described.
Now we’re going to build the “backend” that will be needed by MAVSDK-Python becasue as far as I'm concerned c++ is c+=1. If you follow the instructions the configuration(?) will fail and you’ll cry so do this instead:
- Go to the MAVSDK directory.
$ sudo cmake -DBUILD_BACKEND=ON --symlink-install --cmake-args "-DCMAKE_SHARED_LINKER_FLAGS='-latomic'" "-DCMAKE_EXE_LINKER_FLAGS='-latomic'" -Bbuild/default -H.$ sudo cmake --build build/default
Take note, the file mavsdk_server that you will need for MAVSDK-Python is in the totally obvious directory: MAVSDK/build/default/src/backend/src/
- Grab a beer or three and go here. Scroll down to “Build and run from sources” and follow along from there. You might have an issue when you try
$ which protoc-gen-dcsdkand nothing shows up. In that case I used$ sudo find / -name protoc-gen-dcsdkto find the directory that containsprotoc-gen-dcsdk(in my case it was:/home/pi/.local/bin/) I then added that directory to $PATH with the command$ export PATH=$PATH:<path to protoc-gen-dcsdk>. After that I was all set.
You tried $ pip3 install mavsdk, didn’t you?
- Copy that
mavskd_serverfile intoMAVSDK-Python/mavsdk/bin/
- Use that fancy connector to connect the RPi
UARTtoTELEM 2on your flight controller. - In QGroundControl set
MAV_2_CONFIGtoTELEM 2and reboot the flight controller. (The baud rate is probably going to default to 921600 which you can check by looking atSER_TEL2_BAUDin QGroundControl) - I assume you can SSH into your RPi at this point over WiFi and probably already have. If not, you should do that now. Then go to the
MAVSDK-Pythondirectory and$ cd examples/. From there we are going to edit an example with$ sudo nano firmware_version.pyand replace theawait drone.connect...line with:
await drone.connect(system_address=“serial:///dev/serial0:921600”)- Now cross your fingers and issue the command (while still in the
examplesdirectory)$ python3 firmware_version.py. If all went well you should see something like:
Waiting for mavsdk_server to be ready…
Connected to mavsdk_server!
Waiting for drone to connect…
Drone discovered with UUID: 8670068435421282000
Version: [flight_sw_major: 1, flight_sw_minor: 10, flight_sw_patch: 0, flight_sw_vendor_major: 0, flight_sw_vendor_minor: 0, flight_sw_vendor_patch: 0, os_sw_major: 7, os_sw_minor: 29, os_sw_patch: 0]
If you just see it hang at Waiting for drone to connect... then a bad thing happed somewhere... Sorry :/
Quick and dirty because I'm very sleepy:
- Clone this repo and
$ cd mavlink-router/ $ git submodule update --init --recursive$ sudo apt install python-future$ sudo apt install python3-future$ sudo apt install libtool$ sudo apt install autoconf$ sudo -s<-- root shell (yes rlly)# ./autogen.sh && ./configure CFLAGS='-g -O2' \ --sysconfdir=/etc --localstatedir=/var --libdir=/usr/lib \ --prefix=/usr# make# make install
Example main.conf file:
[General]
    #Mavlink-router serves on this TCP port
    TcpServerPort=5790
    ReportStats=false
    MavlinkDialect=common
    Log=/home/pi/logs/mavlink-router
    DebugLogLevel=debug
[UartEndpoint alpha]
    Device=/dev/serial0
    Baud=921600,115200,57600
    FlowControl=false
[UdpEndpoint bravo]
    Mode=normal
    Address=127.0.0.1
    Port=14550
Goodnight you Princes of Maine, you Kings of New England!
________________________________________________
Quirks (Part 1?):The RPi Zero W uses armv6 and has issues with libatomic which is why I added the `-latomic’ flags for the MAVSDK build. For other RPi with armv7 + this might not be needed.
The RPi 3 A+ does not have enough memory to build MAVSDK which I didn’t realize until just now. I use a free USB port on my RPi and a low profile flash drive to make a large swap file which solves memory issues. (https://askubuntu.com/questions/173676/how-to-make-a-usb-stick-swap-disk 1)

Comments
Please log in or sign up to comment.