


Hardware components | ||||||
 |
| × | 1 | |||
Software apps and online services | ||||||
 |
| |||||
Currently, universal apps are sandboxed to the point of blocking you from reading/writing data files to a removable USB drive on Windows IoT Core devices. This post will show you a work around that if you really need to do this. Now, understand that this is not for store apps. If you submit an app using this work around, it will likely get rejected. However, for internal projects, it will definitely work, and work well.
This is a great way of reading application initialization data and writing log data in a test apparatus and laboratory setting. Particularly when a network or internet connection is not reliable or available in your test apparatus/laboratory setting. You can manage application settings by editing a simple JSON file at your convenience and copying it onto a thumb drive. Then just plug it into an IoT device-based system. Data gets read and written to the thumb drive and is easily accessible by just removing the thumb drive.
The ProcessThe first thing you need to do to your Windows Universal application is enable a couple of capabilities.
The “Pictures Library” and the “Removable Storage” capabilities need to be enabled. Why the “Pictures Library”? Because, as of build 14393, you can’t read or write files other than what are recognized as those that belong in the “Pictures Library” when you have that capability enabled. If you enabled the video or music capabilities, you could write those kind of files as well. There is no option for text, doc, or any other files. In this example, we’re going to stick with picture files.
Step 2Now you need an initialization file to put onto your thumb drive. We’re going to set key/value pairs in a JSON format. In this example, we’ll have a value that updates our page title, an integer value, and the log filename.
{
“MAINPAGETITLE”:”My Removable Title”,
“MAININT”:3,
“LOGFILENAME”:”MyLogFile”,
}
Create a new text file in your favorite editor, but when you save it to the root of your thumb drive make sure you save it with a .jpg extension. This is what it should look like.
Your system will recognize it as a .jpg, which is OK because we know it’s just JSON data hiding.
Step 3In your application you need to create a class to handle the JSON data in your file.
To read the JSON file from the thumb drive, we need to add the following method with the name of our file as a parameter.
- Fig 4-1: Call GetFoldersAsync from the KnownFolders.RemovableDevices object to get a reference to all of the removable drives.
- Fig 4-2: Get a reference to the thumb drive by looking for a drive whose name contains “USB DISK”.
- Fig 4-3: To open the file, we call the CreateFileAsync method.
- Fig 4-4: Now we open a stream reader from our opened file with a call to OpenStreamForReadAsync.
- Fig 4-5: Read stream content with a call to ReadToEndAsync.
- Fig 4-6: Finally, we populate the data from our file into a reference of our MyAppData class with a call to DeserializeObject.
With this call in place you can update the app data class and the JSON file with anything you need to initialize your application in most anyway you want. In this example, we write our data file into a new folder for each day. In order to write data to the thumb drive we need to add the following method.
- Fig 5-1: In this example, I create a new folder for each day. This line builds a folder name using the filename as a prefix followed by the month, day, and year.
- Fig 5-2: Just like reading the JSON file in Fig 4, we need to get a reference to all the removable drives and find the USB thumb drive.
- Fig 5-3: We create the daily folder with a call to CreateFolderAsync and get a reference to it.
- Fig 5-4: Now we create the data file in the new daily folder with a call to CreateFileAsync.
The following method shows how easy it is to writing data to our file.
- Fig 6-1: Open a stream to our data file with a call to OpenStreamForWriteAsync.
- Fig 6-2: Now that we have a stream opened to our file, writing to the file follows a standard procedure of writing to a DataWriter and flushing the stream.
To demonstrate how to use these functions we have a simple Universal Windows App example that we’ll run on a Raspberry Pi 2, or other suitable Windows IoT Core device. The XAML for our app has just three elements. We have a TextBlock to display our title, a Button that executes our write procedure, and a TextBox to store the data that we’ll write to our data file. Note that we’re defaulting the IsEnabled property of the button to False.
In the Loaded event handler, we open and read our app file and initialize our data file.
- Fig 8-1: We call our
OpenAppFilemethod with the name of our app file.
- Fig 8-2: Now that our
AppDatareference is loaded with the data from our file, we set our titleTextBlockand set our integer value to ourTextBox. No binding for this example; we’re keeping it simple.
- Fig 8-3: We call our InitLog method to initialize and create the data file for writing.
- Fig 8-4: We use the ContinueWith task method to set the IsEnabled property to True after the InitLog method is completed.
In the button click event handler we write to our data file:
- Fig 9-1: First we set our button
IsEnabledproperty to False to prevent double clicking.
- Fig 9-2: Now we call our
WriteLogAsyncmethod to write our data to our data file.
- Fig 9-3: We use the ContinueWith task method to set the
IsEnabledproperty of the button to True after theWriteLogAsyncmethod is completed.
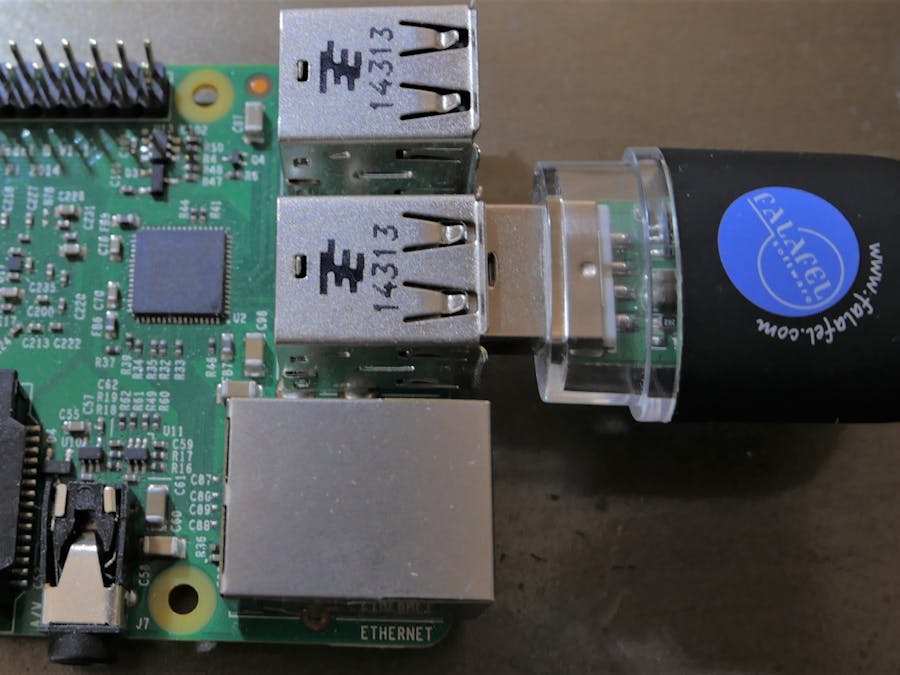
With the software in place and our JSON file saved to our thumb drive, it’s time to plug it into our Pi2 and run our application.
When the app first comes up, you should see this something like this.
Now you can write something to the data file by filling in the TextBox and pressing the Write Log button.
Remove the thumb drive, plug it into your computer, and browse to your thumb drive. The computer will think your data file is a .jpg. However, we know that it’s not. Right click on the data file and open with the text editor of your choice.
Now you can view your data.
I found this very useful for an automated electronic tester we were building. This tester was going to be in a factory setting where a reliable internet connection was not an option. We needed to be able to collect the data and have a way to store it on removable media that could be uploaded to headquarters at a convenient time. We also needed a way to be able to update the app settings day by day. In any case, this work around proved very useful for our situation. Maybe it will be useful for one of your needs someday.


Comments
Please log in or sign up to comment.