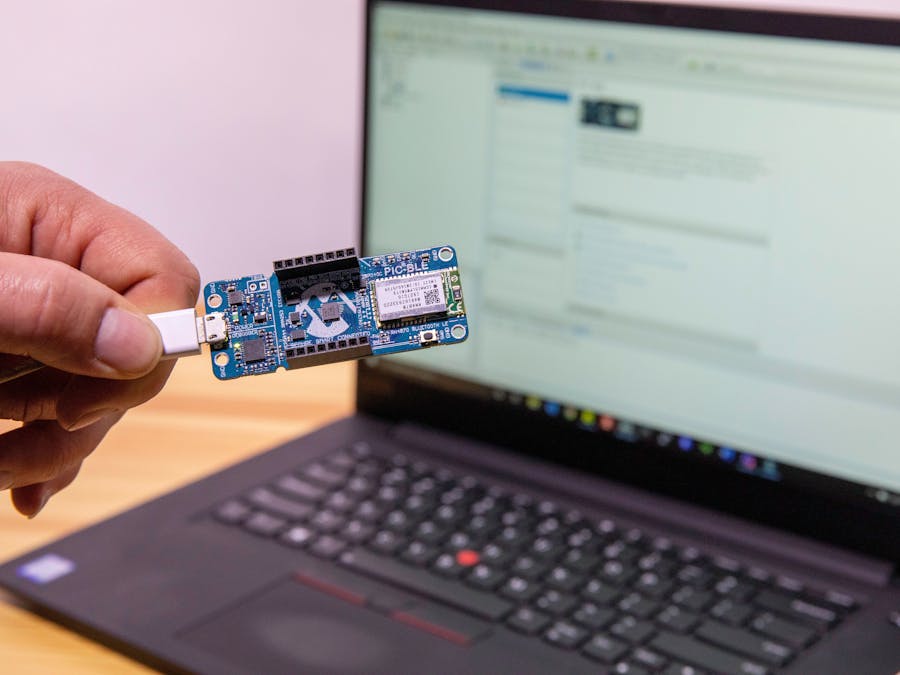
Ready to get started designing your own BLE creation? Take the first steps into your design by following this tutorial for configuring a basic BLE project.
In this tutorial, you'll set up your development environment and open the files for a basic BLE project. Then, you'll compile the project and program your PIC-BLE (or AVR-BLE) development board.
The PIC-BLE and AVR-BLE development boards have an embedded PICkit On Board (PKoB) programmer/ debugger, which means you can program and debug the PIC microcontroller directly from the IDE.Before You Start
Run the 30-second demo and get to know your board.
Set up your development environment.
- Download and install the latest version of MPLAB X IDE
- Download and install the latest version of XC8 Compiler
- Install the MPLAB Code Configurator (MCC) Plugin
Connect your PIC-BLE (or AVR-BLE) to your computer with a Micro-USB cable. Open MPLAB X. When MPLAB X opens, find the MPLAB X Kit Window tab.
IMPORTANT NOTE: If the PIC-BLE Kit Window if greyed out (see second picture above), close MPLABX and unplug the PIC-BLE from your computer. Restart MPLABX and once it has fully loaded, plug the PIC-BLE back in and you should see the Kit Window correctly.
In the MPLAB X Kit Window, find the section labeled External Links. Navigate to the the GitHub repo containing the source code by clicking on the link labeled as PIC-BLE LightBlue Explorer demo application (or AVR-BLE LightBlue Explorer demo application).
Also notice in the External Links section that there are links to the datasheets, board schematics, LightBlue demo, RN4870 Datasheet and more...
Once you have located the GitHub repository, you will need to download the source code. An easy way to do this is to click the green Clone or Download button, and then click Download Zip.
Then, unzip the files and move the project to your desired directory.
In MPLAB X click File->OpenProject. Navigate to the extracted folder and click on the file with the .X extension. Click on OpenProject.
In the Projects tab in the upper left pane, right-click on the project and select Set As Main Project. (This is not required if you do not have any other projects open, however it is a good practice to ensure you are building the correct project.)
Before going further, click the Clean and Build button on the toolbar. This is to ensure there are no problems with the downloaded files.
After a few seconds you should see in the lower pane the message BUILD SUCCESSFUL as shown below.
Now you are ready to program the PIC-BLE (or AVR-BLE). Click on the Make and Program Device button on the toolbar as shown below.
If the Tool not Found pop-up appears, select the PIC-BLE (or AVR-BLE) from the list and click OK as shown below.
In the lower pane, you will see a series of messages. At the bottom you should see Programming Complete as shown below.
If you haven't already, download the LightBlue app by PunchThrough on your Android or iOS device.
Open the app and it will take you to a screen with all nearby BLE devices. Scroll through the list and find the PIC-BLE (or AVR-BLE) device.
Pro Tip: Tap the sort button to view nearby devices listed first.
Your device will be labeled as PIC-BLE_XXXX (or AVR-BLE_XXXX), where XXXX are the last 4 characters of the BLE module serial number. It will also have a Microchip logo next to it.
If you see several PIC-BLE or AVR-BLE devices listed, you can identify your device by the last 4 characters of your RN4870 BLE module serial number.
On your PIC-BLE (or AVR-BLE), locate the RN4870 BLE chip. On it you will find the serial number of that BLE module. Take note of the last 4 characters as shown below.
In the LightBlue app, scroll through the list until you see a device that has the name PIC-BLE_XXXX (or AVR-BLE_XXXX) where XXXX are the last 4 characters of your RN4870 serial number.
Once you have found your BLE device in the LightBlue app, tap
You will then be taken to the following screen.
Try the following:
- Turning the LEDs on and off
- Press and hold the onboard button and see the status change in the app
- Read the PIC-BLE board temperature in Celsius and Fahrenheit
- See the data from the accelerometer change as you move your development board around.
There is also a Serial data window that you can send strings to, which will be covered in the next tutorial [Part 2].


Comments
Please log in or sign up to comment.