Follow the Snap Circuits platform!
Overview
What Are Snap Circuits?
Snap Circuits® makes learning electronics easy and fun! Learn how to use integrate Snap Circuits® with your hardware. Fun for kids!
Introduction Project
If you have not completed the introduction please go to the Snap Circuits - Introduction project. This project also contains a complete index of Snap Circuit projects.
Let's Get Started
Project Objective
To show how to use an Arduino sketch to monitor a push button and use it to turn an LED on and off.
Building the Circuit
The minimum set requirement for this project is SC-300.
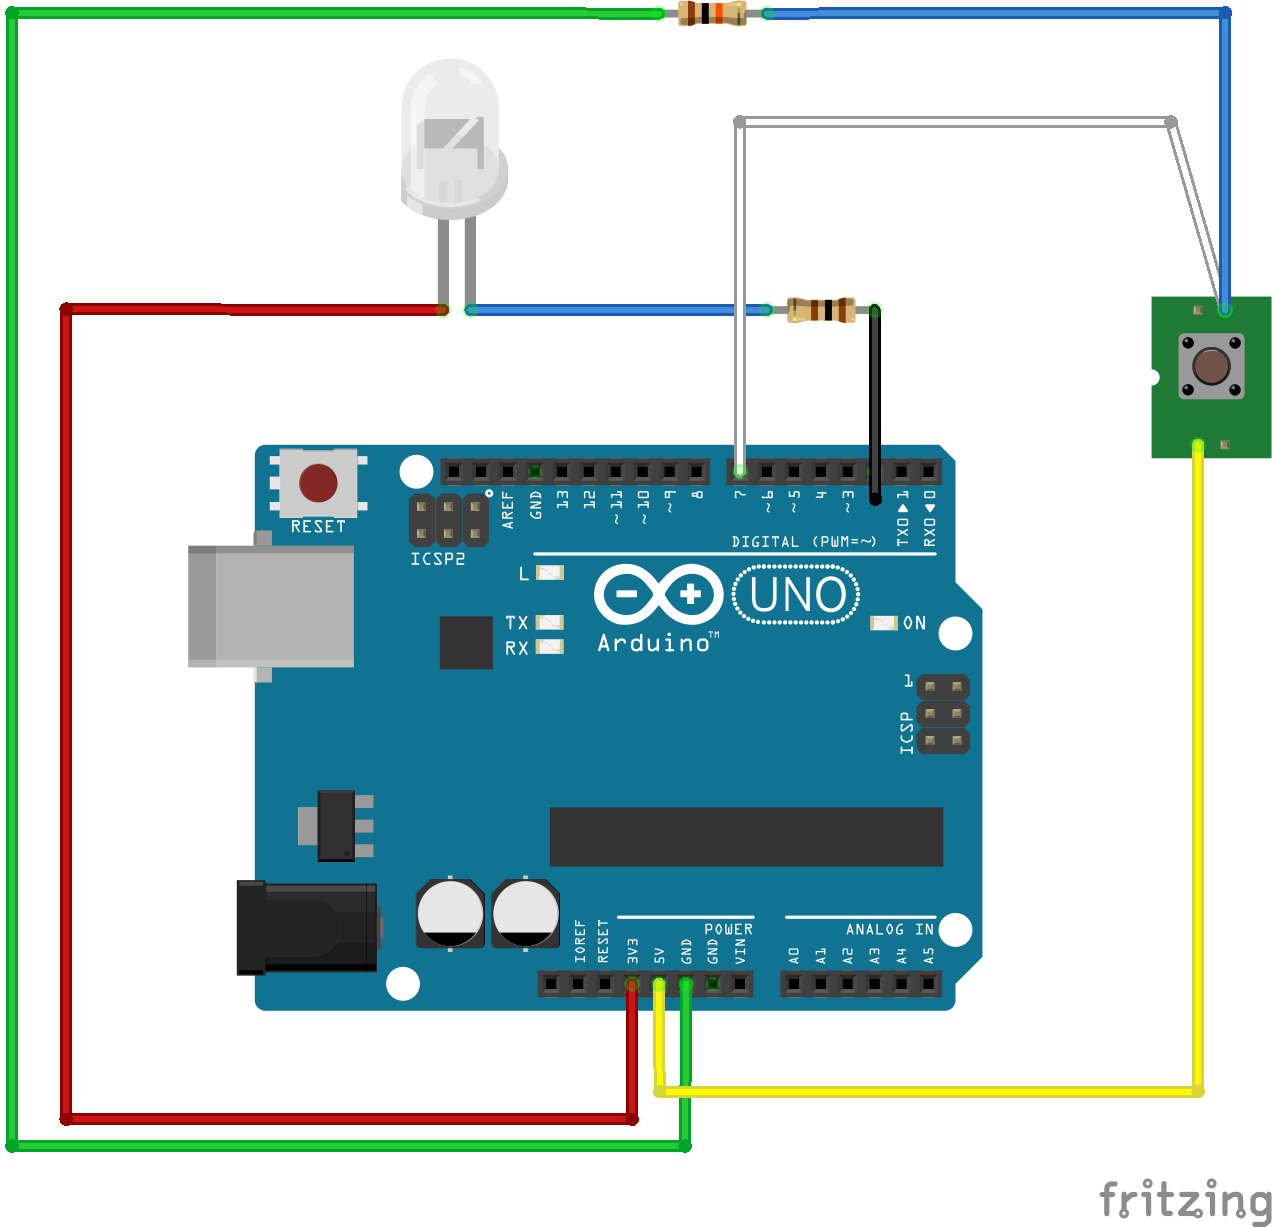
Open the PDF below and follow the directions. The PDF file can also be found in the GitHub repository.
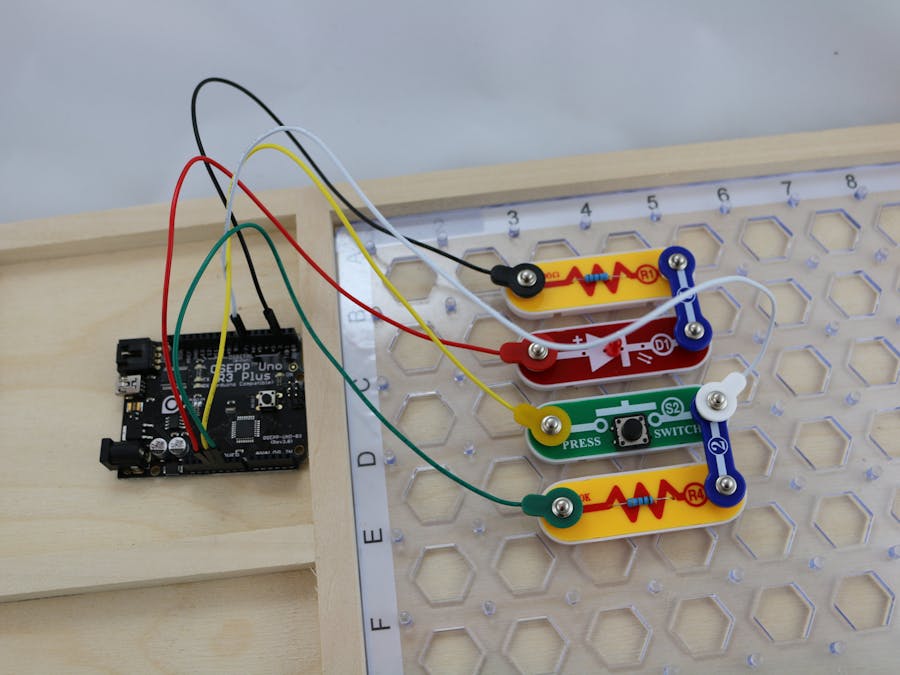
Here are images of the components that you will use to build the circuit.
Loading the Sketch
The attachment below contain the sketch for this project. Click the link below and save this to your computer.
Load this sketch into the Arduino IDE in the same manner as in the Blinking LED project. After it is loaded compile and run it. The sketch for this project will write output to the serial port so you will need to open the Serial Monitor from the Tools menu (you can press Ctrl-Shift M).
How this Works
The Circuit
The circuit in this project is the same as the Push Button Monitor project. To understand this circuit please read the description provided that project.
Remember in Project #1 we turned the LED on and off in the Loop function with a delay between them. This circuit behaves the same way and still requires the output of pin 2 to be changed from HIGH to LOW or LOW to High to toggle the state of the LED.
The Software
The sketch for this project is a modified version of sketch used in the Push Button Monitor project. When the button is pushed the LED is turned on
Serial.println("The button was pushed; turning LED on");digitalWrite(LED_PIN, LOW);
When the button is released the LED is turned off.
Serial.println("The button was released; turning LED off");digitalWrite(LED_PIN, HIGH);
The image below demonstrates the output from the application.


Comments
Please log in or sign up to comment.