Follow the Snap Circuits platform!
OverviewWhat Are Snap Circuits?
Snap Circuits makes learning electronics easy and fun! Learn how to integrate Snap Circuits with your hardware. Fun for Kids!
Introductory Project
If you have not completed the introductory project, please see Snap Circuits - Introduction. This project also contains a complete index of Snap Circuit projects.
Let's Get StartedProject Objective
This experiment will demonstrate the basic operation of the Snapduino by blinking the LED D1.
Building the Circuit
The minimum set requirement for this project is SC-100 and the Snapduino.
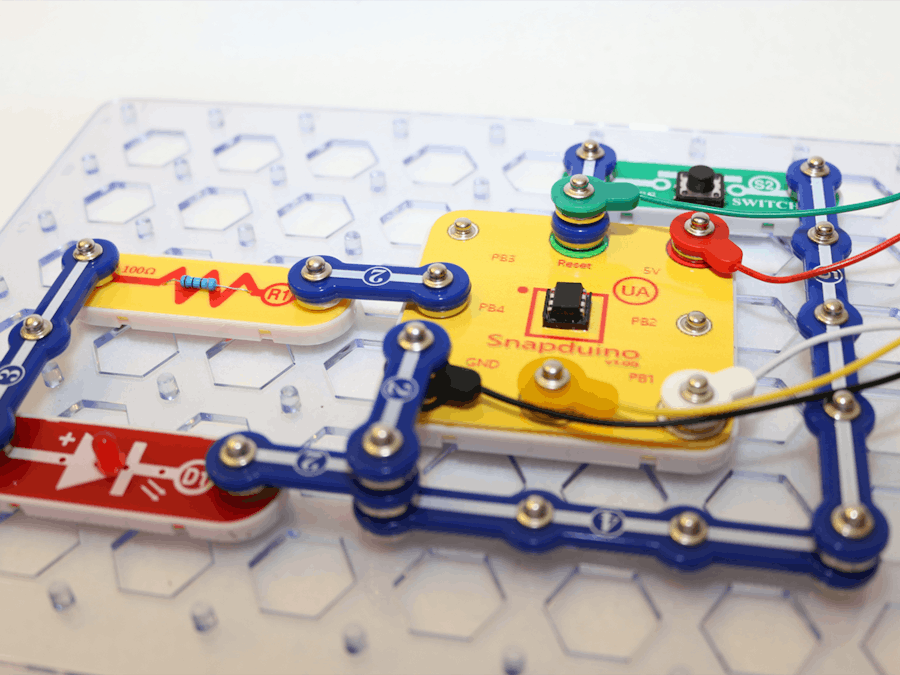
Build the following circuit by following the directions in the PDF file:
Click the link below to download a PDF file containing the circuit diagram and instructions to build it (the PDF file can also be found in the GitHub repository).
Download Circuit Diagram and Instructions
How this WorksThe Circuit
This is a simple LED circuit where the LED cathode is connected to PB4 and the LED anode is connected to 5V through the resistor R1. The resistor is a current limiting resistor that prevents to much current flowing into the LED.
The Software
The sketch sets PB4 up for output in the setup routine. In the loop, the output is set to LOW, waits one second, sets the output to HIGH and then waits one more second.
The LED requires a LOW voltage to turn it on because we have the cathode connected to the Snapduino pin and the anode connected to 5V. When the pin output is HIGH, both terminals of the LED are at 5V, making the voltage across the LED 0V which turns the LED off. When we set the output of the pin to LOW, we get the forward voltage necessary to turn the LED on.
Learn more about how LEDs work at learn.sparkfun.com.


Comments
Please log in or sign up to comment.