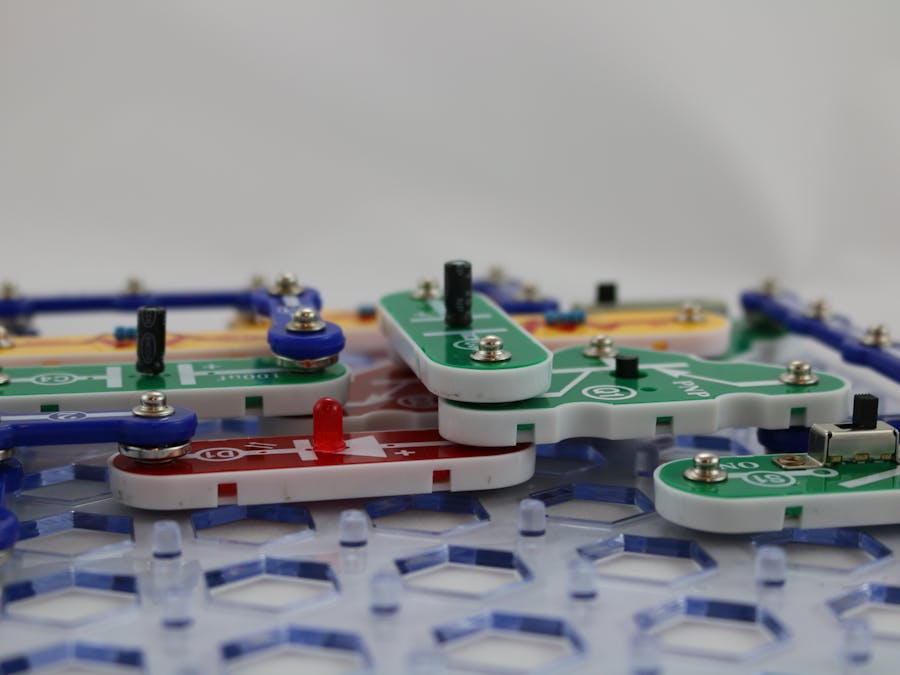
Snap Circuits® makes learning electronics easy and fun! Learn how to use integrate Snap Circuits® with your hardware. Fun for kids!
I discovered these several years ago in a learning store. My kids love these and find them very easy to use and easy to learn from. If your not familiar with what they are or how they work take a look at the Snap Circuits® web site.
Basically, the electrical components are mounted on a plastic module and snap together with ease to form circuits. Each module is clearly labeled and colored to easily match it to the circuit building instructions.
Several of my children started using these as early as 5 years of age. In fact, my seven year old is my tester for these projects!
Snap Circuits® come in a variety of sets with hundreds of projects.
What is the Purpose of These Projects?The set of projects I have posted will help young children explore the world of electronics safely and easily using Snap Circuits and the Arduino Uno, the Particle Photon and the Raspberry Pi 2.
Arduino
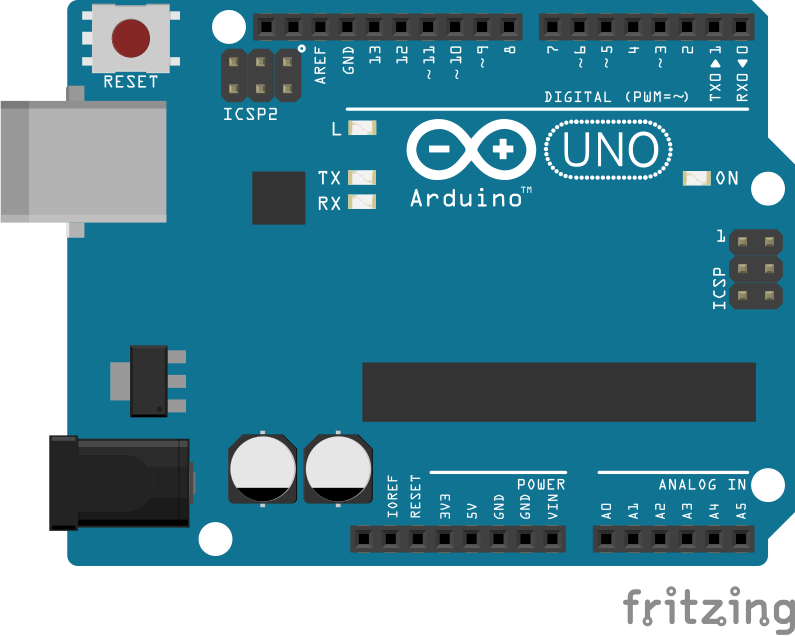
I chose the first Arduino Uno R3 because I think it represents the easiest platform for your child to get started on. This device is easy to setup and has a very easy to use IDE (Integrated Development Environment)
Particle Photon
I like the Particle Photon because it is similar to the Arduino and just as easy to use. However, it has the added advantage that it can be controlled via a smart phone (an Android or iPhone) using the free Tinker application. This will add another level of excitement to the project.
Raspberry Pi 2
I will present projects later on that will use the Raspberry Pi 2 with Raspbian and Windows 10 IoT Core using Visual Studio 2015 and C#. However, these projects will be a little harder for young children unless they have been exposed to these simpler projects first.
How to Use these ProjectsThe projects are designed for an adult to work through the through it with a child. Let the child do most of the work but help them read and work through the projects. It is best to first read through a project and then try it yourself.
Although a good portion of each project can be completed by a child, the help of the adult or an older sibling is important, especially when installing the Arduino software and connecting the Arduino to the computer.
With my youngest son, I connected the USB cable but let him find the correct pins on the Arduino and connect them to the circuit. I showed him how to load the sketch and then let him run it. After watching it run I explained the application to him and then let him modify the variables to see what would happen. He liked experimenting with different values to see the effect on the circuit. I also explained the code to him and help him try to understand how everything works.
To the best extent possible, the projects are presented in order of difficulty (easiest first) and are grouped by platform and by the minimum Snap Circuits set required. Some projects will build on each other and reuse the previous circuit. Although it is not required to follow them in any specific order, it can help your child to learn faster by building the simpler projects first.
Building the CircuitsIf you are familiar with the Snap Circuit projects that come with the kits then you are aware of the colorful diagrams and the instructions that help clearly guide the build of each circuit. I have provided the same type of instructions in all of the projects both as an attachment and as part of the source code in GitHub.
Getting PreparedObtaining the HardwareThe first few projects that I post will be possible with a smaller Snap Circuits set so that you can explore Snap Circuits without a large investment.
To get started you will need the following hardware:
- Choose your platform
- Choose a platform to get started. The Arduino Uno (~ $25), Particle Photon with header pins (~ $19) or the Raspberry Pi 2 (~ $40)
- USB cable to connect the Arduino to your PC (~ $3)
- A Snap Circuit set. The hardware list has the SC-300 (~ $45) set which is recommended, however, you can do some of the projects with the SC-100 kit (~ $22). If you want to get serious with these Snap Circuits I recommend purchasing the SC-750R set (~ $100) [NOTE: Snap Circuits sells upgrade kits for each set, so if you decide to start with a small set you can purchase the a newer set with an upgrade]
- Snap Circuits Snap-to-Pin Set. These are the wires that have a snap at one end and a male connector at the other. They allow the snap circuit components to be easily connected to a Arduino, a Raspberry Pi or a breadboard (~ $10 for 10 wires). I recommend that you purchase two sets of these (total of 20 wires)
- Breadboard is needed when using the Photon with headers (~ $5)
Once you have your Arduino you will need to get the software downloaded and installed. I am not going to outline how to do that here because there are a lot of good tutorials available for this. I recommend following the guide provided at Spark Fun.
Install your Arduino IDE software
Download Arduino software directly from here (Arduino.cc)
Contribute to the Arduino Software
The software is free. If you would like to contribute to the development by making a donation click here.
After you have successfully downloaded and installed the software, and have connected your Arduino tot he computer, I recommend running the Blink sketch found in the menu under File->Examples->01.Basics->Blink. This will help you familiarize yourself with the Uno (if it is new to you) as well as ensure that it is working. Once you have done this let your child load and run the sketch.
You can load the BareMinimum sketch to clear the blinking of the LED on the Uno before letting your child run the Blink sketch.
After you have installed the Arduino software set these options:
- Open the Serial Monitor from tools menu (or Ctrl-Shit M) and set the baud rate to 115,200
- Click on File->Preferences and change the font size to a slightly larger font (I use 18 point)
- In preferences check the option Display Line Numbers
- In preferences check upload under Show verbose output during
The Particle Photon comes with great documentation and is easy to setup. It requires that your own or can get access to an Android or Apple iPhone. Please see the requirements at their web site before purchasing the Photon.
The best place to get started with this board is at https://particle.io/start.
After completing the setup follow the Internet LED test the Photon.
Setting up the Raspberry Pi 2The Raspberry Pi 2 represents the largest investment and probably the more complicated of the setups, however, this can be a very rewarding experience for older children. To get going with this platform the best place for guidance is at Microsoft's site called https://www.windowsondevices.com.
Learning About Circuits and ElectricityIt is important to understand the circuits you build. Spark Fun has a number of useful articles that will help in that area.
- What is an Arduino?
- What is Electricity?
- What is a Circuit?
- Voltage, Current, Resistance and Ohm's Law
- Polarity
- Logic Levels
- Digital Logic
- Analog vs. Digital
All of the source code and any other files presented in the projects can be found in GitHub using the link near the bottom of this page. The projects will also contain links to these files to help make it easier to work on the project.
Getting StartedHere is a list of projects on this site. The projects are presented in order and in some cases they will build on each other. It is best to follow them one at a time.
After completing a project be sure to click the "I Made One" link in the project.
- Platform: Arduino
- Kit: SC-100
- Learn to build a basic circuit with an LED and a resistor. Then make the LED blink using an Arduino sketch.
- Platform: Arduino
- Kit: SC-100
- Make an LED appear to breath as the brightness is increased and decreased using PWM (pulse width modulation).
- Platform: Arduino
- Kit: SC-100
- Build and understand a voltage divider circuit using a resistor and a photoresistor. See and measure how light affects the circuit using an Arduino sketch.
- Platform: Arduino
- Kit: SC-300
- Create a push button circuit and monitor the button from the Arduino Uno.
- Platform: Arduino
- Kit: SC-300
- Add a push button to the circuit in project one and use the Arduino to monitor the button. When the button is pushed the LED state is changed.
- Platform: Arduino
- Kit: SC-500
- Build an automatic night light that comes on when it get darks.
- Platform: Arduino
- Kit: SC-500
- Count from 0 to 9 and A - J on a seven segment display.
- Platform: Arduino
- Kit: SC-300
- Using the Arduino, monitor a button, that when pressed, will launch the fan.
- Platform: Arduino
- Kit: SC-300
- Using the Arduino, launch the fan when light is detected.
- Platform: Arduino
- Kit: SC-300
- Using the Arduino, monitor a button, that when pressed, will count down 3 seconds by flashing the red LED and launch the fan. The green LED will turn on when the fan is launched.
- Platform: Particle Photon
- Kit: SC-100
- Learn to build a basic circuit with an LED and a resistor. Then turn the LED on and off using your smart phone.
- Platform: Particle Photon
- Kit: SC-100
- Using the Snap Circuits Music IC, start and stop the music device from your smartphone.
- Platform: Particle Photon
- Kit: SC-100
- Using the Snap Circuits Alarm IC, learn to create a variety of sounds by changing the state of three pins on the Photon using your smartphone.
More projects will be added to list as they are created.


Comments
Please log in or sign up to comment.