


Hardware components | ||||||
 |
| × | 1 | |||
Software apps and online services | ||||||
 |
| |||||
 |
| |||||
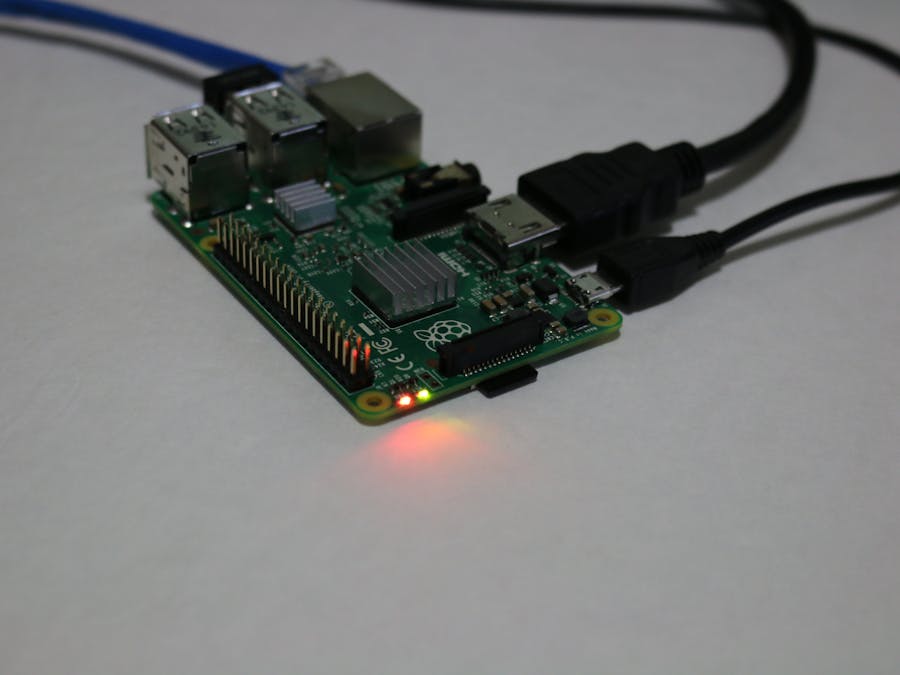
When running your Raspberry Pi in headless mode, the LEDs are a great way to communicate the status of your device.
The LEDs can be turned on or off to represent a few states (four, to be exact). For example, you can have both off as one state, the red on and green off as the second state, the red off and the green on as the third state and both on as the fourth state.
You can, however, do even more and get even more creative with the right approach. How about flashing the green LED? Or flashing the red LED three times fast and then pausing off for 1 second. How about flashing the green and red at the same time, or back and forth like a railroad crossing light? The combinations are endless.
Note: This also works in headed mode. You may have a user interface but maybe you blanked the screen for inactivity. Since it is your device and you get to define how it behaves, there is no limit to the possibilities.
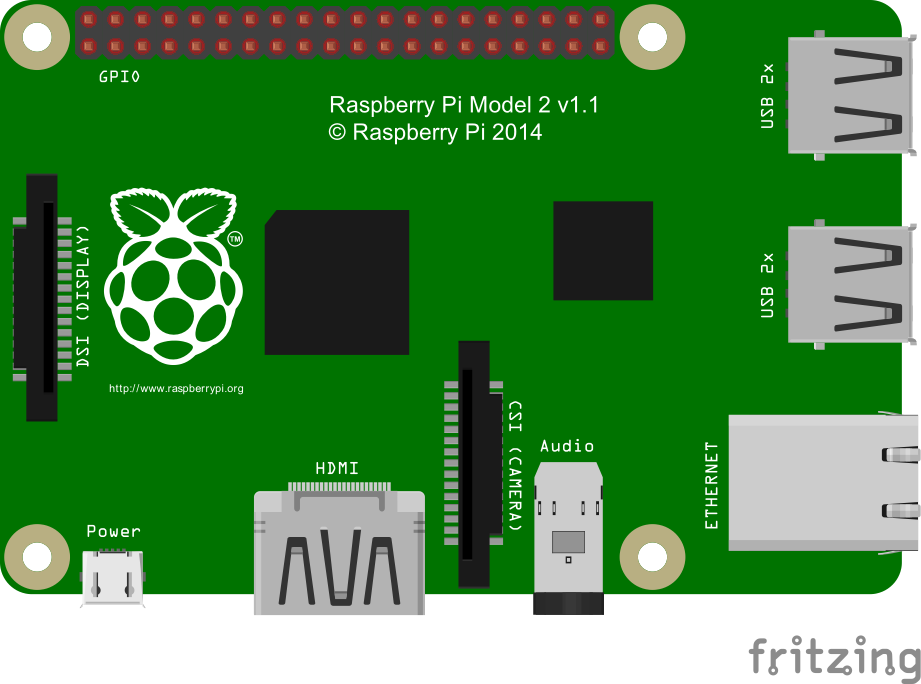
In this project, I wrapped the Raspberry Pi 2 device LED's (the Red Power LED and the Green Status LED) into a library and placed the code into GitHub and out on nuget.org.
The LibraryHow it Works
The library consists of an LedManager as the core object that allows the Red Power LED and the Green Status LED to be turned on and off. It also defines an object called the LedSequence, which contains a series of objects called LedSequenceState. A sequence state is simply specifying the On or Off state and the duration of the state. By combining these elements, you can define an unlimited number of sequences. Each can be named, stored, and referenced in your application.
For example, the demo application defines a warning state that flashes the Green Status LED three times very fast (250 milliseconds) and then pauses for 1250 milliseconds before repeating. This sequence is built in code and then stored in the LedManager with the name "Warning". To run this sequence, just reference it by name.
A sequence is added to the LedManager instance using the Add method and supplying a unique name:
this.LedManager.Add("Warning", sequence...)
A sequence is one or more state objects that can be constructed as shown below
new LedSequenceState() { Delay = Interval.Shorter, State = LedState.On }
and added to an array or list. Delay can be a predefined interval or any TimeSpan value.
Using the Library
To use the library, download the code from GitHub using the link at the bottom of the page or add the library (in binary form) to your solution from nuget.org.
PM> Install-Package Windows.Devices.Gpio.Led
Once one or more sequences have been defined that sequence can be executed using the RunSequence method on the LedManager instance by specifying the LED and the sequence name. The RunSequence method will run the task in the background allowing your application to continue for other work.
LedManager.RunSequence("Warning", LedInstance.GreenStatus, cancellationTokenSource.Token);
A cancellation token is also required to stop the sequence from running. To use the sequence simply call the Cancel method on the CancellationTokenSource object.
cancellationTokenSource.Cancel();
The library can also be used to simply turn either LED on or off.
this.LedManager.SetState(LedInstance.RedPower, LedState.Off);
The demo application (code snippet above) defines two sequences: a Warning sequence and an Error sequence. The warning sequence is run on the Green Status LED and the Error sequence is run on the Red Power LED. The view provides four buttons, two for each LED: a Start button and a Stop button.
The following video shows the status LEDs directly on the Raspberry Pi as a result of the sample code running through each defined sequence.


Comments