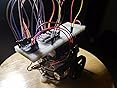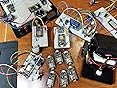


Good work well but range is small
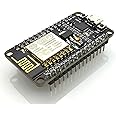
| Brand | eleduino |
|---|---|
| Manufacturer | Sound Land Corp |
| Country of Origin | India |
| Model number | 3-01-0268-1 |
| Number of Memory Sticks | 1 |
| Special Feature | Wireless |
| Item Weight | 9 g |
| Product Dimensions | 4 x 4 x 4 cm; 9 g |
| Item model number | 3-01-0268-1 |
| Item Height | 40 Millimeters |
| Item Width | 40 Millimeters |
| Processor Speed | 8.5 GHz |
| Number of processors | 1 |
| Memory Storage Capacity | 4 MB |
| Memory Technology | LPDDR4 |
| Hard Disk Interface | USB |
| Wireless Standard | 802.11b |
| Number of USB Ports | 1 |
| Connectivity Technology | Wi-Fi |
| Voltage | 5.5 Volts |
| Power Source | USB |
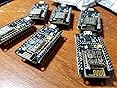
| Operating System | NodeMCU |
| Compatible Device | Personal Computer, Smartphone, Arduino |
| Included Components | Lolin NodeMCU ESP8266 CP2102 NodeMCU WIFI Serial Wireless Module |
| Are batteries included? | No |
| Hardware Interface Type | USB |