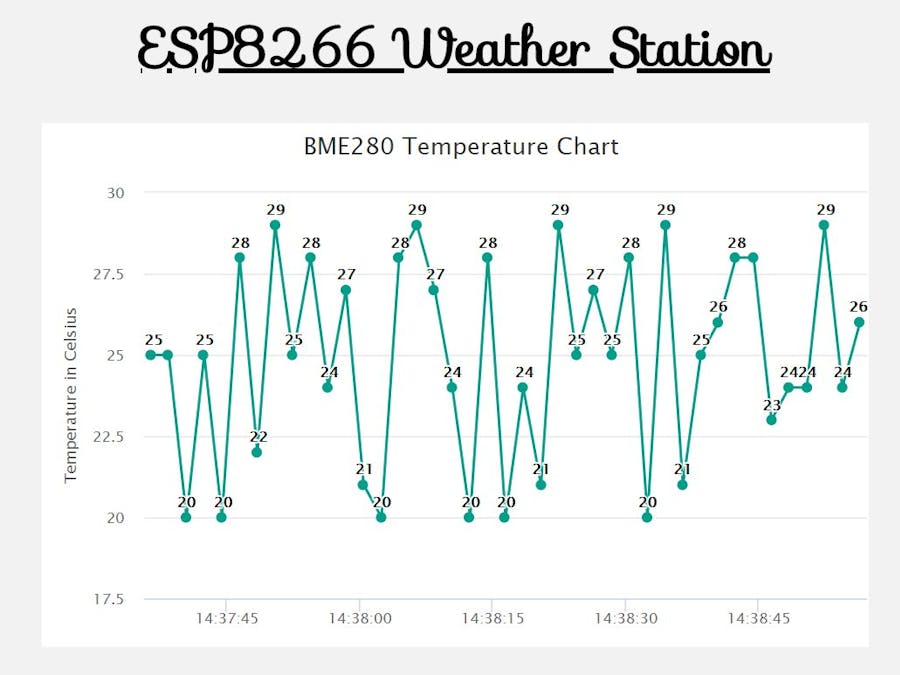
In this project we use ESP8266 in its ESP8266 in its NodeMCU form factor which reads the temperature and humidity values from BME280 and plots them as chart on webserver. This tutorial would also teach you about the SPIFFS of ESP8266 and its uses and working.
What is SPIFFS?SPIFFS is the original filesystem and is ideal for space and RAM constrained applications that utilize many small files and care about static and dynamic wear levelling and don’t need true directory support. Filesystem overhead on the flash is minimal as well. On the NodeMCU we have 4MB of flash out of which we can the size of the SPIFFS filesystem. In this project all the webserver files including html, css, and javascript are saved on a folder named data which is the folder name required for uploading to ESP8266 with SPIFFS uploader.
There is a plugin for the Arduino IDE that allows you to upload files directly to the ESP8266 filesystem from a folder in your computer but we need to install it manually. Lets install it!
- Download the Files from Github.
- Extract it.
- Copy it and paste it in tools folder of Arduino IDE.
Done we succesfully installed it. Tutorial below ⬇
Hardware Setup- Start by placing the NodeMCU on a breadboard.
- Place the BME280 sensor on the breadboard.
- Make the following connections.
3V3V ➡ VCC
GND ➡ GND
SDA ➡ D2
SCL ➡ D1
- Visit my GitHub page and download the necessary files.
- Download Adafruit libraries from library manager.
- Extract it and open it.
- Make the changes in code.
- Compile and upload it.
- Go to tools and use ESP8266 Sketch Data Upload tool to upload sketch data.
Change these lines of code:
const char *ssid = "REPLACE_WITH_YOUR_SSID";
const char *password = "REPLACE_WITH_YOUR_PASSWORD";
See the tutorial given below ⬇
Final WorkingGitHub Repository Link: https://github.com/rahuladitya303/ESP8266_BME280_Web_Server/
Must read Readme.md file!


_AvkxwJjwT6.png)


_3u05Tpwasz.png?auto=compress%2Cformat&w=40&h=40&fit=fillmax&bg=fff&dpr=2)
Comments
Please log in or sign up to comment.