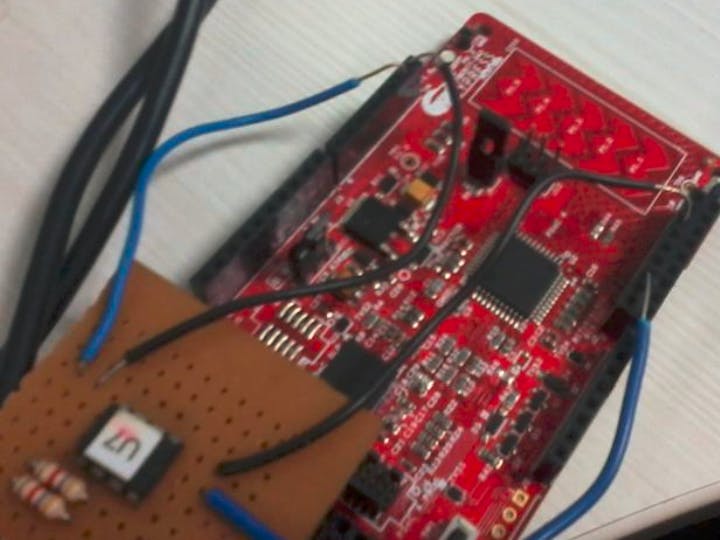
PSoC 3/4/5LP bootloader architecture is primarily targeted for PSoC to act as a slave device during bootload process. It waits for commands and data from the master (host) and creates status packets to return to host in response to each. EEPROM being a slave device, needs I2C master on PSoC for bootloading. So we have to use ‘custom interface’ in Bootloader to use I2C master as the communication protocol and modify all the bootloader APIs to support the custom component.
This example contains three projects:
1) Custom I2C bootloader project
2) Bootloadable Projects
- Blue LEd EEPROM Write
- Green LEd
- Build the bootloader project.
- Set "Blue_LED_EEPROM_Write" project as active project.
- Point to bootloader.hex file in the dependency tab of bootloadable component.
- Build the bootloadable project and program it.
- The current Application programmed on to the kit turns the Blue Led ON.
Now on switch press, the new application will be read back from EEPROM and verified (success - Green, failure-Red). Reading from EEPROM is indicated by Yellow Led. Then, the control will be transferred to bootloader. The bootloader always shows Red led as the status indication. Bootloader will now read the EEPROM and reprogram the PSoC4 flash row by row. PSOC4 will reset after this and the new application will start running. The new application in this example is for blinking Green Led.
Bootloading with a new imageThe hex image of the Green_Led.cyacd is already copied to the Heximage.h file in the 'Blue_LED_EEPROM_Write' project. This is later written to EEPROM. To try with any new application project instead of the ‘Green_Led bootloadable’ code, do the following steps.
- Replace the Green_Led project with your application
- Set this project as active, set the dependency of bootloadable to "Bootloader.hex" and
Build the project.
- Open ACD to hex converter. Select ".cyacd" file of the new application in the first tab. Select the location in which you want the generated heximage.h to be saved, in the second tab.
- Open the generated heximage.h file and copy the contents to Heximage.h file in "Blue_Led_EEPROM_write" project.
- Repeat the steps described earlier under 'Testing the project' for bootloading.
LED is used to indicate the bootloading status and the current application running. You will observe the following pattern for the example project with initial application as BLUE led and bootloaded application as GREEN led.


Comments
Please log in or sign up to comment.