


Hardware components | ||||||
 |
| × | 1 | |||
Software apps and online services | ||||||
| ||||||
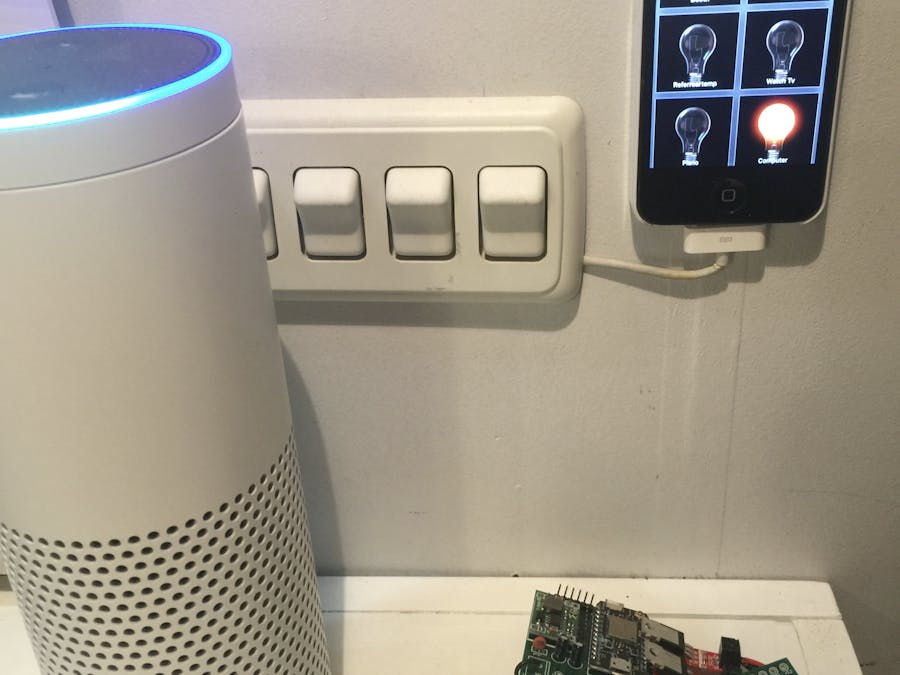
In my previous two projects I explained how to connect your Photon projects to Alexa and iOS just by using the Patriot library. In this article I'm going to explain how to extend Patriot to support your unique sensors or devices.
Patriot Is Super Easy To UseOne of the main objectives of Patriot is to make it super easy to build Photon projects that can be interconnected with other Photons as well as controlled by Alexa and iOS apps. Patriot does that by providing a framework of libraries and prebuilt apps that handle the hard stuff. A hobbyist simply writes a few lines of sketch code, or modifies one of several templates, then links in the Patriot library and everything just works. That simplicity happens because the complexity of connecting Alexa and iOS and multiple Photons together is handled by the framework. That's great, as long as the framework does everything you want and supports all the devices you might want to use. But what if you want to use other devices that it doesn't yet support? That's where plugins come in.
PluginsA plugin is just a Particle v2 library that contains a C++ class derived from a base Device class. Don't worry if that doesn't make much sense to you. I've provided the source to several different device plugins, along with a template plugin that you can modify. Let's see how that works by actually building one.
I'm assuming that the reader is already familiar with Patriot, and is interested in extending support to include other devices or capabilities.
So let's see. What hardware can we connect using a plugin? Actually, just about anything. In fact, it doesn't even have to be hardware. A plugin can be anything that you can do with Photon code. This means it can be anything that you can connect to a Photon pin, or an I2C or serial port, or even connect to over the internet. But let's keep it simple for this example. Let's just turn a GPIO pin on and off. We'll call this a Relay plugin.
First a word of warning here. Be careful not to exceed the current capability of a Photon GPIO pin when connecting anything to it. For typical relays you will need some sort of transistor or driver circuit. Refer to the Photon technical specifications. This article talks only about the software to control the pin, not the hardware considerations.
Relay PluginThis plugin will support turning a GPIO pin on and off. This will allow controlling relays, but is probably also useful for controlling other things that just need an on and off signal.
To make testing dirt simple, we'll use D7 during development. D7 is connected to the blue LED on the Photon. We'll be able to see if the GPIO is turning on and off without connecting any additional hardware or a meter to the pin.
Install the Particle CLIThe first step in creating a Patriot plugin is to create a Particle library. To do this, you'll need to install the Particle CLI. Refer to Particle's documentation to do this.
Download the Patriot SourceClone or download a copy of the Patriot source code. You will need a copy of the device.h file to include in your plugin. It is located in the Photon/IoTlib/src directory.
You can also use the existing plugins as an example for your own plugins. They are located in the Photon/Plugins directory.
Create a Particle v2 LibraryOnce you have the CLI installed, open a command line session (eg. Mac Terminal, or unix bash shell, etc):
- Create a new directory to contain your work, and make it the current directory.
- Use the "particle library create" command. Give it a name, version, and author when prompted. I'm using the name "testPlugin", but you can use any you'd like. If you plan on publishing it, I recommend putting your name or initials in the name to avoid conflicts with other developers plugins.
- Edit the files that are created. I use CLion, but any text editor will work. Use the one with which you feel most comfortable.
- Perhaps the easiest way to start is by copying and modifying the code from an existing plugin. All of the plugins that I've created are located in the Patriot Github repository Plugins directory.
- The code I'll be entering here is from the Relay plugin.
There are two source files that you'll need to edit: a .h and a .cpp file. These are both in the /src directory. Mine are called testPlugin.h and testPlugin.cpp. Substitute "testPlugin" with the name that you are using.
There is a library.properties file that contains the name, version, and author information. You can edit this to include more information about your plugin.
And finally there are two documentation files: LICENSE and README.md. You'll need to fill these in appropriately if you publish your library.
Header File (.h)The header file contains the declaration of the variables and functions in your plugin class. Here is the contents of testPlugin.h
#pragma once

#include "Particle.h"
#include "device.h"

class TestPlugin : public Device
{
 private:
    int8_t  _pinNum;

 public:
    TestPlugin(int8_t pinNum, String name);

    void    setPercent(int percent);
    void    loop();
};
This header defines a member variable to contain the GPIO pin number. The three public methods provide:
- A constructor that receives arguments for the pin number and name
- A setPercent method that is called by Patriot to turn on (100%) or off (0%) the device
- The standard loop method that is called repeatedly. This method is optional, and can be omitted if not needed.
This file implements the functionality you want in your device.
The constructor will receive whatever information your device needs to get started. In this example it is a GPIO pin number, but you might also provide an I2C bus address, network URL, and so forth.
The setPercent function is the work horse. This function is called whenever a command is received for the device. This includes Alexa commands (eg. "Alexa, turn on test plugin"), as well as actions initiated by the iOS app or other IoT devices.
Here is the source for testPlugin.cpp
#include "testPlugin.h"

TestPlugin::TestPlugin(int8_t pinNum, String name) : Device(name)
{
  _pinNum     = pinNum;
  pinMode(pinNum, OUTPUT);
}

void TestPlugin::setPercent(int percent)
{
  if(percent > 0) {
    digitalWrite(pinNum, HIGH);
  } else {
    digitalWrite(pinNum, LOW);
  }
  _percent = percent;
}

void TestPlugin::loop()
{
  // Nothing to do. We could omit loop this entirely.
};
So that's it. The constructor saves the pin number in a member variable, and passes the name to the parent Device class. This step is important since Alexa will use that name when addressing this device.
The setPercent does the work of turning on the pin when percent is greater than zero, and turning it off when equal to zero.
The Example Project FileAn example sketch will be necessary to test your file. If you end up publishing your plugin, it becomes critical to helping others understand how to use your plugin.
Replace the examples/usage/usage.ino file created by the "particle library create" command. Create an example named whatever you'd like (eg myDevice, etc) and copy/modify the example file as shown below.
Here is the examples/testPlugin/testPlugin.ino file:
#include <IoT.h>
#include <TestPlugin.h>

IoT *iot;

void setup() {
  iot = IoT::getInstance();
  iot->begin();

  TestPlugin *plugin = new (TestPlugin(D7, "test"));
  iot->addDevice(plugin);
}

void loop() {
    iot->loop();
}
Besides the Patriot boilerplate, all we're doing is defining a new TestPlugin device using pin D7 and the name "test". You will want to use the name of your plugin, and appropriate device names.
Copy the device.h FileMaybe you noticed the #include "device.h" line in the header file. This pulls in the parent Device class. You'll need to copy the device.h file from the Patriot source as mentioned above. Copy it to the src directory prior to uploading.
Be sure to use the latest version of the Patriot code. A mismatch in the version may result in strange compiler/linker warnings when building a sketch that includes your plugin.
Uploading the PluginOnce you've created your plugin, you need to upload it as a library in order to test it. To upload the library, issue the following command from the directory containing the library.properties file:
particle library upload
It will pull the information from the library.properties file, so you don't need to specify a name, etc.
Testing the PluginUnfortunately, you can't just run the plugin code. You need to include the plugin library in a project. That's where the example file comes in handy.
From the directory containing your example, issue the commands to add the library to your project and then compile it:
particle library add testPlugin
particle compile photon testPlugin.ino
If any errors are reported when compiling, determine whether the errors are in the example or in the library code.
If the errors are in the library code:
- Edit the library source to fix the error
- Upload the library code (again)
- Rebuild the example
Repeat these three steps until it compiles cleanly. I usually have several windows open to facilitate switching between these steps.
Once the code compiles, upload it to a Photon device.
particle flash <devicename>
Once you're satisfied with the operation of your plugin, you can choose to continue using it privately, or publish it for others to use also.
Publish Your PluginIf you decide to share it (oh please oh please) then issue the final command from the directory containing the library.properties file:
particle library publish
That's it. Now go use your new Patriot device capabilities to do amazing things.


Comments
Please log in or sign up to comment.