


Hardware components | ||||||
 |
| × | 1 | |||
| × | 1 | ||||
| × | 1 | ||||
| × | 1 | ||||
With this project we create a (concept of a) basic smart parking system with the Pycom Lopy using the LoRa onboard functionality. The thought behind this idea is that we want to monitor whether a parking space is occupied or not. Using an application like this users can be notified beforehand if there is still a vacant spot for them to park their car. This can be helpful in crowded places or to improve efficiency by guiding the user to a free spot. This data may also be interesting in the long run for facility management and enhance operational intelligence.
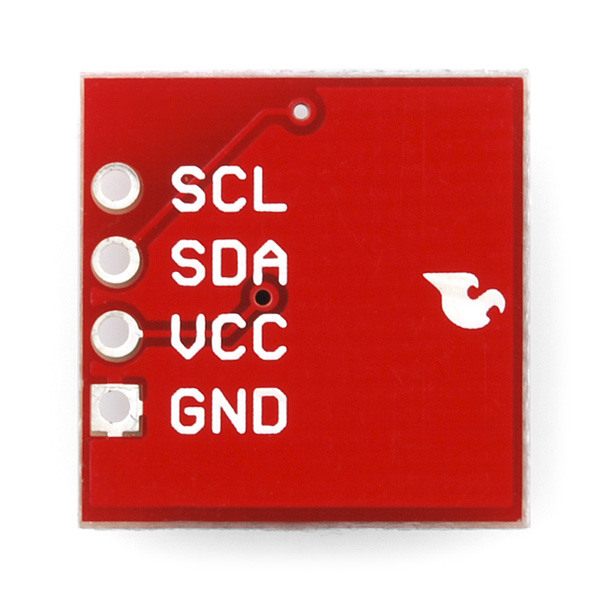
How it WorksThe sensor node can be placed on the pavement of the parking spot you want to monitor. The node is equipped with a magnetometer (sensor) which is able to detect ferrous materials, such as car parts. The same sensor can also often be found in electronic compasses to find the magnetic north. With the readings of this sensor we will be able to decide whether the parking spot is occupied or free. We do this by comparing the initial calibrated heading value (in tenths of degrees) with a measured value. A vehicle that parks on top of the sensor will cause the heading value to deviate by a few degrees. We can use a threshold to determine if this variation in heading could be caused by a vehicle. To minimize interference from passing vehicles or vehicles that are parked in the spot next to the sensor we can use a few techiniques.
To prevent the sensor from picking up passing vehicles the sensor needs to be placed centered on the parking place, away from the road. Next, the readings could also be averaged to ensure the car is parked and not moving anymore. The sensor is read every minute and then a small message is send with LoRa based on the sensor data (0 or 1). The total sensor packages will be an enclosed, autonomously functioning device.
LoRaFor the sensor to communicate its measured events (a car arrives or leaves), the sensor will be connected to the LoRa network. In this example we use the network provided by Dutch provider KPN together with a free developer account. This network roughly covers the whole country with indoor and outdoor usability so this is perfect for our application. Only limitation is the amount of uplink messages we can send each hour (maximum of 6), but I found that using a small payload you can send more messages. You could also use your own gateway or see if there is already a nearby (free) Things Network gateway that you can use.
If you're in the Netherlands, go to https://loradeveloper.mendixcloud.com/login.html and register for an account.
The reliability of the LoRa broadcast depends, among other factors, on the spreading factor. A good reliability generally can be achieved with a spreading factor of 10, or in very densily built environments SF12, but the LoRa stack will determine this for you. At this moment it is not possible to manually set this option in LoRaWAN mode with the Lopy. If you were to set this value manually, consider that a higher SF-number will increase the on-air-time of the signal and therefore decrease the frequency of the event updates we can send (so keep this number as low as possible). Usually this value is set by communicating with the gateway by a test message, automatically calculating the best SF to use (Adaptive Data Rate (ADR)).
To receive the sensor data on an application server connected with the internet, and possibly create a nice interface around the sensor data, the data has to be send from the gateway to a POST address.
Step 1: create a post server address to receive the LoRa messages on. For illustrative purposes we will use a temporary Hookbin server. You can also setup/code this part yourself or use software like Node-Red to make a more permanent solution.
Go to www.hookbin.com and create a new endpoint, you can make it private if you want (note that you can only access it from the computer it was created on in that case).
Step 2: copy the URL of the endpoint (in blue):
Next go to the KPN developer portal and add a device. Paste in the URL of step 2 in the destination (this is where the data from you device will be forwarded to after it's been received by KPN's LoRa gateway, has to be HTTPS). Go with the ABP option for now.
Take note of the device address for the specific LoRa network and the two keys. In this example the application key is also shared with the provider so the payload is not encrypted anymore once it reaches the provider, hence why HTTPS is required.
The status should show a blue balloon and once the device is active you should see a green checkmark under status (you need to send something for this first).
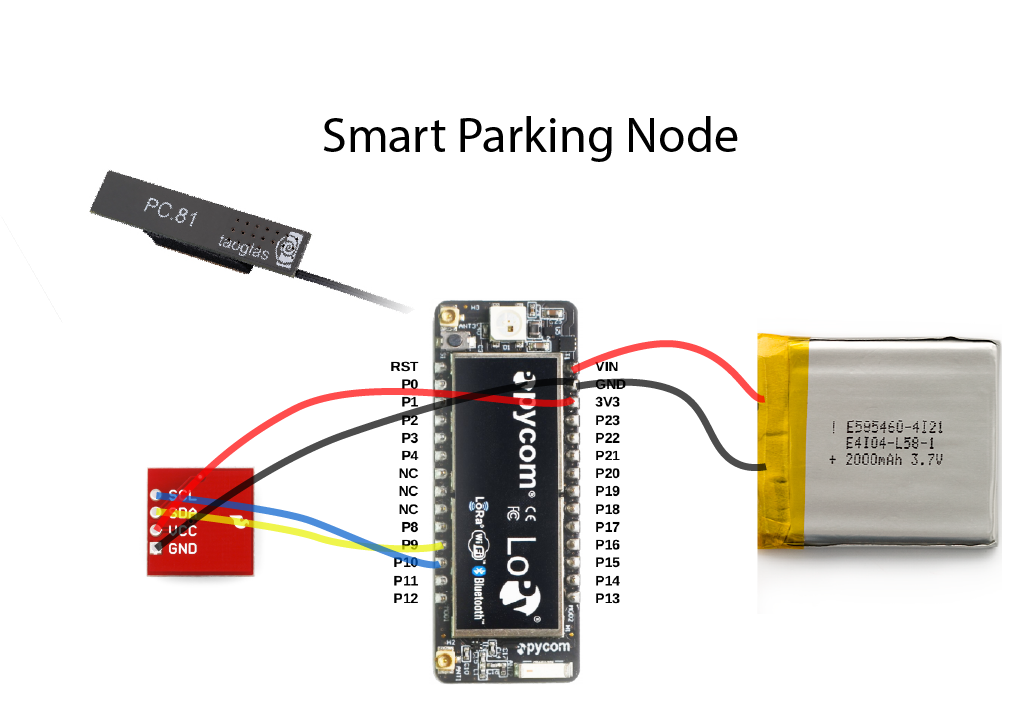
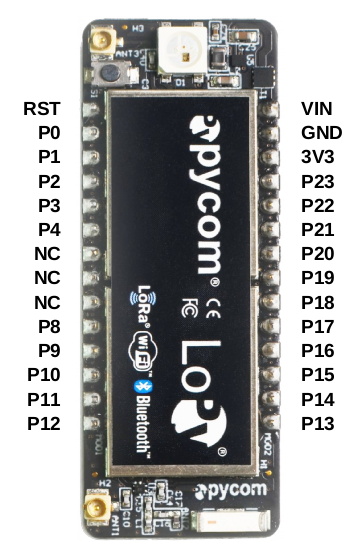
Setting up the sensorThe keys and device address copied earlier need to be placed in the main.py script on the Lopy. You can use FileZilla or any other FTP client. Remember to limit the amount of connections to 1 and set it on passive. For the device address to be correctly read by the onboard LoRa radio we manually convert it to decimal. Like so:
For the keys (network and application shared keys) the binascii.unhexlify('<hex code>') option will work fine.
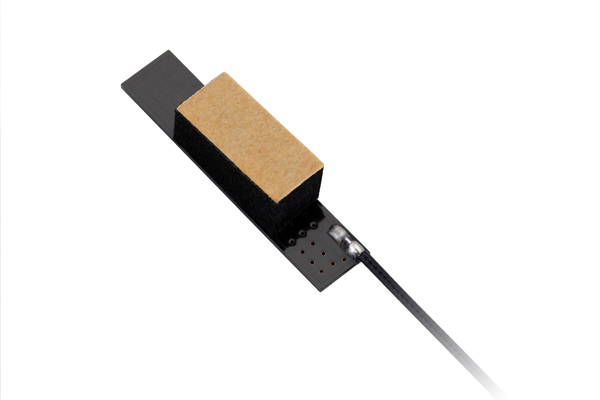
Building the Sensor NodeThe enclosure has to be waterproof and durable (to withstand a vehicle driving over it). And all this while still providing enough space to house the main components: the Lopy, sensor, LoRa antenna and a battery. The battery pack is often the biggest component to ensure long running times. Note that at this moment the sleep functionality of the LoPy might not work 100% correctly so the power draw on the LoPy can be a bit too high. This will hopefully be fixed by Espressif soon with a firmware update - edit: this has been fixed with the deep sleep shield.
Print with strong durable material and select a high infill.


_3u05Tpwasz.png?auto=compress%2Cformat&w=40&h=40&fit=fillmax&bg=fff&dpr=2)
Comments
Please log in or sign up to comment.