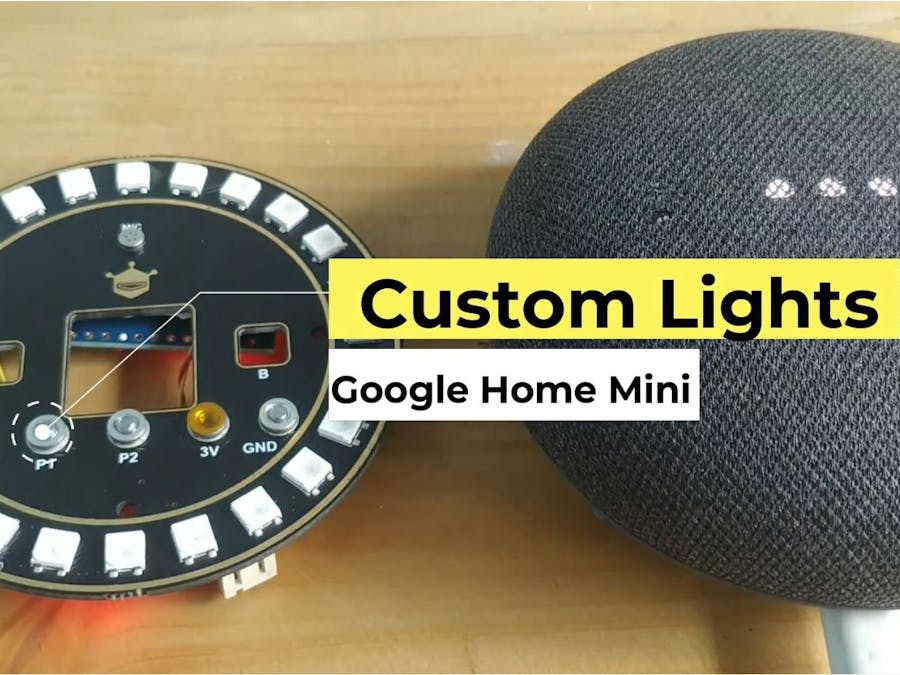
Are you annoyed by those 4 lights on Google Home Mini which only glows in white color and wants something exciting like the Alexa Speaker? I will show you how you can make your own smart lights for your Google Home Mini in just 5$ or 350 rupees.
Spoiler alert! You can install them literally with any speaker.
Hope you all are healthy and following all the safety measures these days.
So In this video, we are going to make smart lights for our google home mini smart speaker. And I will show you exactly how to do it.
But before that Make sure you subscribe to My Channel if you haven’t done it yet.
Knock knock
What are we waiting for, let's go!!
2. ConflictRecently I bought a google home mini smart speaker. I really liked it in the starting. Then, one day I went to my friend’s house and saw an Alexa smart speaker. Then I realized the lights on Alexa were way better than the lights on google home mini. And I felt something is missing and something needs to be done with it.
And it's never too late
I was exploring my stuff and found this. This is a NeoPixel RGB LED Ring. Why was I even worrying when I had this. This LED Ring was made by DFRobot, the same company which makes McQueen and MAX Bot. if you want to watch those videos don't forget to check the links in the description box …
Let's move forward.
This RGB led ring seems perfect for this task. It has almost the same diameter as the speaker and also has a mic installed on it. If you want to make this you can also buy this strip and mic separately. I will drop links to them in the description.
I used Arduino Nano because of its small size.
Coming back to the RGB Ring, the P0 was for the buzzer, P1 was for mic and P2 was for RGB.
My idea is something like this.
The mic will listen to the audio output by the speaker. That signal will be an analog signal.
We will map that signal according to the number of LEDs on the ring.
Then LEDs will light up according to the amplitude of the signal. For the NeoPixel RGB lights tutorial Click Here.
For doing this,
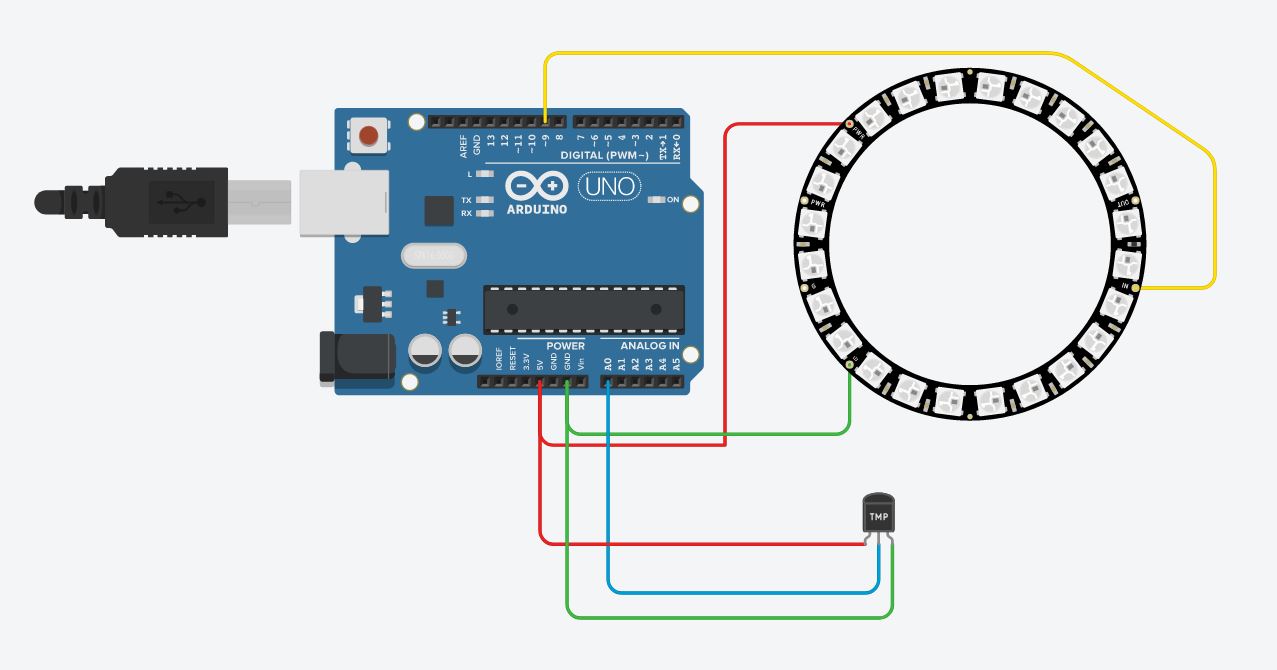
I connected the P2 with Arduino’s digital pin no 6. And P1 which is the output of the mic with analog A0. Make sure to make everything compact so I used small wires and soldered them.
We will read audio with a mic using analog pin A0. This value will range from 0 to 1023.
But upon real inspection, it ranges from 190 – 320 only.
And talking about the ring we have 24 LEDs.
So, I mapped the signal from 190 – 320 into 0 – 24.
And lights up only those LEDs.
That was as simple as that.
Let’s see how that performs in the real world.
I uploaded the code on Arduino and played some music on the speaker. I can’t turn on audio due to copyright issues but trust me it’s awesome. Try it yourself.
3. ResolutionThese lights look super amazing here are some demos.
I mounted both on the wall using nails and I don't wanna brag but it looks so great. These lights make my speakers more attractive and also we can do a lot more with them. Let me know in the comment section how did you do it to make it more visually attractive.


Comments
Please log in or sign up to comment.