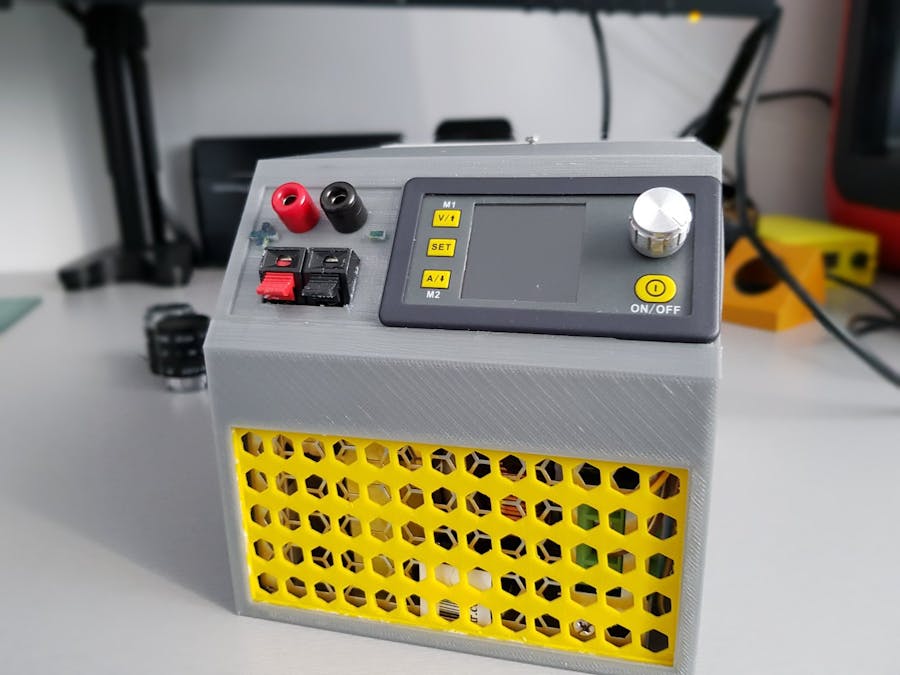
In the article DPS5015 DIY power supply, I will show how you can build a simple adjustable power supply at home made with the DPS5015 controller and a NDR 240-24 DIN rail power supply. This will help you a lot in powering your Arduino or Rraspberry Pi projects because it will give you precise control over the needed current or voltage. For example, without an adjustable power supply, you must always put a resistor before powering an LED. Now if you set the current at 20mA and voltage at 3.3V (based on LED specs) the resistor is not needed anymore and you can power safely the LED.
Needed tools:- 3D printer
- soldering iron
- cutting pliers
- wires
- Power connectors (I don’t know exactly the name for them in English but watch the video and you will understand)
- M3x10mm screws
As usual for my 3D designs I’m using FUSION 360. Currently available for download is m2. Pictures are from m3 that I’m currently working with.
For downloading the parts, go to this address on Thingiverse.
And of course, the YouTube video:


Comments
Please log in or sign up to comment.