
Hardware components | ||||||
 |
| × | 1 | |||
 |
| × | 16 | |||
 |
| × | 1 | |||
 |
| × | 1 | |||
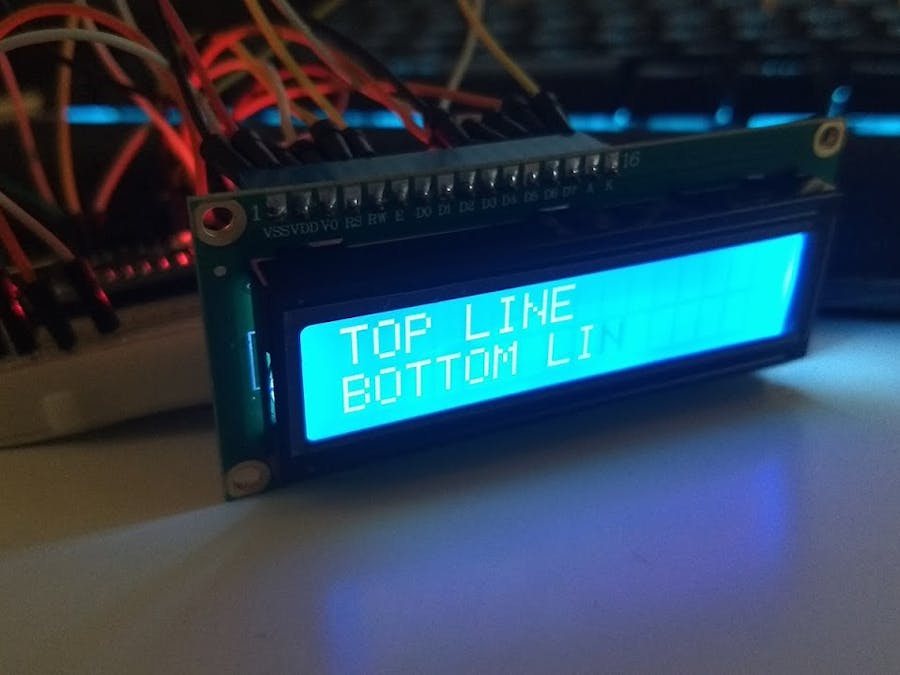
I decided to design this project on my Father's birthday. I searched around, and learned how to print text onto a display. I then designed a system to print the text on each line, and if it gets too long to print an ellipsis. After that, I streamlined it to just under 60 lines of code (including visual breaks). For my project, I used an Arduino Nano, because that's what I had laying around, but you can use any Arduino you wish, and it should work the same.
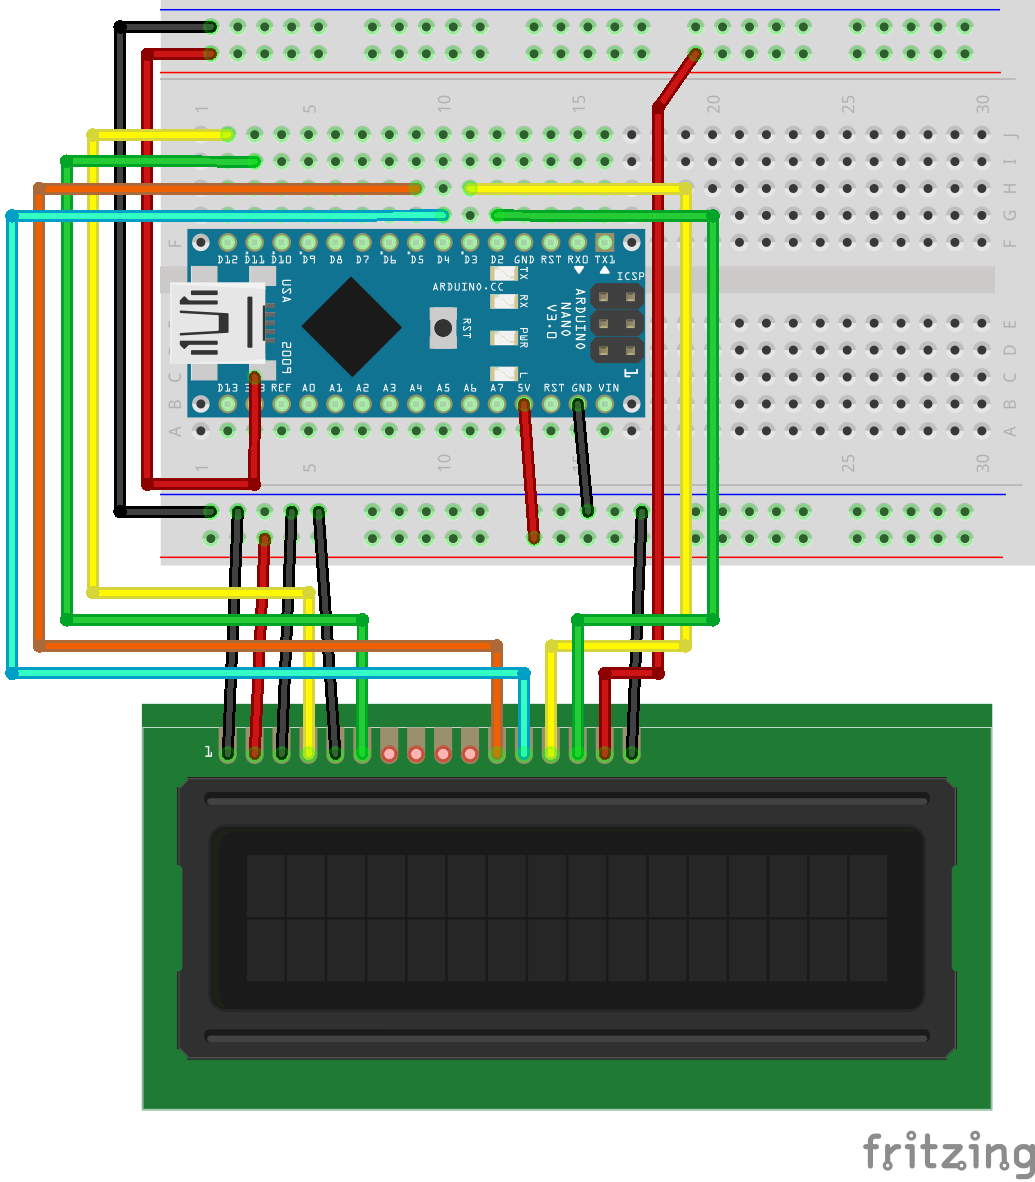
TUTORIAL1. Build your circuit.
Follow the schematic to connect all of the wires properly.
2. Program the Arduino.
Copy or download the code and customize lines 7 and 8.


Comments