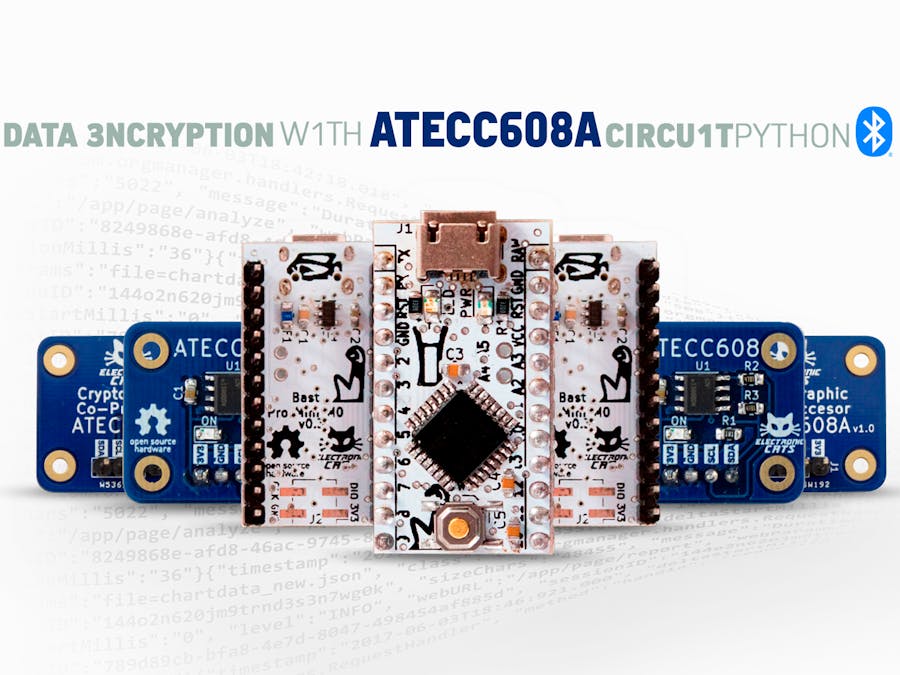
In this practice, you will learn to read an analog sensor connected to the Bast Pro Mini board, encrypt them with the ATECC608 encryptor, protect access to the data by means of a password and control the lighting of an LED. The code is implemented in Python using the Circuit Python platform compatible with this board.
You can connect an analog sensor to the Bast Pro Mini board, the received data will be encrypted in SHA256 using the encryption engine of the ATECC608 chip. This can be used to create a Bluetooth application to be able to encrypt the information that is sent as a password or data from a sensor.
Bast Pro Mini with a SAMD21E chip, a microcontroller based on the ARM Cortex-M0 with low energy consumption and high performance, which makes it ideal for endless applications.
This chip operates at 48Mhz, with an instruction memory of 256KB, an SRAM of 32KB and it works with voltage ranges from 1.6v to 3.6v and is capable of working in temperature conditions from -40° up to 85° (celsius). A true force o’ nature.
This member of the Bast Family contains 19 pins, of those 6 are analog and 14 are digital; it’s fully compatible with the famous Arduino Pro Mini pinout and besides that, the Bast Pro Mini M0 can be program using a variety of languages like for example Arduino, Circuit Python and Makecode thanks to the use of Microsoft’s UF2 bootloader.
When starting it is important to know the libraries for essential functions of the program that are handled in Circuit Python; If you want to know more about all the functions and special syntax you can read the following guide https://learn.adafruit.com/welcome-to-circuitpython/overview.
Board access the pins on the board.
Busio configures i2c bus communication.
Digitalio configure digital pins
Analogio configure analog pins
· import board
· import busio
· import digitalio
· import analogio
ATECC is the library to control the encryptor and _WAKE_CLK_FREQ is a constant necessity to configure the i2c bus and to be able to communicate with the chip.
· from adafruit_atecc.adafruit_atecc import ATECC, _WAKE_CLK_FREQA password is saved to restrict access to data from the application, it is converted to bytes to compare with the password entered by the user that is received by the UART port:
· password = "12345678"
· bytes_password = bytes(password+"\r\n",'utf-8')
In the same way, a command is established to turn the led on and off.
· led_switch = "led"
· bytes_led = bytes(led_switch+"\r\n",'utf-8')
A led is declared that will be controlled from the application:
· led = digitalio.DigitalInOut(board.LED)
· led.direction = digitalio.Direction.OUTPUT
· led.value = True
The i2c bus is initialized with the card's default pins and with the appropriate frequency to communicate with the ATECC608 chip.
· i2c = busio.I2C(board.SCL, board.SDA, frequency=_WAKE_CLK_FREQ)The UART port is initialized for communication with the bluetooth module:
· uart = busio.UART(board.D10, board.D11, baudrate=9600)An object from the ATECC library is declared to call its functions:
· atecc = ATECC(i2c)An ADC object is declared to read the values from the analog sensor:
adc = analogio.AnalogIn(board.A0)The unique serial number of the encryptor is printed.
· print("ATECC Serial: ", atecc.serial_number)In order to encrypt data, the SHA256 encryption engine is started first.
· atecc.sha_start()The password saved by the card is encrypted.
· atecc.sha_update(bytes_password)
· sha_password = atecc.sha_digest()
Some control variables are declared to indicate if data reached the UART buffer:
· p = False
· data = None
The encryption engine restarts:
· while (p==False):
· atecc.sha_start()
The password is requested from the user:
· print("PASSWORD: ",end="")
· uart.write(bytes(“PASSWORD”,’utf-8’))
Wait to receive data on the UART port:
· while not(data):
· data = uart.read(32)
Convert to text and print the entered password.
· print(''.join([chr(b) for b in data]))Enter the password entered into the encryption engine:
· atecc.sha_update(data)The password entered is encrypted:
· sha_sent = atecc.sha_digest()The entered password and the saved password are compared, if they do not match, the user is requested again:
· if (sha_sent==sha_password):
· p = True
· p = False
· data = None
You enter a cycle to interact with the application:
· while True:
· data = None
It reads the analog voltage from the sensor, prints it and sends it via bluetooth:
· while not(data):
· pot = (adc.value*3.3)/65536
· print(pot)
· uart.write(bytes(''.join([chr(b) for b in pot]),’utf-8’))
The uart port buffer is read in case a command is sent:
· data = uart.read(32)In case the user sends “led”, its status will be changed:
· if (data==bytes_led):
· led.value = not(led.value)
The change in the led is indicated to the user:
· uart.write(bytes(bytes("Led cambiado",'utf-8')))With this, it will be possible for you to encrypt your information in any of your projects and ensure that it cannot be controlled by a malicious third party.
Remember that the security of your information is paramount in an IoT project so it is important to work with the encryption of information.
You can download the complete code in the download section.
If you are interested in this practice in Spanish you can visit the Electronic Cat Education page and you will find this practice.


Comments
Please log in or sign up to comment.