Hi friends,
This time we're gonna show you, how to begin with the MagSpoof a tool created by Samy Kamkar in order to do security tests on payment methods, with credit cards which has a magnetic band, if you want to understand better how this works, you may check out the video below.
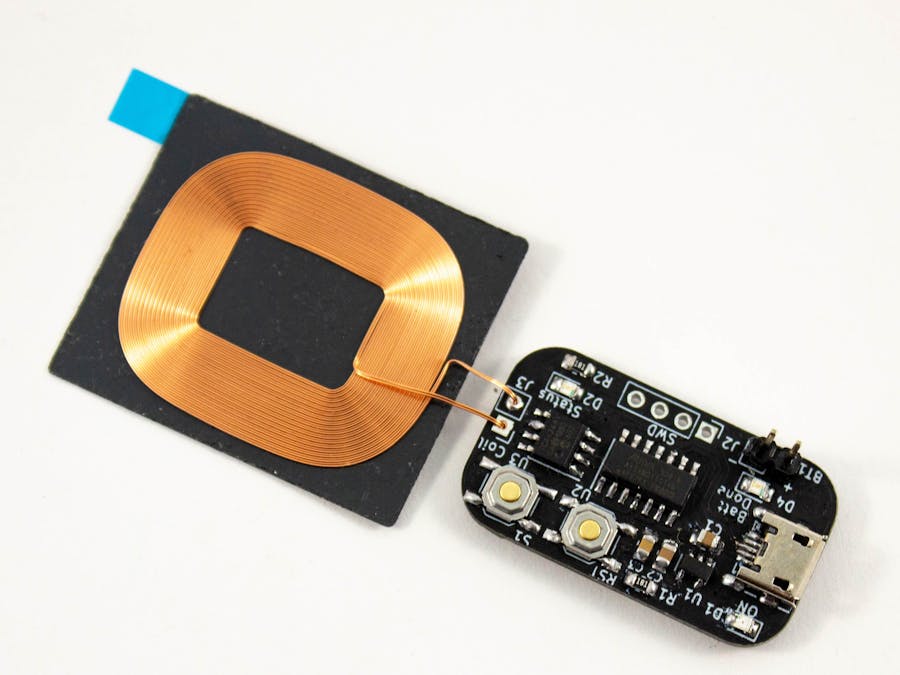
If you're new in this topic this tutorial will guide you by every step in order to get working your MagSpoof V3 made by Electronic Cats.
Let's get started!
Installation Instruction for Magspoof V3By itself SAMD21 isn´t powerful, the support with Arduino´s IDE is the special thing with. With only a clics pair, copies and pastes, you can add support for ARM cortex- M0+to your Arduino IDE...
Install Arduino SAMD support
You must install the boards SAMD of Arduino(versions 1.6.11 o posterior)
In the menú bar select tools --> boards --> Board Manager --> Arduino SAMD Boards 32 bit M0.
In the search bar write "SAMD" en then you can see the boards, do clic in install and wait to finish to install.
Install "Electronic Cats" support
To add board support for our products, start Arduino and open the Preferences window (File > Preferences). Now copy and paste the following URL into the 'Additional Boards Manager URLs' input field:
https://electroniccats.github.io/Arduino_Boards_Index/package_electroniccats_index.jsonIf there is already an URL from another manufacturer in that field, click the button at the right end of the field. This will open an editing window allowing you to paste the above URL onto a new line.
Press the "OK" button.
Open the "boards manager" that is in tools --> Board --> board manager.
Now write "Electronic Cats" (without quotes) in the search bar.
Click in install, just wait to finish to install and only close the window.
In tools --> Boards, scroll to down in the board´s list you can see the Electronic Cat´s boards SAMLCD.
Select Magspoof V3
ExampleConect board to your PC via USB, copy the example in section of code to the Arduino IDE and select port, and upload code
Test in terminal


Comments
Please log in or sign up to comment.