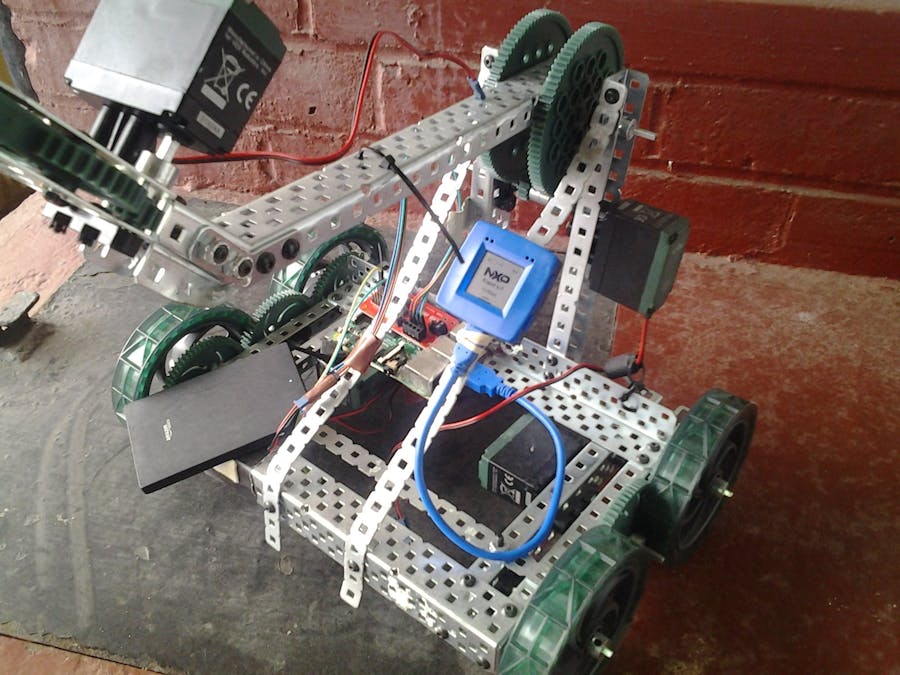
Introduction: This report is an account of small project that I have carried out in order to develop pedagogy resources and facilities that will enable pupils and any one else to use the NXP Rapid-IoT prototyping kit to research, lean and evaluate M2M (machine to machine) data communication between the Rapid-IoT kit, roaming robots and cloud.
Report on NXP-Rapid-Prototyping Exploration experience and conducted prototyping on building autonomous robot
The NXP rapid prototyping device is a sensors’ based compact design that enables a developer to quick design, configure and test out data collecting environments.
There are many options available to you. You can use the online rapid-iot-studio or you can download an Eclipse based IDE that you can run from your desktop if internet connection has been a problem. To use the online IDE, you need to register at https://rapid-iot-studio.nxp.com/.
When log-in you will be presented with a dashboard environment like the one above here. A quick tour of the environment:
Click on item 2 to create a new project
Item 3 enables you to import an existing project (from your other projects into the rapid-iot studio) use this to bring in project that you want to adapt or port to rapid-iot one.
Item 4: use this option to open your previous project. Item 7 also list all your saved project. You can just click on each of your projects to have them opened inside the rapid-iot studio.
Item 8: gives the option to export your project for example into other NXP projects or archived into a cloud environments.
Item 6: when you click on item no 6 above you will be shown a list of examples that you can based your iot project on.
To get a quick feel on how things work in rapid-iot studio and to see what directions to take and how you can quick prototype an iot based project, it is better to explore few of the examples that come ready with the rapid-iot studio. Each example comes with a brief overview of the project is for, type of project it is and area of IoT that is being explored/demonstrated.Note: some of the example projects expect you to have the docking station, the click board(s) or are tailored for that environment but you can always adapt things around.
Notice that the studio tends to duplicate every open and saved projects. This show that it does not synchronise project or do incremental update. Feature or bug?
Part-1: In Our first experience we built a claw-bot Vex robot and attached with it the Rapid-IoT kit. Our robot is powered by a Raspberry Pi 3 model B.
It took a while before I started to understand the Rapid IoT kit and the software frameworks around it including which directions to take during my exploration of the kit. The questions that kept popping up my head are is it a tile of sensors? Can we programming this in bare-metal mode since it is an ARM based MCU?, what about SPI, I2C and Serial-communications and M2M ( machine to machine or device 2 device) communications. While fiddling around the gadget in order to gain insight into its inner working and internal programming mode, I did not want to brick the device. Seeing that it comes with a reset pin made to take extra precautions but I must admit that I was and being tempted to take off the plastic casing to learning more about the kit.
Anyway there are two ways to go about about programming the the device.
1.) Using the online IDE at: https://rapid-iot-studio.nxp.com/ with a register account you can work and code all your project online. You don't need to download or install any compiler or toolchains
2.) Second option is to download an Eclipse based development environment called MCUXpresso IDE. This is an offline edition of the above. This together with various Rapid IoT kit SDK, you can start to code and develop locally.
Note: You can use and switch between the online studio editor and MCUXpresso IDE in a vice versa mode if that is okay with you! We will be doing exactly that in this project. Taking the advantage of the flow-based design environment and exporting those code into MCUXpresso IDE for a deep down development. More also the online allows you to switch between graphical flow-based programming and text mode side-by-side to see how the algorithms are related to the actual text codes. See screenshot below:
With MCUXpresso, we will have access to the following resources:
- MCUXpresso IDE – an integrated development environment (IDE)
- MCUXpresso SDK – embedded runtime software (drivers, stacks, middleware, RTOS), and
- MCUXpresso Config Tools - configuration tools in online and desktop editions that provide graphical user interfaces for creating system initialization software that is compatible with the MCUXpresso SDK.
See below for a screenshot of the MCUXpresso IDE environment.
Next I tryout some the examples for the wireless uart demos and then started to adapted the "Dual H-Bridge program as template for my own project as outline below:
The initialisation and header code was being modified and adapted for my motor L273D motor shield driver:
#include "callbacks.h"
//HEADER START
//HEADER END
void ATMO_Setup() {
}
ATMO_Status_t EmbeddedNxpRpkUserButtons_trigger(ATMO_Value_t *in, ATMO_Value_t *out) {
	return ATMO_Status_Success;
}
Next the push button routines were modified to respond to changes in the environmental values like pressure, temperature, tilt-pan, etc..
 ATMO_Status_t EmbeddedNxpRpkUserButtons_setup(ATMO_Value_t *in, ATMO_Value_t *out) {
   ATMO_MK64F_GPIO_EnableResetCombo(ATMO_PROPERTY(EmbeddedNxpRpkUserButtons, enableResetCombo));
   ATMO_MK64F_GPIO_EnableDisplayToggleCombo(ATMO_PROPERTY(EmbeddedNxpRpkUserButtons, enableDisplayToggleCombo));
   ATMO_MK64F_UserButton_RegisterAbilityHandle(ATMO_MK64F_SW1_Pushed, ATMO_ABILITY(EmbeddedNxpRpkUserButtons, topRightPushed));
   ATMO_MK64F_UserButton_RegisterAbilityHandle(ATMO_MK64F_SW2_Pushed, ATMO_ABILITY(EmbeddedNxpRpkUserButtons, bottomRightPushed));
   ATMO_MK64F_UserButton_RegisterAbilityHandle(ATMO_MK64F_SW3_Pushed, ATMO_ABILITY(EmbeddedNxpRpkUserButtons, topLeftPushed));
   ATMO_MK64F_UserButton_RegisterAbilityHandle(ATMO_MK64F_SW4_Pushed, ATMO_ABILITY(EmbeddedNxpRpkUserButtons, bottomLeftPushed));
	return ATMO_Status_Success;
}
GPIO pins were fiddled with to get various speed output but most of the time unsuccessful due to difference between NXP dock station parameters and my motor-shield:
ATMO_Status_t HBridge2Click_setup(ATMO_Value_t *in, ATMO_Value_t *out) {
ATMO_HBRIDGE2CLICK_Config_t config;
config.ginPin = ATMO_PROPERTY(HBridge2Click, ginPin);
config.dirPin = ATMO_PROPERTY(HBridge2Click, dirPin);
config.enablePin = ATMO_PROPERTY(HBridge2Click, enablePin);
config.speedCtrlPin = ATMO_PROPERTY(HBridge2Click, speedCtrlPin);
config.initialSpeedPct = ATMO_PROPERTY(HBridge2Click, initialSpeedPct);
config.initialDir = ATMO_PROPERTY(HBridge2Click, initialDir);
config.pwmDriverInstance = ATMO_PROPERTY(HBridge2Click, pwmDriverInstance);
config.gpioDriverInstance = ATMO_PROPERTY(HBridge2Click, gpioDriverInstance);
ATMO_HBRIDGE2CLICK_Init(&ATMO_VARIABLE(HBridge2Click, handle), &config);
return ATMO_Status_Success;
}
Raspberry Pi 3 environment seem OK with the board but I need to play around the values more
Hook-up with an RC Car. I was struggling with the Escape which was removed and I focused on the raspberry Pi 3 interface instead.
Suddenly somethings started to happen between the Rapid IoT sensor kit and Pi 3 receiving communication.
Same here here
I played with various parameters while continue to modified the Dual-H Bridge code and while flashing Rapid-IoT kit each time
Compiling was not too bad but I think my understanding of those code made porting a bit of pain:
Firmware were being upload each time:
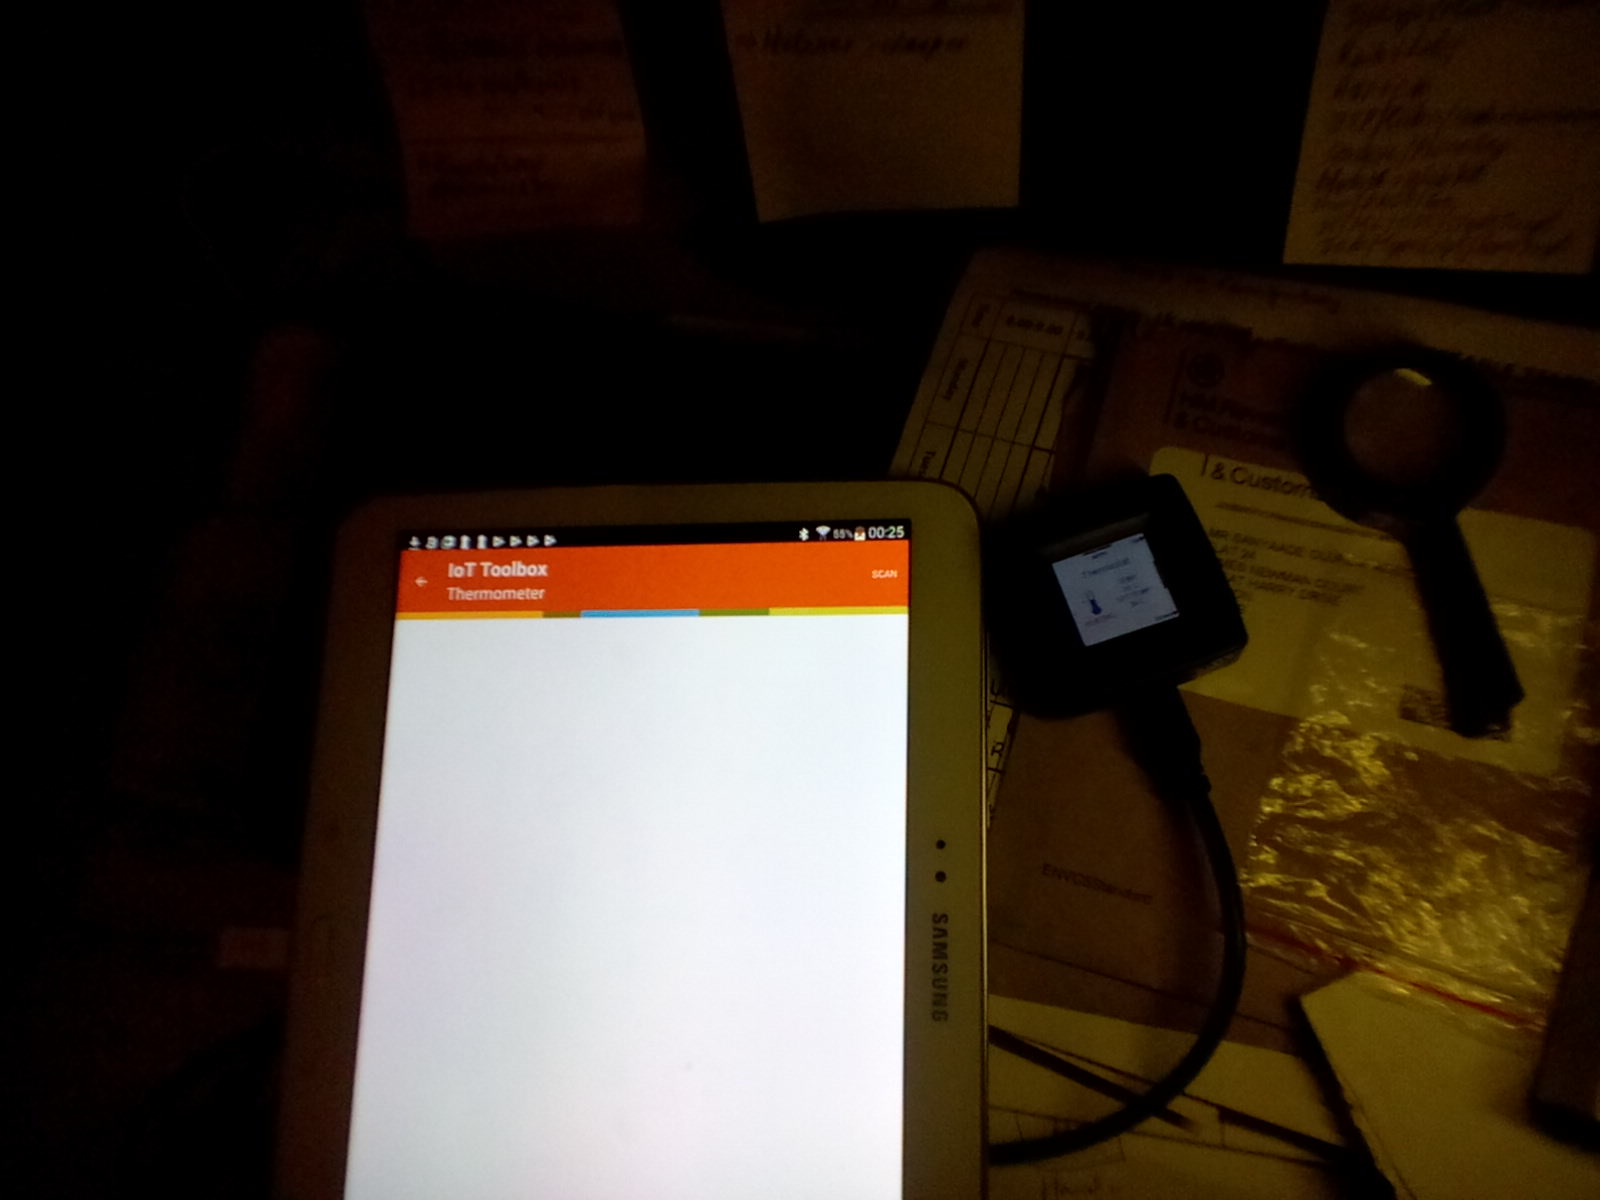
Incompatible mobile App with my Android tablet also made it difficult to work further for now. See below:
Most time the kit is asking for pin-code, I have tried A1006 as mentioned in discussion forums and internet search but with most time no success:
Conclusion: Having gone through the competition tasks and Rapid-IoT kit, I think I can work better now with the kit but definitely need to use the desktop development environment and do more hacking and publication on hackster.io on this device. I do not have the docking and click boards devices but I now have the knowledge and skills to be able to work more and do some more projects on this device. I will be publishing them here on Hackster.io.
Many thanks for the opportunity given and to be able to hack on this NXP device.
God blesses!!!
Best regards,Sanyaade


Comments
Please log in or sign up to comment.