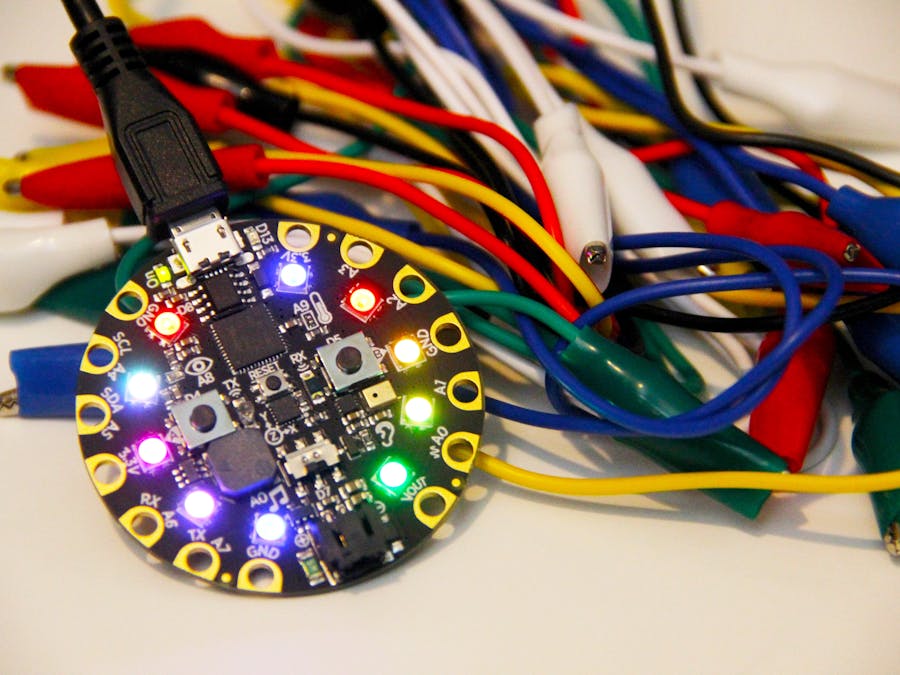
When I get really excited to do a project or I am teaching people how to start out with electronics, I just want to dive right in. With learners, I want them to have a quick win and experience the joy of making. CPE lets them light up neopixels or read data from onboard sensors using drag and drop code. I don't have to teach them the directionality of a diode, the debounce of a button, or the difference between data types. Those are all important and valuable skills, but this system will allow them to focus on the big picture before getting caught in the weeds.
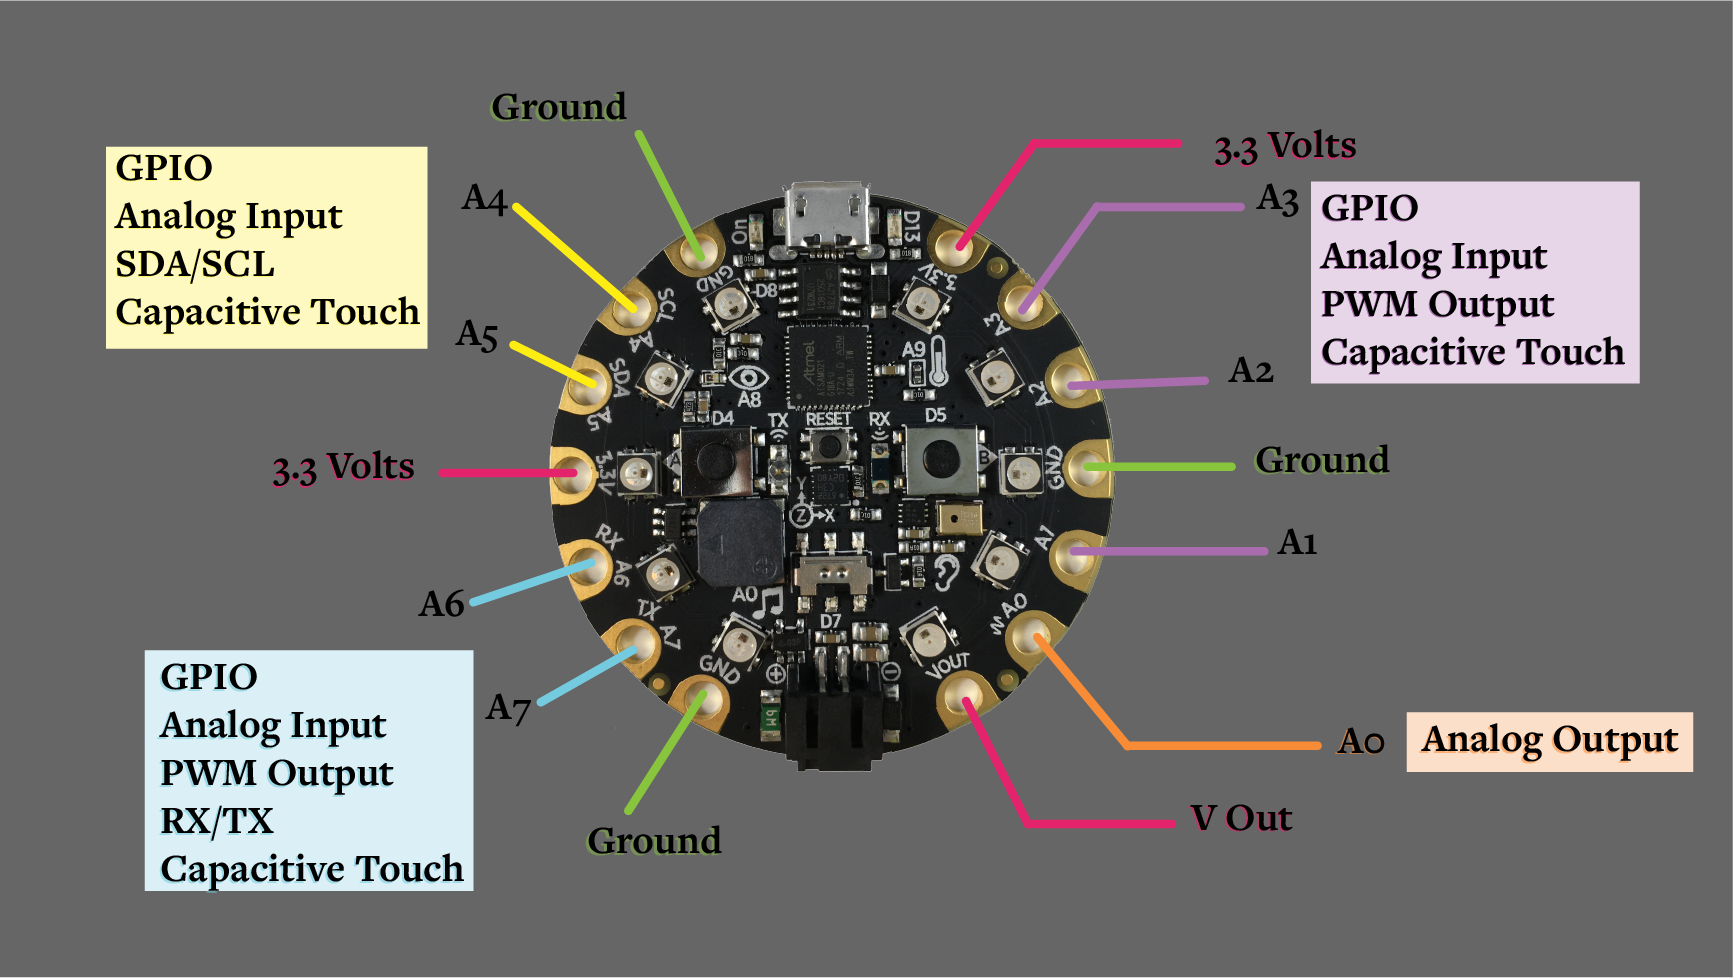
The board's capabilities can expand along with the users as they learn. The CPE has 6 built-in sensors. Users can add more sensors and actuators using the 7 analog/GPIO pins. The board can be programmed with MakeCode (JavaScript), Circuit Python, or Arduino IDE (C).
MakeCode is a drag and drop graphical way to create code. It allows you to play with the logical flow of a code without needing to know all the syntax. The blocks are puzzle pieces which provide the structure of the code.
In this tutorial, I will focus on using sensors and MakeCode. There are three actions that you can accomplish with sensors. You can trigger events, set thresholds, and read inputs.
Events
Events are triggered by certain values read from a sensor. When an event is triggered, it interrupts the normal flow of the program. If the code is performing steps inside the forever block, it will stop what it is doing switch to the event block. Events have the same shape as the start and forever blocks (they are all functions). Events contain a list of steps to be performed once the event is initiated.
Thresholds
Thresholds can set a value that would trigger an event. For example, you can set a threshold for the light sensor. The light sensor reads values from 0 to 255. You can set a threshold that says anything below 160 is considered dark. Any time the light sensor reading crosses the threshold from light to dark, the event for darkness is triggered. If the sensor is continuously reading below 160, the event only occurs once.
Threshold blocks go inside of the start or forever blocks. I typically put them inside the start block since I only set them once. If you are using a variable to set your threshold, then it would make sense to go in the forever block.
ReadInputs
Analog sensors have an analog read block. These blocks are round in shape. The sensors have different ranges of values they return. The light, microphone, and capacitive touch buttons return values from 0 to 255 (8 bit ADC converter). The accelerometer goes from 0 to 1023 (10 bit converter). The temperature sensor displays the temperature in degrees and not the raw voltage values like the other sensors. The IR sensor reads numbers from the transmitter.
The A and B button and the slider are digital inputs. They read a true or a false. The capacitive touch sensors can be digital or analog. The digital read is a comparator that is a diamond-like shape.
AccelerometerThe threshold of the accelerometer can be set to 1g, 2g, 4g, or 8g. The analog input can read the value for the x, y, or z axis. There is also an option to read the strength of the accelerometer. This is the vector value of the x, y, and z directions.
There are several events that can be triggered. I love that you don't have to code what the accelerometer would read when tilted, flipped, shook, or dropped. There are 11 types of events that the accelerometer can trigger.
Below is a video explaining and demonstrating the events that can be triggered by the accelerometer.
This is a link to the published code - https://makecode.com/_bDkP0p8ffAJj
There are two physical buttons, a physical switch, and seven capacitive touch pins. The physical buttons and switch are digital sensors. They are read as either on or off. The capacitive touch pins can be read as a digital or analog input. Since the captive touch pin can be analog, a threshold can be set for them. There are four ways to trigger a button on up, down, click, and long click.
This is the link to the published example of the button MakeCode -- https://makecode.com/_XEL81YE18Epj
The CPE boards have an IR transmitter and receiver. They can send information to each other via the IR sensor. The transmitter can send a number. When a number is sent, the IR reciever triggers an event. This number is then a variable you can use in your code.
This is the link to the published example of the button MakeCode -- https://makecode.com/_ce5V9VExj7s6
The light sensor can read the levels of ambient or brightness. Light level is an analog input from 0 to 255 that purely read the brightness. A threshold can be set for light or darkness. An event can then be triggered if this threshold is crossed. You can have a separate event and threshold for both bright and dark.
The ambient reading reads RGB vales. Each of the three have 256 options. This means the ambient light is represented by 16, 777, 216 options (0-16, 777, 215).
This is the link to the published example of the light MakeCode --https://makecode.com/_a9m43phqRcCW
There is a microphone sensor. The threshold can be set, an event can be triggered when a loud noise is registered, and the analog value can be read. The threshold can be set from 0 to 100. However, the sensor ranges from 0 to 255. I was unable to trigger an event except for the initial moment of powering the board.
This is the link to the published example of the microphone MakeCode -- https://makecode.com/_X1t9Fc7s21zk
The temperature sensor reads degrees in Fahrenheit and Celsius. Events can be triggered when the sensor value crosses either a cold or hot threshold.
This is the link to the published example of the temperature MakeCode -- https://makecode.com/_iiVRR5M08KWq


Comments
Please log in or sign up to comment.