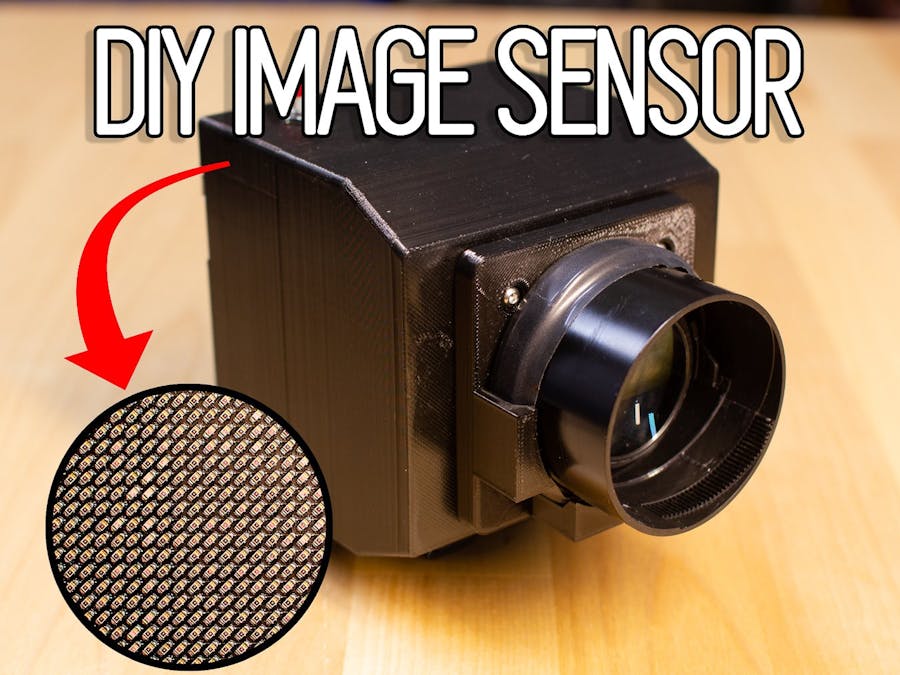
I don't think it comes to a surprise to anyone who follows me, that I have always been interested in video and photography. And as far as mixing work with hobbies goes, this one takes the cake. Check out the video below:
The goal for this was simple, make a digital camera from its most basic set of components. I thought about just buying an off the shelf image sensor, but I decided that wouldn't be as impressive. I then toyed with the idea of taking a single image sensor and moving it around an XY plane, but this wouldn't really represent how an actual image sensor works. After playing with some images and seeing what resolution would be acceptable, I just went for it, a 1 KiloPixel image sensor. You can find the project on GitHub Here: https://github.com/IdleHandsProject/diycamera
I don't know what inspired me to populate this by hand, but please stop me next time.
The brains behind a project is the usual (for me) SAMD21G18 Microcontroller running an Arduino bootloader. I wanted this to be easily accessible to anyone playing around with it. There is also an OLED screen, shutter button, SD Card, and battery, just like most cameras.
The shell and lens mount are all 3D printed and it goes together easily. You can find the 3D printed parts on Thingiverse: https://www.thingiverse.com/thing:4070769
I explain in the video that originally I had plans to make this a pinhole camera. That wasn't really working out... Instead I took apart an old Canon lens and used the front glass. Its basically a magnifying glass but with a little less distortion. You can definitely just use a regular magnifying glass if you can't find a used or broken lens that would work. The important part is finding a Focal Plane Distance that will work with the 3D prints (and you'll likely need to modify them for it). The focal plane distance is the measurement from the back of the lens to where the image coming from it is in focus. That is where you will need to distance the lens to the DIY image sensor.
I made two different programs for the camera, one that reports the values to a computer its plugged into and then displays the image on the screen, and one that acts just like a camera, saving BMP files to the SD Card. The former is great for debugging issues because it gives you a live feed from the image sensor. I call it the "Webcam" program. It works in conjunction with a Processing program.
The way the Processing program works is that is sends a pixel address to the camera, say pixel (1, 1), and the camera responds with an analog voltage of that pixel. It does this for the entire pixel array and then makes colored boxes based on the voltages and their location. This generates an image on the screen. The second program does the same thing but without the pixel requests. It then saves the BMP files directly to the SD Card. You can then just put the SD card into your computer, and voila! Images.
Now that there is a working camera. Time to take a selfie!
This is an enlarged image from the camera.
And there you have it! If you plan to take on this project, please be aware its quite challenging, and not cheap. The photo sensors will cost around $200 regardless of where you find them(please let me know if you find them cheaper!) and it takes a lot of patience to place the components. If you do make one, share some images with me on social media!
If you enjoy these open source projects, be sure to subscribe to my Youtube Channel:
and if you want to support future projects like these, consider becoming a patron on Patreon!


Comments
Please log in or sign up to comment.