In several projects around us, we need to create systems that present messages to communicate with the user. So, we need to use screens that allow communication with our control devices / microcontrollers.
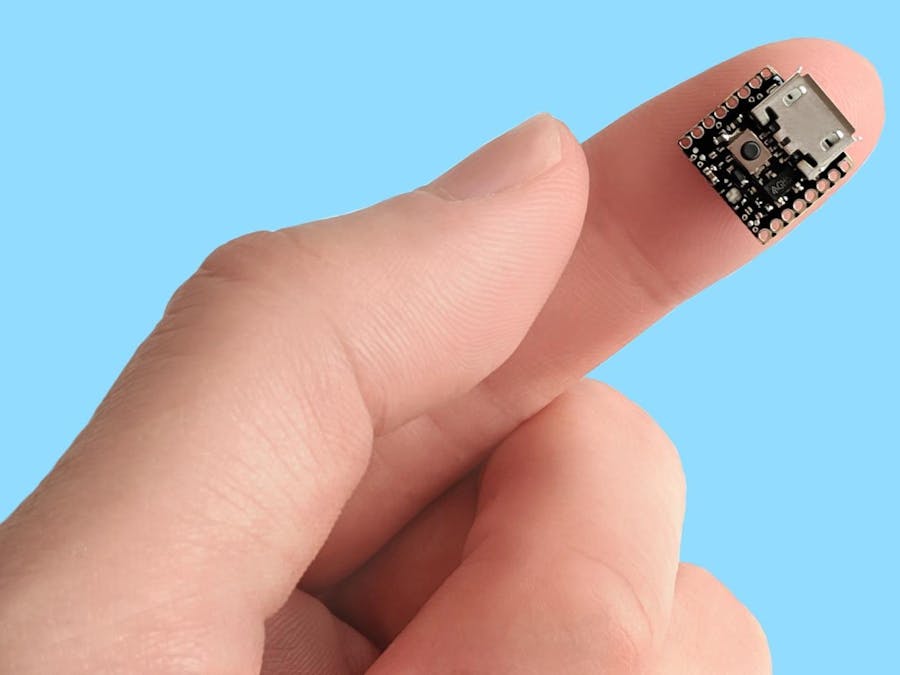
Based on this, today we present how to create a message presentation system with ATTO: The World's Smallest Arduino.
Our goal is to use this little Arduino, in order to minimize the circuit and present the power of the Arduino ATTO.
The case you don't knowledge the ATTO board, you can see this video. Activate YouTube English subtitle!
Now you will see the project developed with the ATTO board.
Developed ProjectBelow you will see in Figure 1, the ATTO card from Nionic sends information to the Nokia 5110 LCD.
Through this circuit was developed the code to send messages for Nokia 5110 LCD Screen.
The discussion of the developed code is presented below.
Initially, was declared the Nokia 5110 libraries and defined all pin of the ATTO used to connect with LCD. Hereafter, is presented in the code:
#include <Adafruit_GFX.h>
#include <Adafruit_PCD8544.h>

Adafruit_PCD8544 display = Adafruit_PCD8544(3, 9, 6, 12, 4);
// pin 3 - Serial clock out (SCLK)
// pin 9 - Serial data out (DIN)
// pin 6 - Data/Command select (D/C)
// pin 12 - LCD chip select (CS/CE)
// pin 4 - LCD reset (RST)
In this portion of code, were declared the libraries of Nokia 5110 Display Screen and in following, were defined each pin used in the ATTO Board to connect in Nokia 5110.
In the void setup function, it was configured the initialization process of the Display and configured the RGB LED to low.
void setup()
{
 Serial.begin(9600);

 display.begin();
 display.setContrast(50); //Ajusta o contraste do display

 pinMode(5, OUTPUT);
 pinMode(10, OUTPUT);
 pinMode(13, OUTPUT);

 digitalWrite(5, HIGH);
 digitalWrite(10, HIGH);
 digitalWrite(13, HIGH);
}
Finally, in void loop function were presented the messages in the Display. Firstly, we presenting the message about ATTO Board, as is shown in Figure 2.
When the first part of the code is executed, is shown the following image.
void loop()
{
 display.clearDisplay();   //Apaga o buffer e o display
 display.setTextSize(1);  //Seta o tamanho do texto
 display.setCursor(0,0);  //Seta a posição do cursor

 display.setTextColor(WHITE, BLACK);
 display.println(" ATTO  BOARD ");

 display.setTextColor(BLACK); //Seta a cor do texto
 display.println("   Smallest  ");

 display.setTextColor(BLACK); //Seta a cor do texto
 display.print("             ");

 display.setTextSize(1);

 display.setTextColor(WHITE, BLACK);
 display.print("   ARDUINO   ");

 display.setTextColor(BLACK); //Seta a cor do texto
 display.print("    BOARD    ");

 display.display();

 delay(5000);

 display.clearDisplay();   //Apaga o buffer e o display
 display.setTextSize(1);  //Seta o tamanho do texto
 display.setCursor(0,0);  //Seta a posição do cursor

 display.setTextColor(BLACK); //Seta a cor do texto
 display.println("SUBSCRIBE IN");

 display.setTextColor(WHITE, BLACK);
 display.println("SILICIOS LAB");

 display.setTextColor(BLACK); //Seta a cor do texto
 display.print("             ");

 display.setTextColor(BLACK); //Seta a cor do texto
 display.print("   YOUTUBE   ");

 display.setTextSize(1);

 display.setTextColor(WHITE, BLACK);
 display.print("   CHANNEL   ");
 display.display();

 delay(5000);
}
Finally, will be presented the last message on the screen. The message is presented in Figure 3.
As you see, through this single and small board is possible to create powerful projects.
Therefore, you can use the ATTO Board to create your projects that need of reduced size.
AcknowledgmentThe Silícios Lab thanks to the nionics.com to offer two ATTO boards for us.
Thanks to the PCBWay for support the our YouTube Channel and produce and assembly PCBs with better quality.
The Silícios Lab thanks UTSOURCE to offer the electronic components.


Comments
Please log in or sign up to comment.