Turn on the YouTube subtitles option (CC English)
What is a Kotatsu?Before explaining this work --- first let's get to know what [Kotatsu] is. 'Kotatsu' is a Japanese heating appliance. In other words, the heater built in the table, covered by thick blanket which makes sure the heat inside won't escape. If you are familiar with Japanese culture, they are very often found in various drama, movies, animation, cartoons etc. In Japan, floor heating system is not commonly used, so heating mat and kotatsu are mainly used in winter to keep people warm. It is often expressed like: [the table that you can never get out of, once you go in]. In other words, warm temperature of the kotatsu is maintained continuously, and once entered, one can not just escape from its warmth. picnic in a warm spring will be a neat metaphor. However, it is simply the best item of winter in seat culture.
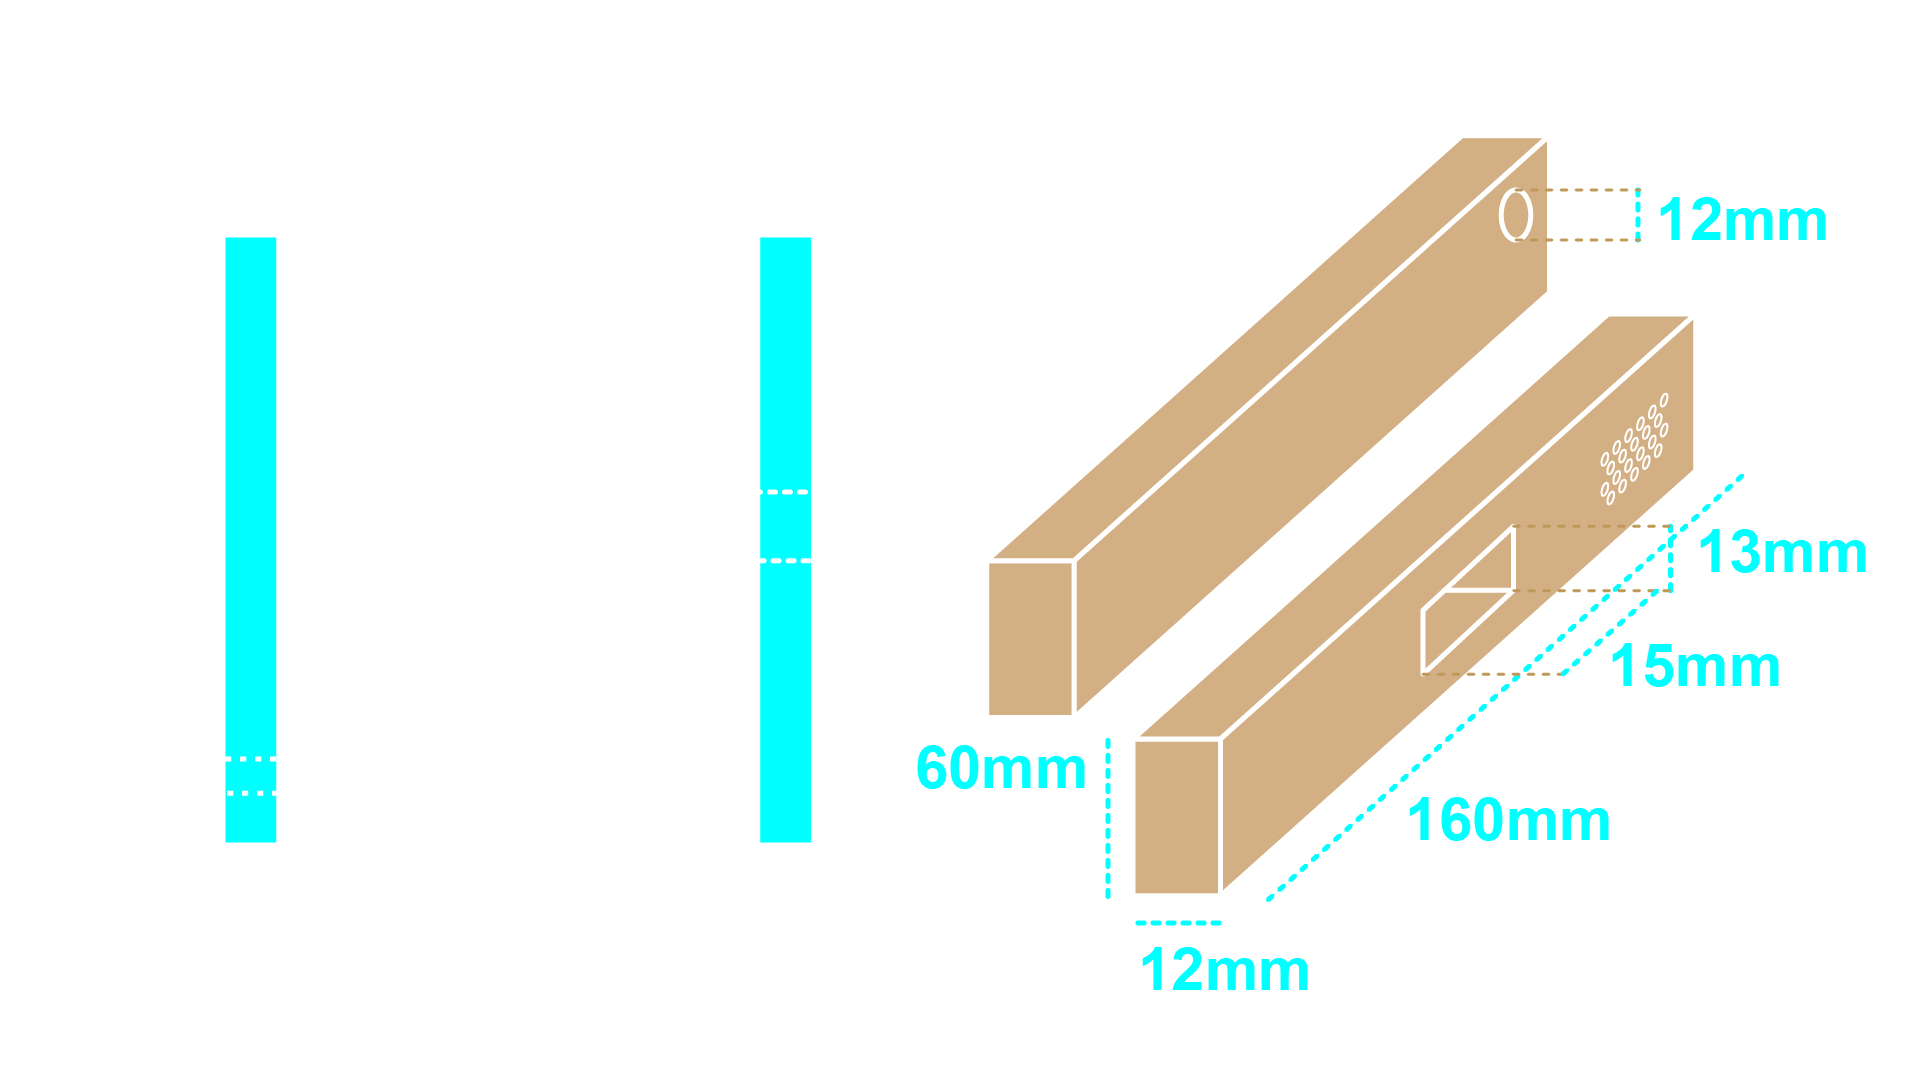
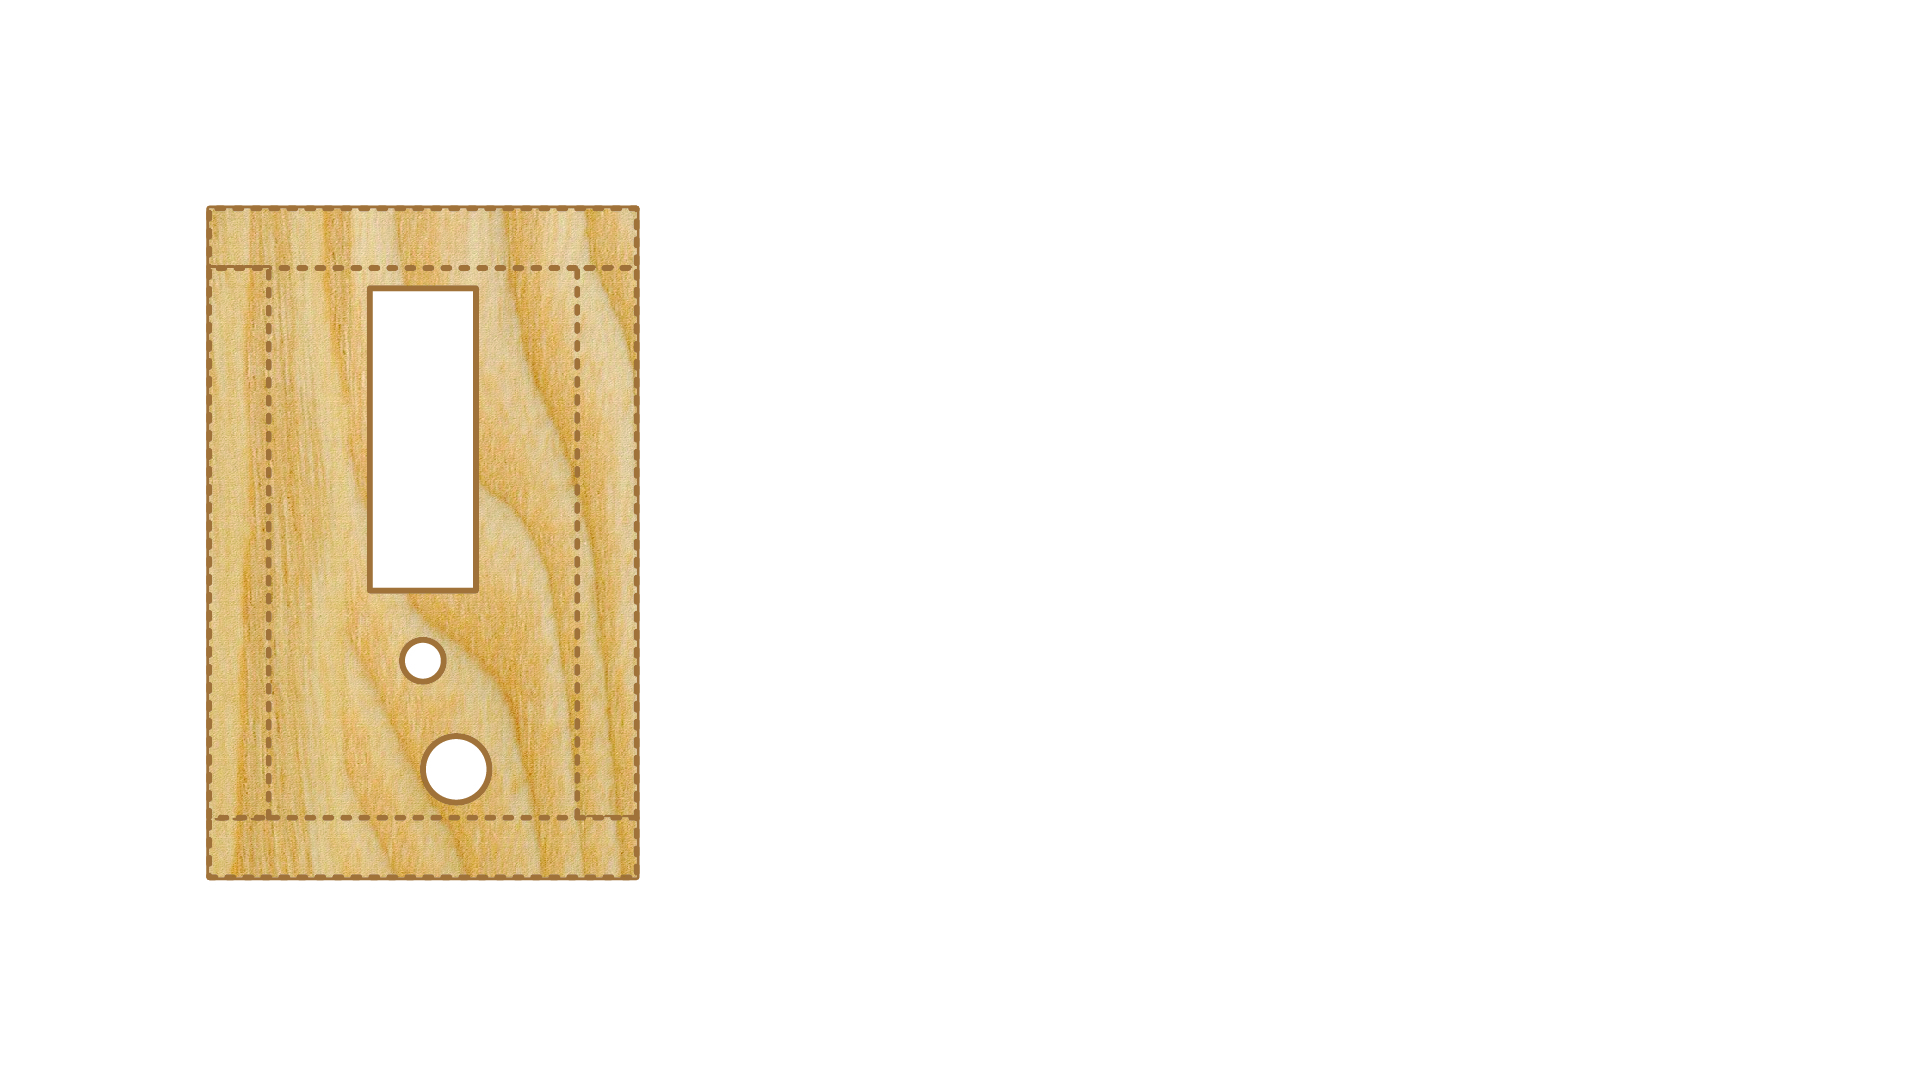
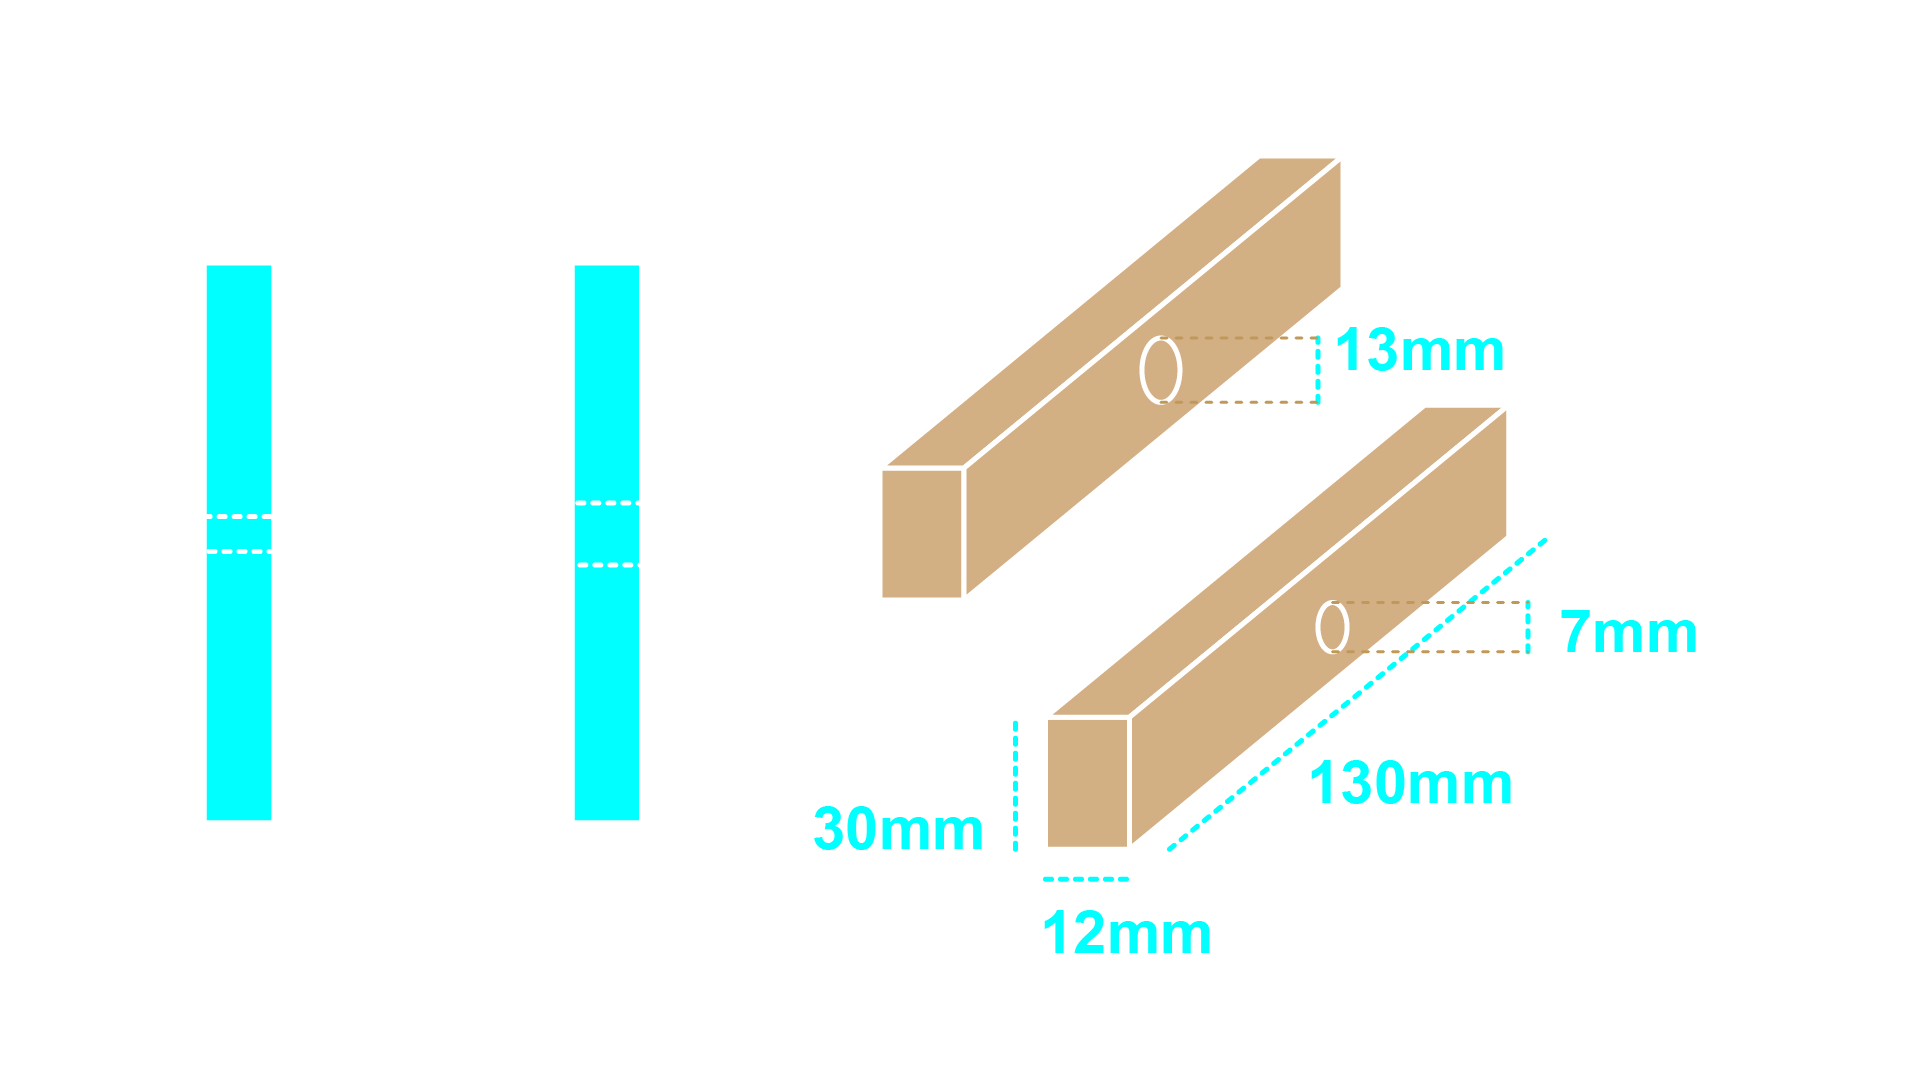
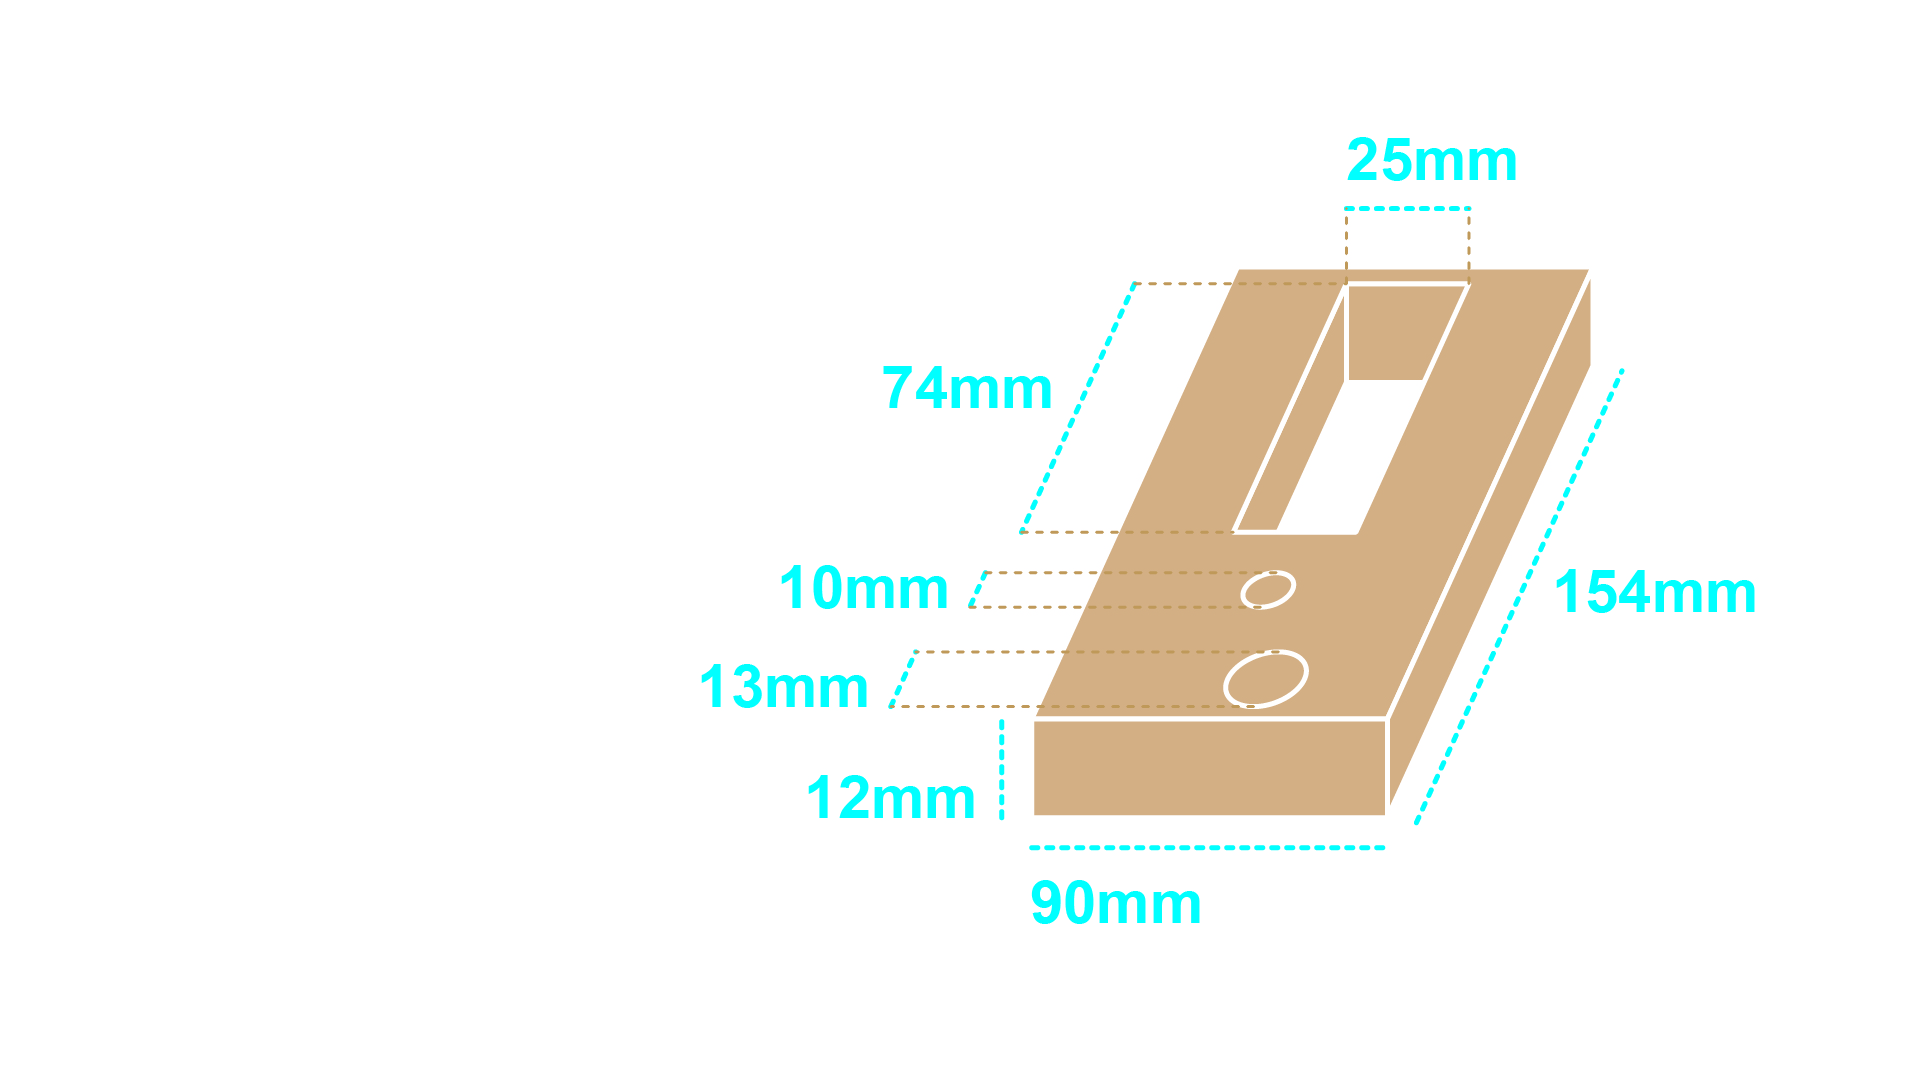
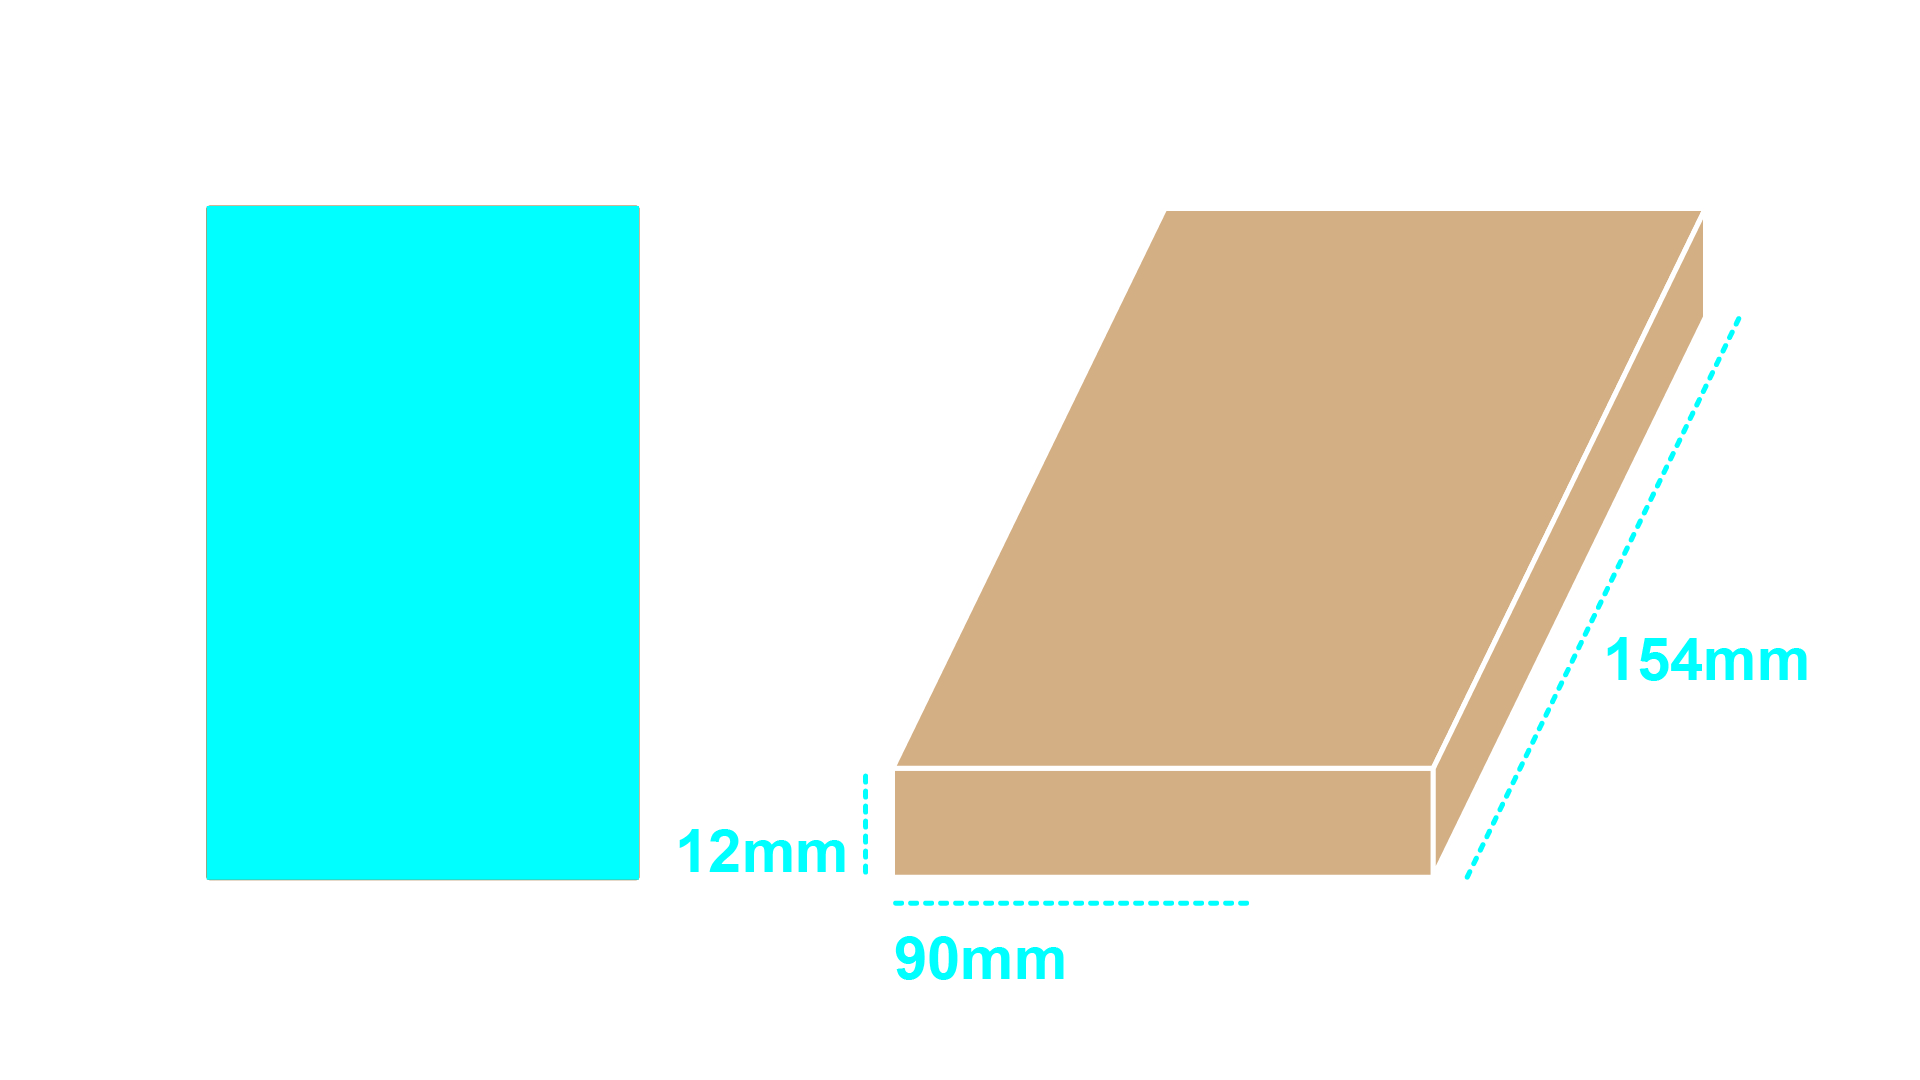
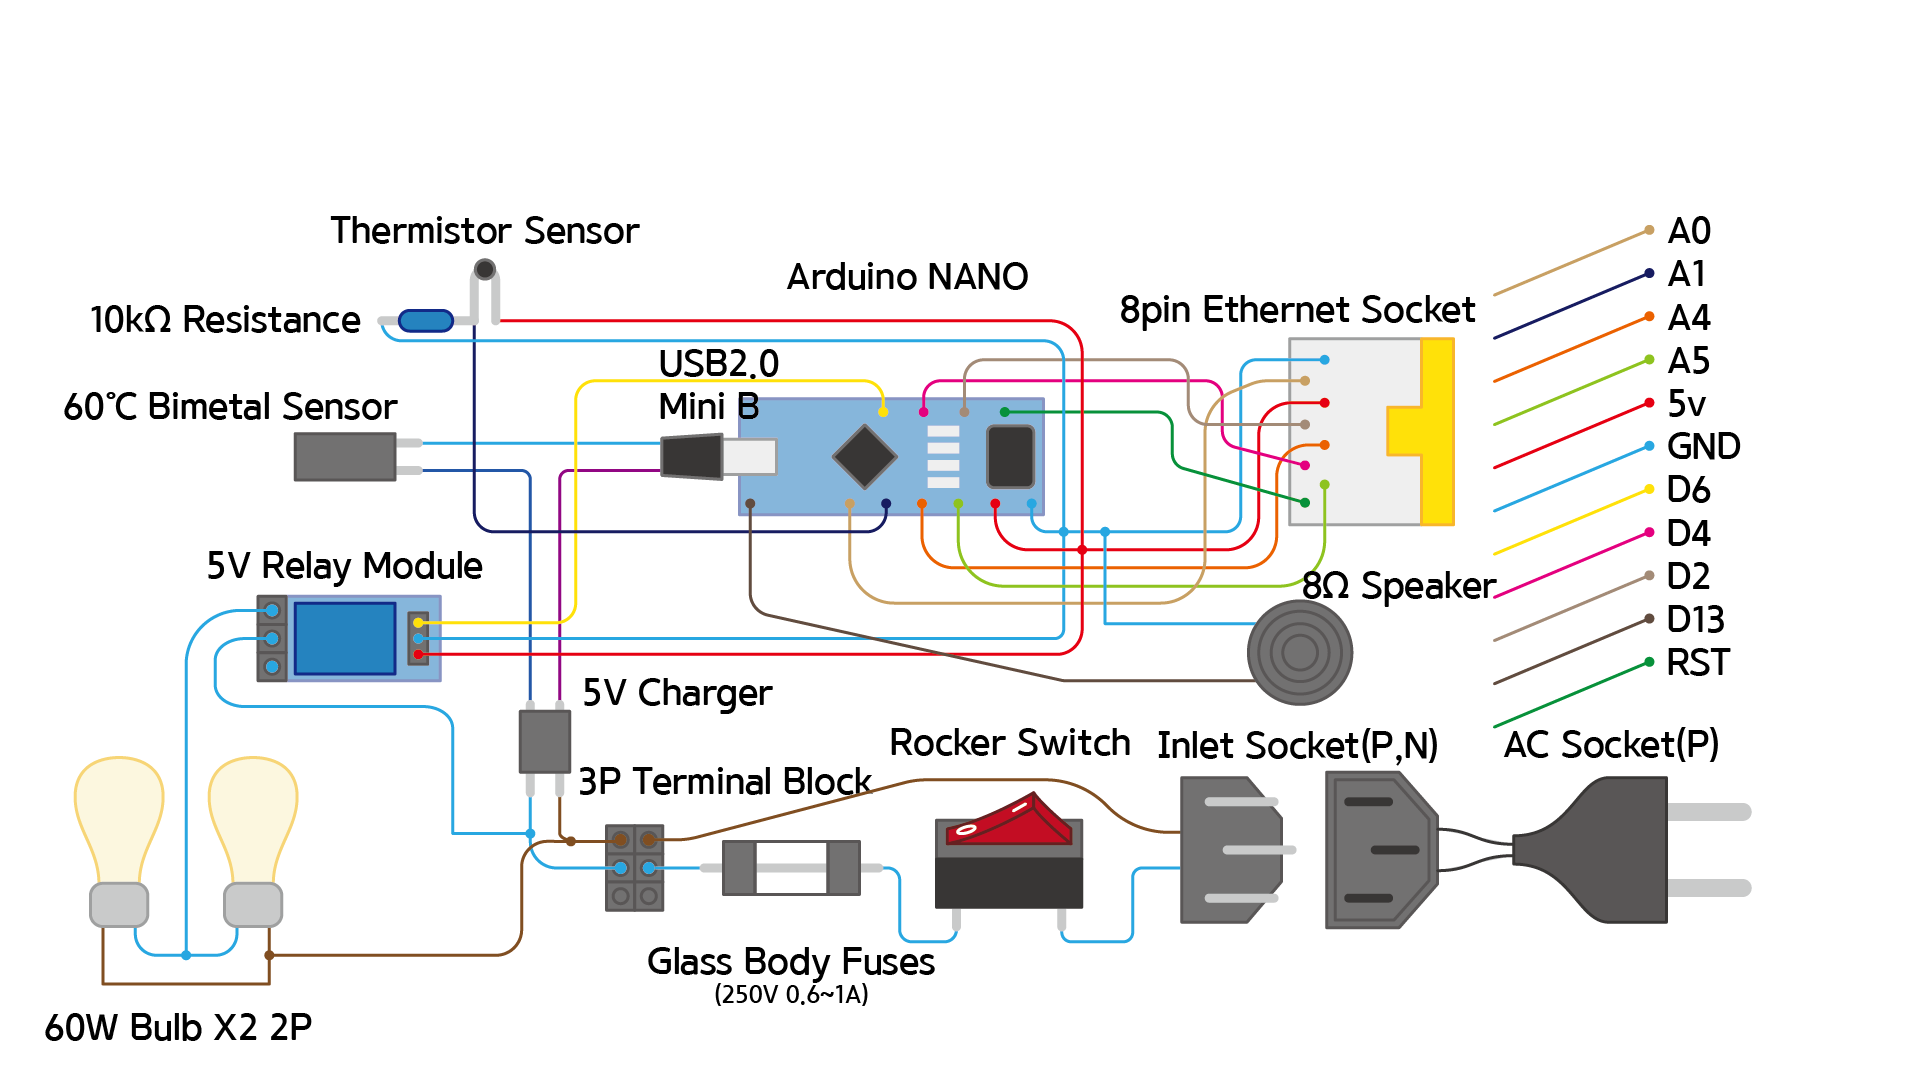
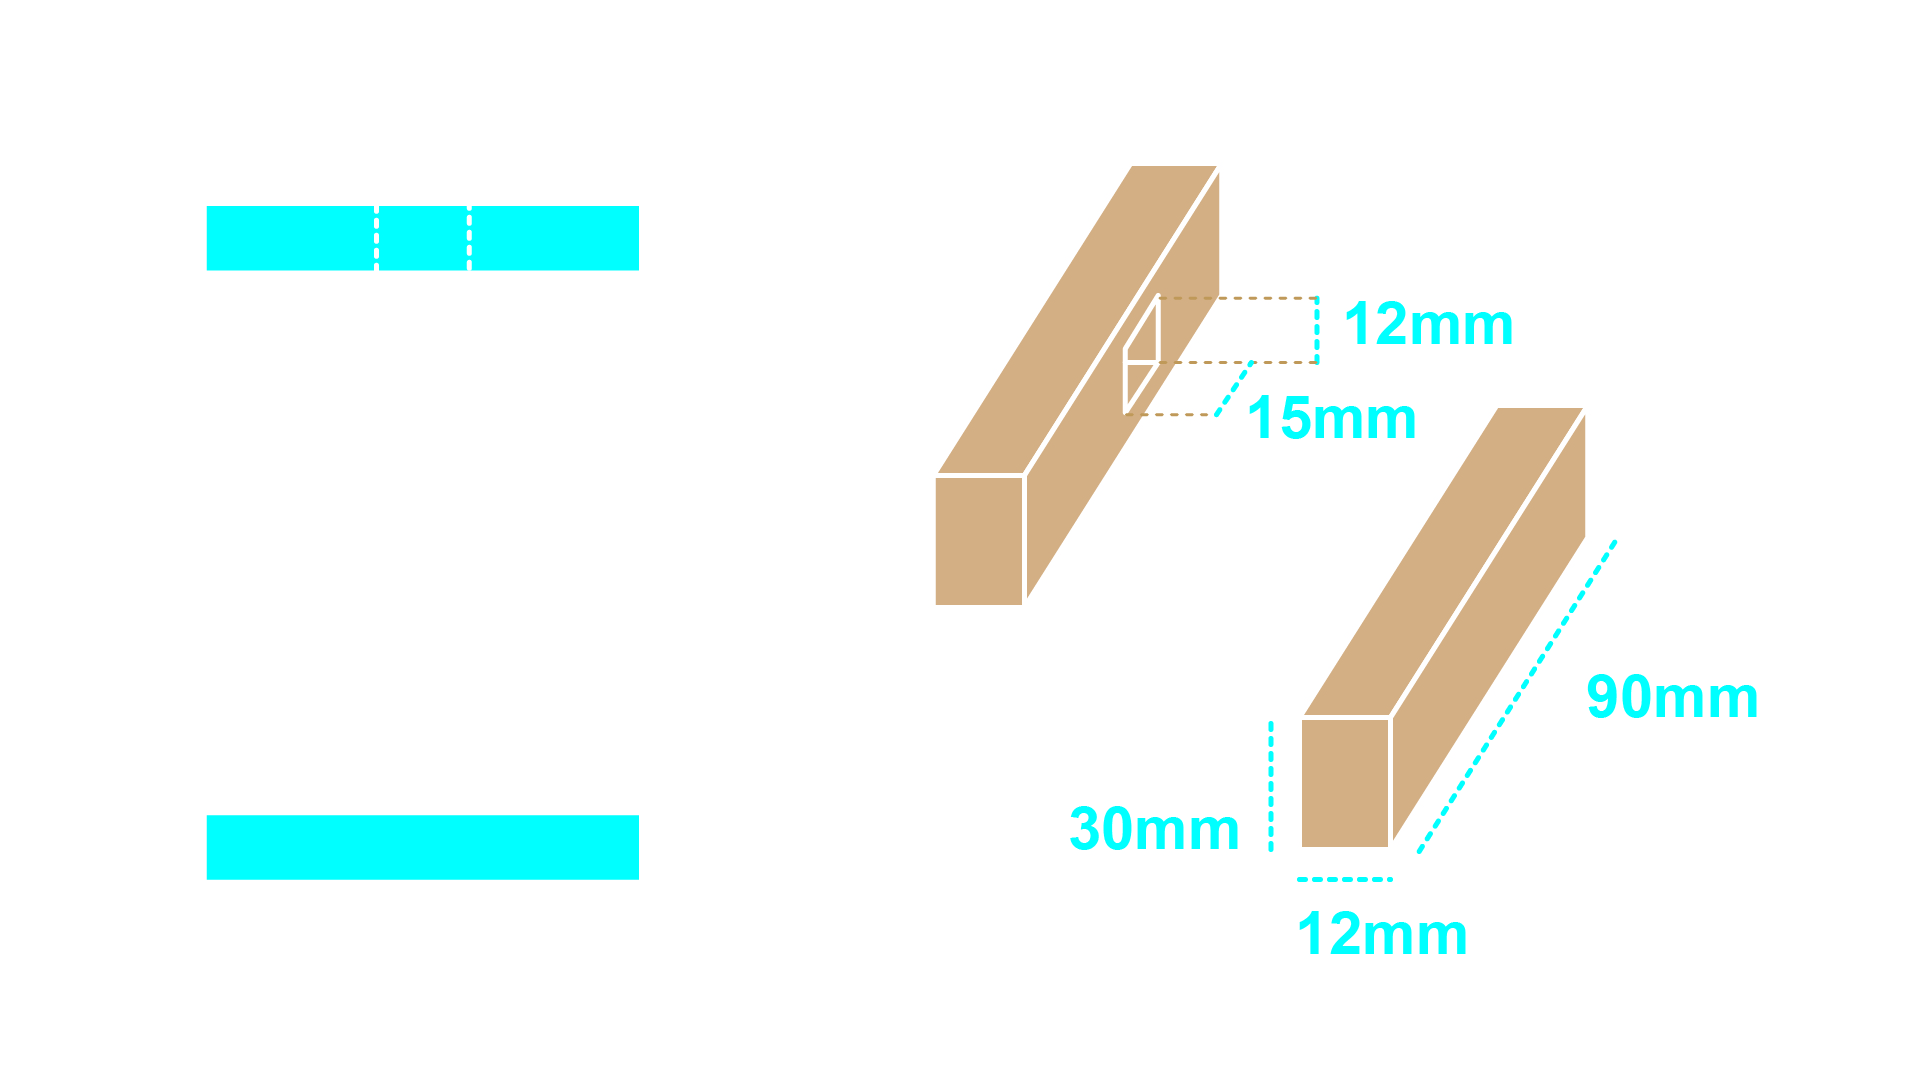
World's first [incandescent lightbulb] type of Arduino KotatsuThis kotatsu is the world's first [incandescent light bulb type] of the kind we made. Strong rubber woods are used, and because we used incandescent bulbs, it has around 50~70 Wh of power consumption which is considerably low-power. Also, the gadget is made out of Arduino, it is easy to make.
SafetyOperation is completely safe because relay switch is applied together. However, being very fastidious people about safety and to prevent any tiniest possibilities of fire, there are couple of built-in safety devices:
- even if Arduino malfunctions, there is a bimetal sensor with physical switch that prevents overheating,-glass-tube fuse to prevent overcurrent.
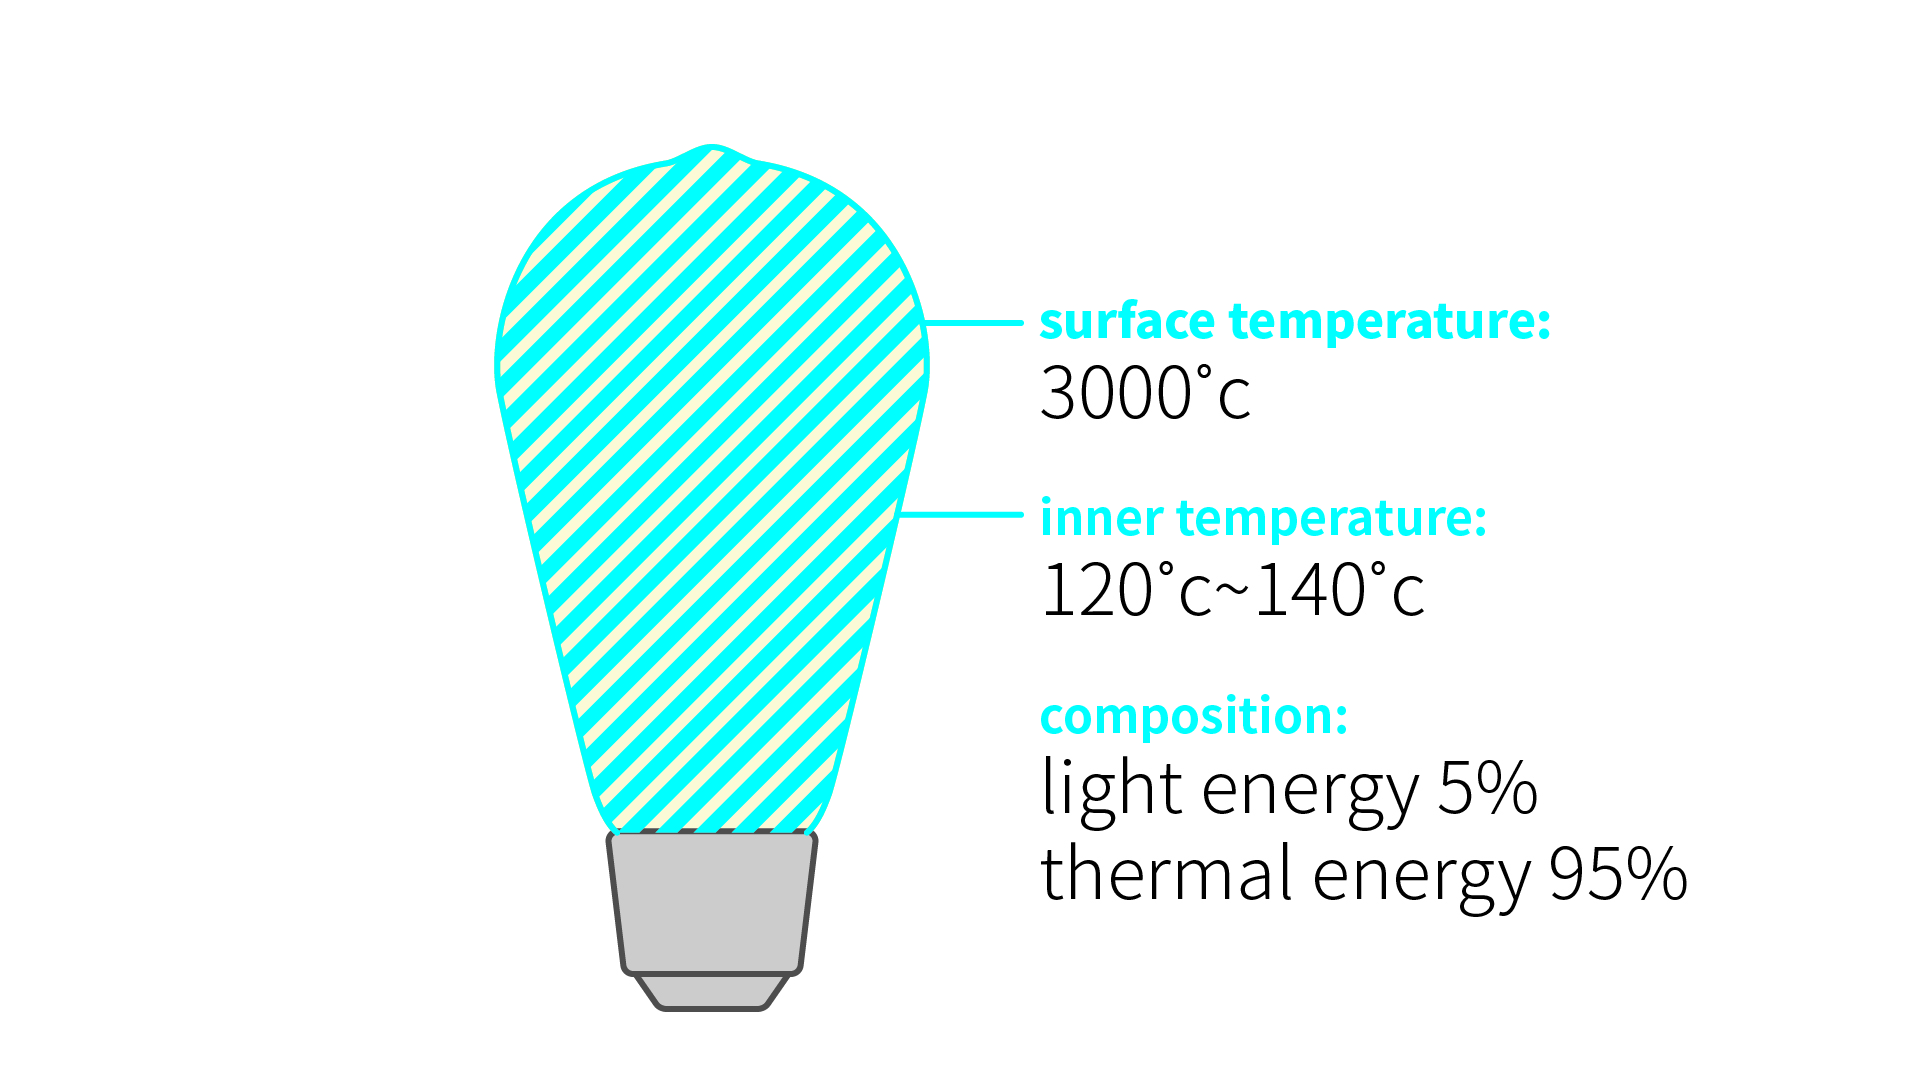
- more than anything, incandescent bulbs are known for its low fire risk. so absolutely no need to worry about fire.
Other uses[Incandescent Lightbulb Arduino Kotatsu] can be useful not only in oriental floor-sitting culture but also in western table-chair-sitting culture. for example it can be also good to apply this in a normal table, or a desk.
We proactively recommend it to use it in cold regions.
Extra adjust with- If the relay switch is too loud, or you want 'softer' warmth, simply adjust the brightness of incandescent bulb with PWM, using SSR. personally we recommend SSR method.
- Later we will upload SSR remodeling episode as well. keep in touch if you are interested!
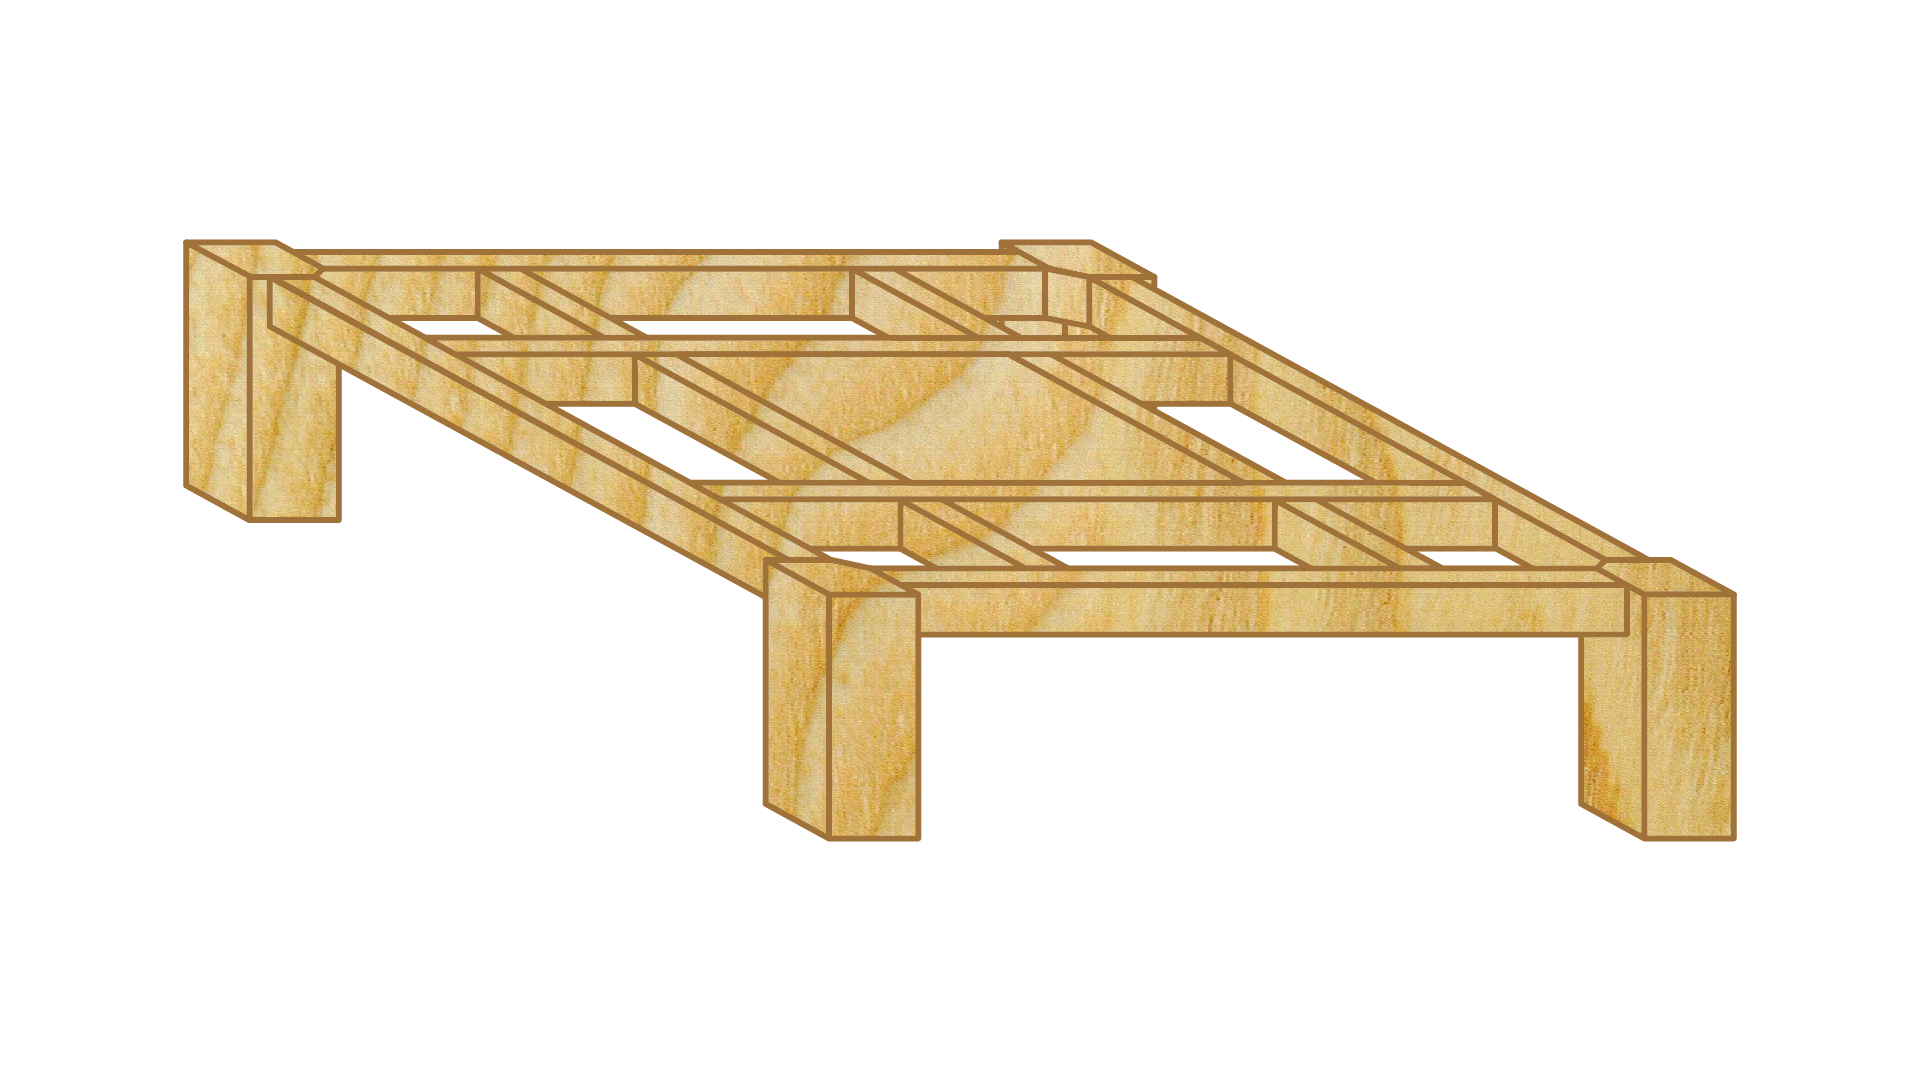
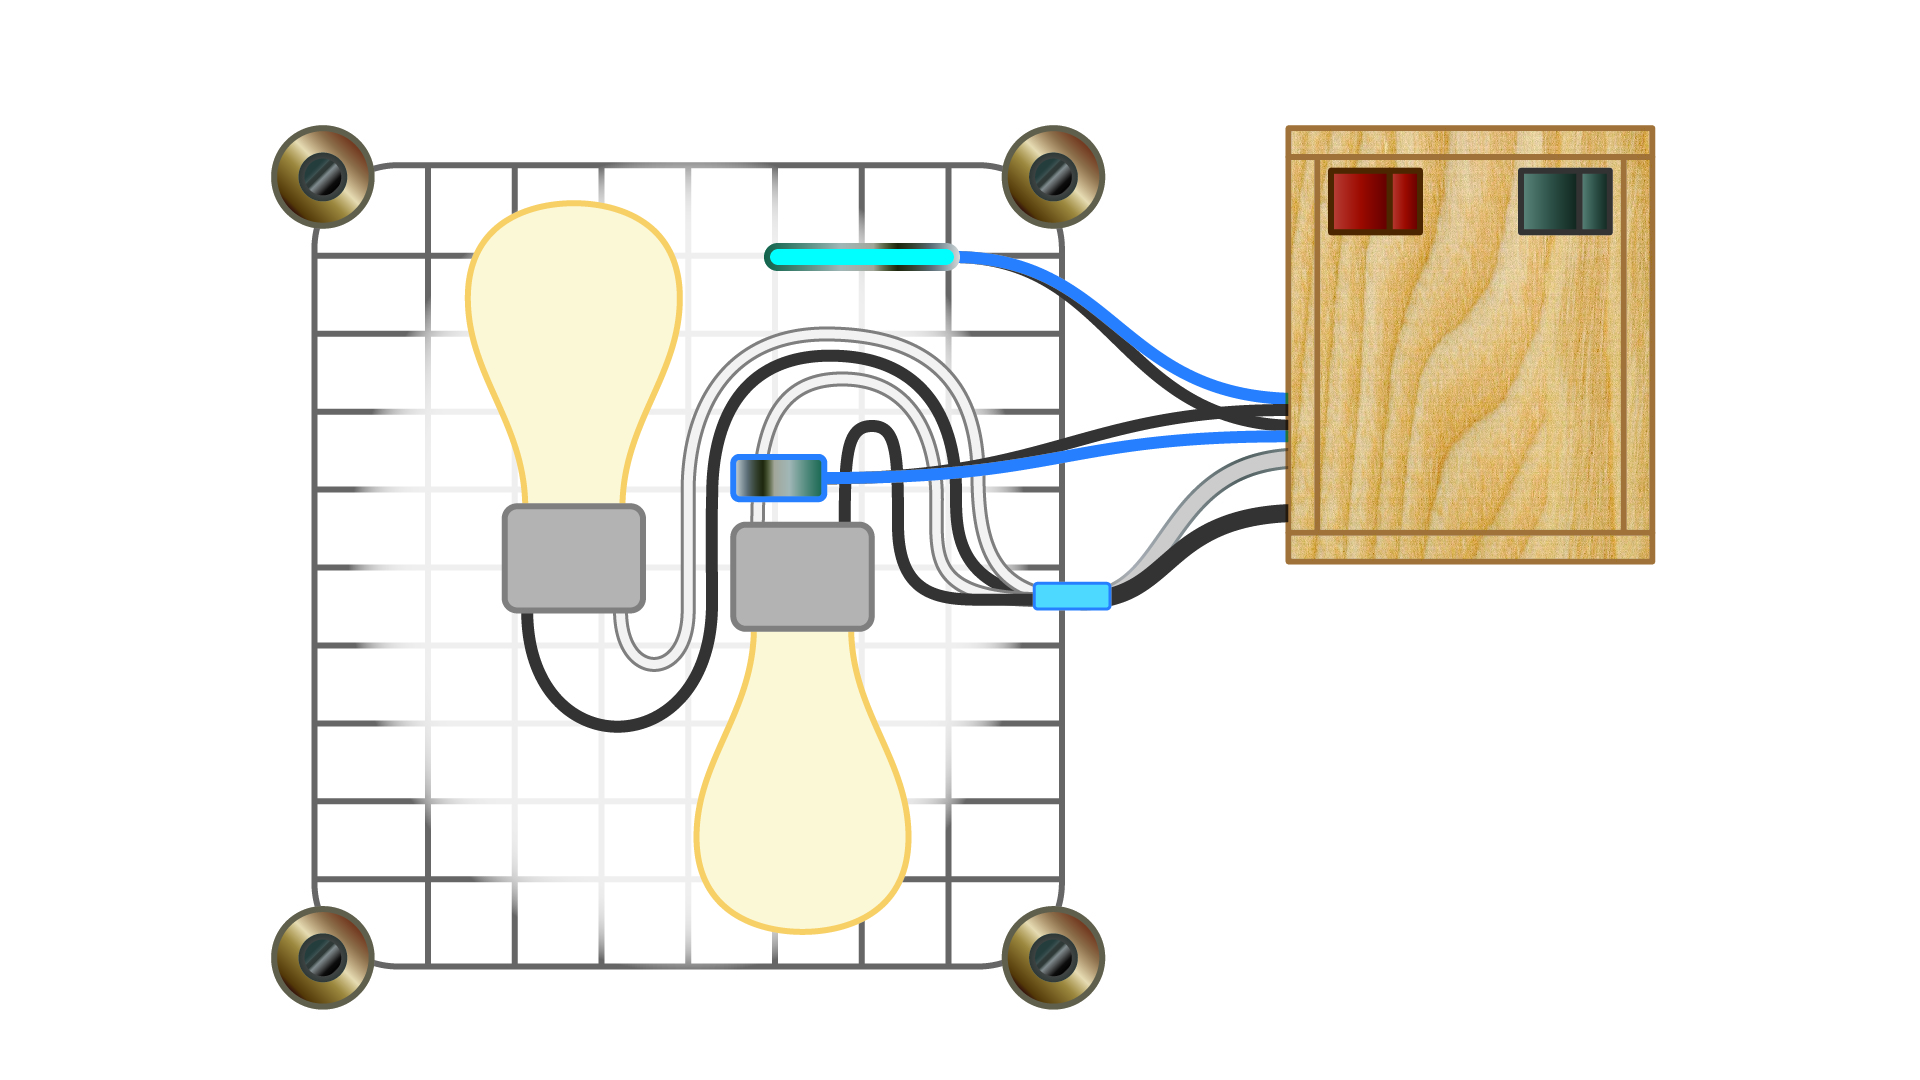
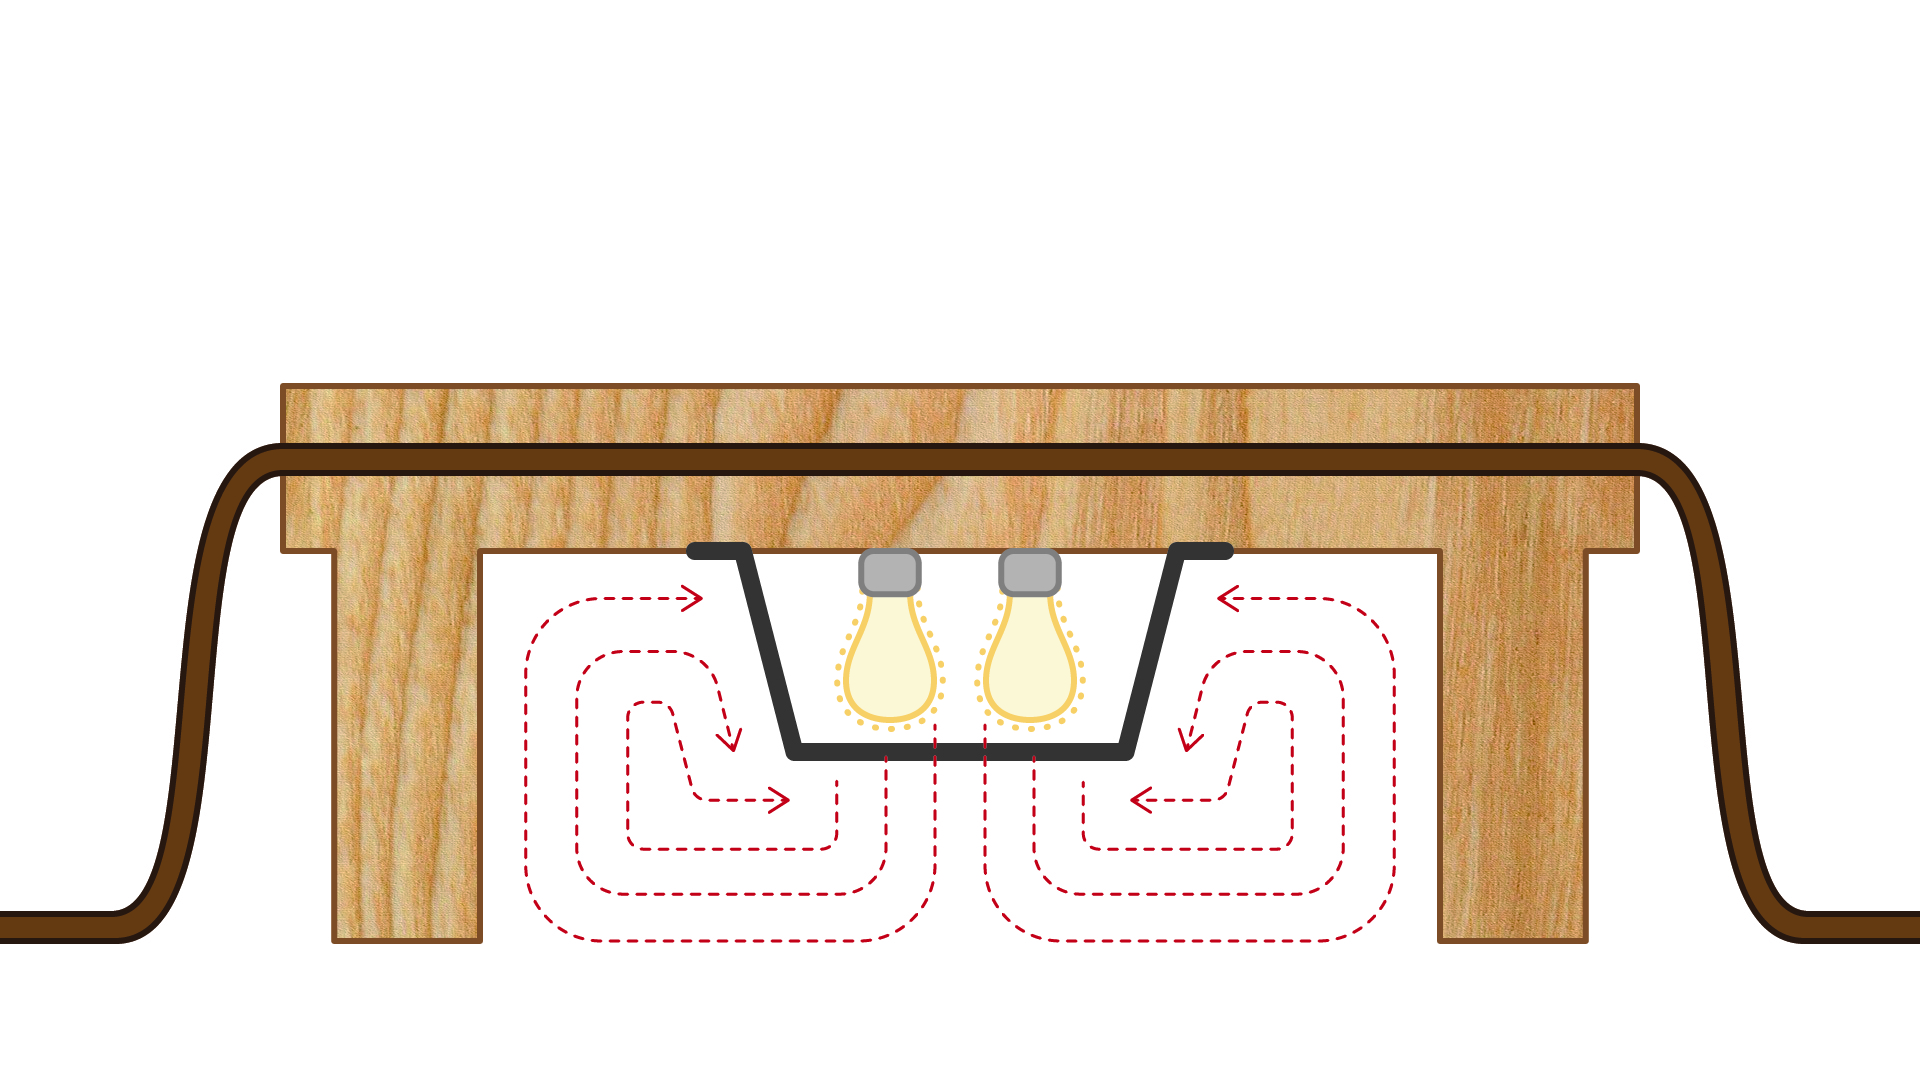
How it worksThe incandescent lightbulb Arduino Kotatsu is a heating appliance, which applied the idea of heat convection principle.
Think blanket (futon) is placed on the table, and on there top plate is attached. then the internally-generated-heat maintains sustained warmth, which allows it to operate with low power consumption.


Comments
Please log in or sign up to comment.