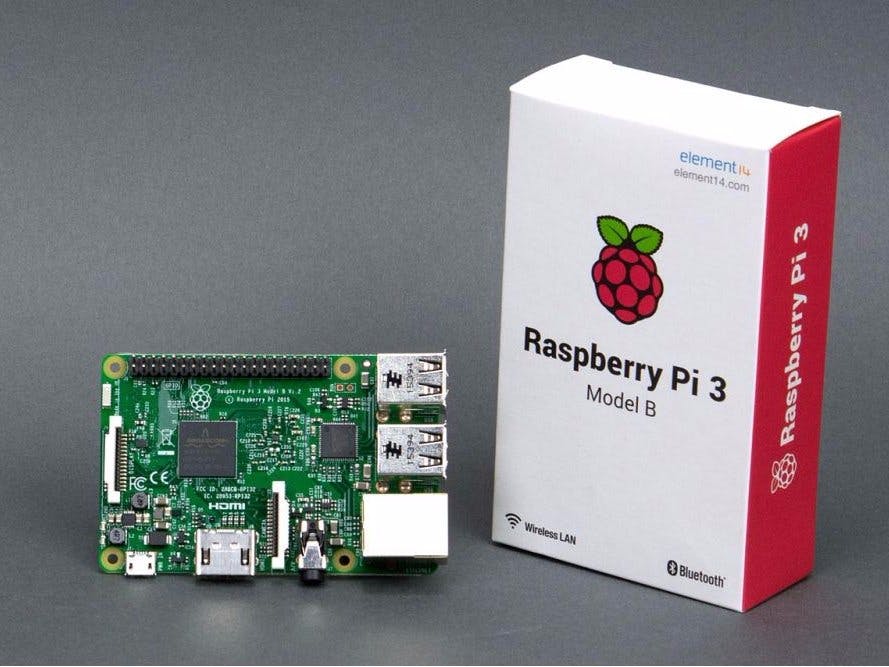
Today, we will see together how you can create your own PC with acceptable performance at a low price, based on the raspberry pi, and for a budget of less than $100.
For most users this computer will be very sufficient, because we will take the most powerful raspberry pi, namely the raspberry pi 3 (which also has the advantage of having Wi-Fi and Bluetooth).
The desktop we are creating is therefore adapted to the following tasks:
· Conventional office processing (document writing, creation of slideshows, sending of mails, etc.)
· A basic multimedia use (watching / retouching photos, watching movies, browsing the internet)
· Learn programming (web programming or other, see initiation for children with Scratch)
Pick up the supplies required :
· Raspberry Pi 3 Model B
· HDMI cable
· USB mouse / keyboard
· SD card
· 2 Amp USB power supply
1. Preparing Your SD Card for the Raspberry Pi
The SD card contains the Raspberry Pi’s operating system (the OS is the
software that makes it work, like Windows on a PC or OSX on a Mac). This is very different from most computers and it is what many people find the most daunting part of setting up their Raspberry Pi. It is actually very straightforward— just different!
Features of SD card:
· Minimum size 8Gb; class 10 (the class indicates how fast the card is).
· We recommend using branded SD cards as they are more reliable.
2. Installing the Raspberry Pi Operating System
The following instructions are for Windows users. Linux and Mac users can find instructions at www.raspberrypi.org/downloads
1. Download the Raspberry Pi operating system
The recommended OS is called Raspbian. Download it here: https://www.raspberrypi.org/downloads/raspbian/
2. Unzip the file that you just downloaded
a) Right click on the file and choose “Extract all”.
b) Follow the instructions—you will end up with a file ending in .img This .img file can only be written to your SD card by special disk imaging software, so…
3. Download the Win32DiskImager software
a) Download win32diskimager-binary.zip (currently version 0.7) from: https://launchpad.net/win32-image-writer/+download
b) Unzip it in the same way you did the Raspbian .zip file
c) You now have a new folder called win32diskimager-binary.
You are now ready to write the Raspbian image to your SD card.
4. Writing Raspbian to the SD card
a) Plug your SD card into your PC
b) In the folder you made in step 3(b), run the file named Win32DiskImager.exe (in Windows Vista, 7 and 8 we recommend that you right-click this file and choose “Run as administrator”).
c) If the SD card (Device) you are using isn’t found automatically then click on the drop down box and select it
d) In the Image File box, choose the Raspbian .img file that you downloaded
e) Click Write
f) After a few minutes you will have an SD card that you can use in your Raspberry Pi


Comments
Please log in or sign up to comment.