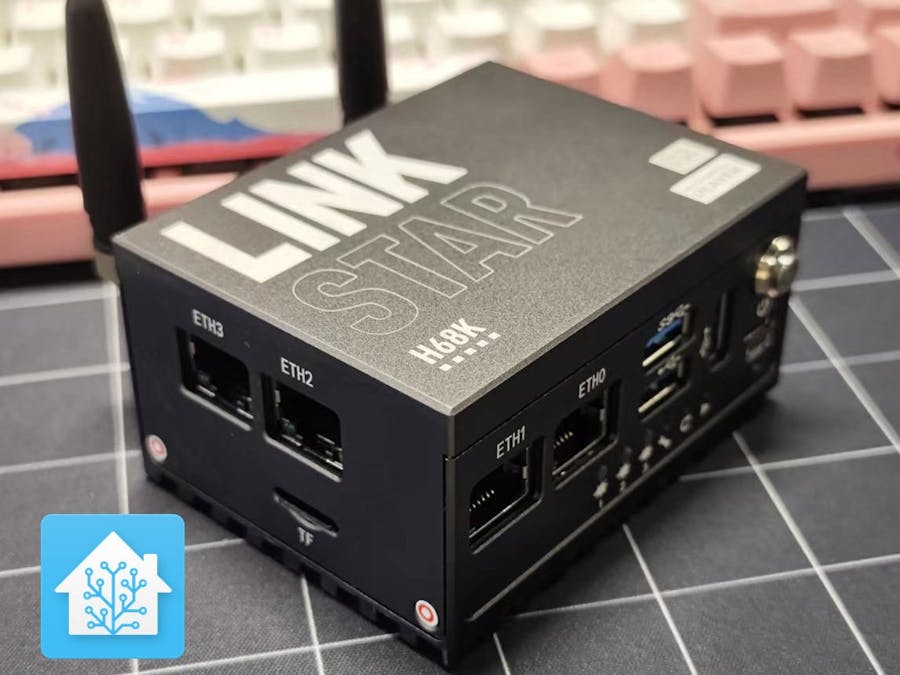
Home Assistant is the popular home automation control platform. Since HA needs to be online 7x24 hours, running on devices that are always on will be a good choice. The reRouter and H68K soft router from Seeed Studio support OpenWRT and Docker, so you can easily deploy Home Assistant and keep it stable online for a long time. That's my perfect device for Home Assistant. In this guide, we will use H68K to show you how it works, it also works for Seeed reRouter.
Step1: Flash the right OpenWRT image support Docker- 1.1 Download the OpenWRT image for H68K with Docker.
https://drive.google.com/file/d/1IpScOfmj_hXmF0mnUiyzs6qjwVvzHru2/view?usp=sharing
- 1.2 Flash the image to a TF card
Insert a TF card to your computer and use Flash tool such as balenaEtcher to falsh
the image.
Click 'Flash from file'
Select the image you just download.
Select target TF card
Click flash -- Done
2.1 When the flashing is done, remove the TF card from the computer and install it into the TF card slot of H68K.
2.2 Connect H68K to computer and router with network cable.
By default, ETH0 works as WAN port to connect to the Router or switch, while ETH1/2/3 is LAN port to connect to your computer.
2.3 Login the backend of H68K
Check the ip address of H68K. Tap `win` + ` R ` key to open the Run of windows. Tap `cmd` to enter the terminal.
Use the command line
ipconfig -allto get the ip address of H68K.
To find the Default Gateway address which is the ip of H68K. In my case it's
192.168.100.1Enter the above ip address in your Browser to login the backend of OpenWRT.
The default username
root while the default password is
password3.1 First attempt to install Home Assistant
Click Docker, choose Image.
Enter
homeassistant/home-assistant:latestThen click 'PULL' button
It will download the Home Assistant image. However, it will pop up a warning window:
No space left on device. First attempt failed.
3.2 Enlarge the space
The good news is that OpenWRT OS allows you to freely allocate the space size for Docker.
Click `System--> Disk Man`
Drag the progress bar and click the `EDIT` button
In the last line, write the size of the storage space to be added in the END SECTOR column. In my case, it's `+20G`. Then click `NEW` button.
Choose the `ext4` format, then click `FORMAT` button.
When it is done, you'll see a new 20GB space is added. However, it's a free space now, you need to mount it to the Docker
Then choose `System-->Mount Points`, find `Mount Point` section, click `ADD` button.
Choose the new space you've just created (You can judge by size, for example here I am using 20G = 20, 000M of space).
Choose the Mount Point `Use as Docker data (/opt)`. Don't forget to check the checkbox `Enable this mount`, then click `SAVE & APPLY` button.
All settings for the expansion are complete, just need to reboot to make it valid.
Choose `System-->Reboot`, click the `PERFORM REBOOT` button. Wait for OpenWRT to reboot and login again.
3.3 Correctly Install Home Assistant
The same as 3.1, Click Docker, choose Image.
Enter
homeassistant/home-assistant:latestThen click 'PULL' button. After a while, you can find the Home Assistant image is downloaded in the image overview section.
Choose `Docker-->Containers`, click `ADD` button.
Full in as follow:
Container Name
Home-AssistantDocker Image, drop down to select
homeassistant/home-assistant:latestNetwork, drop down to select
host|hostEnviromental Variable(-e), According to your time zone.
Scroll down to the bottom and click on the 'SUBMIT' button
Check the Home Assistant, click the `STAR` button
Now enter the ip of H68K in the browser, add the port of Home Assistant to login the backend of Home Assistant. The port number is `8123`. In my case:
192.168.100.1:8123All done, enjoy!
Step4. Following upPlease refer to MARK B's article "How to use Home Assistant with a Seeed Mini Router" for the detailed setup of Home Assistant.


Comments
Please log in or sign up to comment.