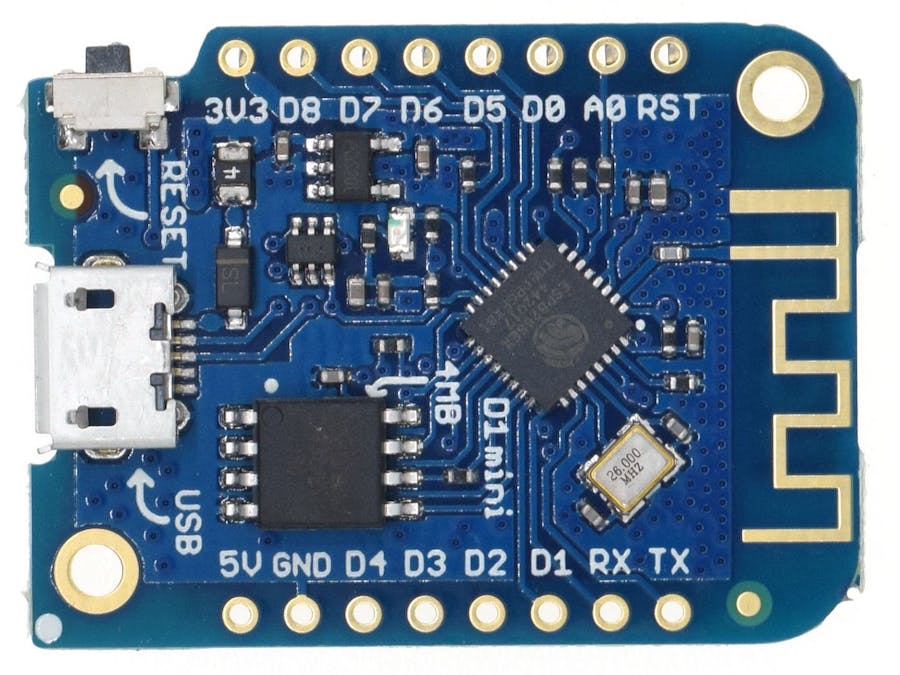
By reading this project, I hope you can more easy to program your wemos d1 mini or the other board based on esp8266.In this tutorial, I made the code based on the sample skecth "basic OTA" for more easy to use and easy to add new programs.
We will able to run the wemos d1 mini in two cases.
Case 1: wemos will run in debug mode, that we can program it with OTA programming. (Here, we need to make an Access Point or just tather wifi by phone with SSID: "debugmode" and password: "debugmode")
Case 2: wemos will run the program that we want. (the program that you want to run normally)
So, if you want to program (after using this code) using OTA method, just make an SSID and password required for debugmode before wemos turning on.
Without SSID and password required above, it will run normally your sketch as usual program.
Here it goes!
Hardware:· wemos d1 mini esp8266
· A computer installed Arduino IDE to write the sketch
How to make it:
1. Open Arduino IDE on computer or laptop and open this file
“BasicOTA_debug_mode.ino”
2. Plug the USB cable of wemos d1 mini and upload the sketch to the correct port. Wait the process until “done uploading”.
3. Open Serial monitor to check that the sketch have been running.
4. If there is a ssid and password “debugmode”, ”debugmode” then it will run in debug mode shown by blinking led quickly. (wifi must turned on before wemos starting up).
5. If ssid and password “debugmode”, ”debugmode” is not exist, then it will run the normal sketc without entering debug mode,


Comments
Please log in or sign up to comment.