

"Oh My God, my key chain is just a trouble! "… "Can I have my keys organized neatly? "…
If you have these questions, you just need this blog - to make an army key!
No further ado, let's begin!
Step 1: Preparations
Several keys
2 * Thigh plates of the SunFounder Crawling Quad Robot [1]
Several washers [2]
2 x M3*30 screws (or M2, length depending on how thick the keys)
? * M3 (or M2 if M2 screws) nuts (? >= number of keys + 1)
1 * Thick & Hard cardboard
1 * Screwdriver
1 * Knife
1 * Pencil
Step 2: Insert the Screws Through One Thigh
Since I use the round-head M3 screws (5.5mm head), it sinks through the hole on the thigh plate. So I use two washers.
Tips: Here I use some acrylic washers. If you don't have these, you can make them with a thick cardboard or cuttable plastic board [2]. Then cut the board based on the holes' size on the thigh and the keys.
Step 3: Put a Key on One Screw and a Wash on the Other
It doesn't matter whether to put which on which. But remember the washer should be almost as thick as the key.
Step 4: Put More Keys in the Same Way
Place a key and a washer alternately into both screws.
Note: When placing the key, pay attention to the hole on the key and the washer's size.
Tips: Keys into one screw should be nearly as thick as those into the other, which would make it most convenient to rotate out the keys on two sides.
Step 5: Place the Other Thigh Plate Onside
After putting the thigh, fix them with two M3 nuts. Remember to screw a little first, and arrange the keys and washers well - one key on a screw, one washer on the other in a same level.
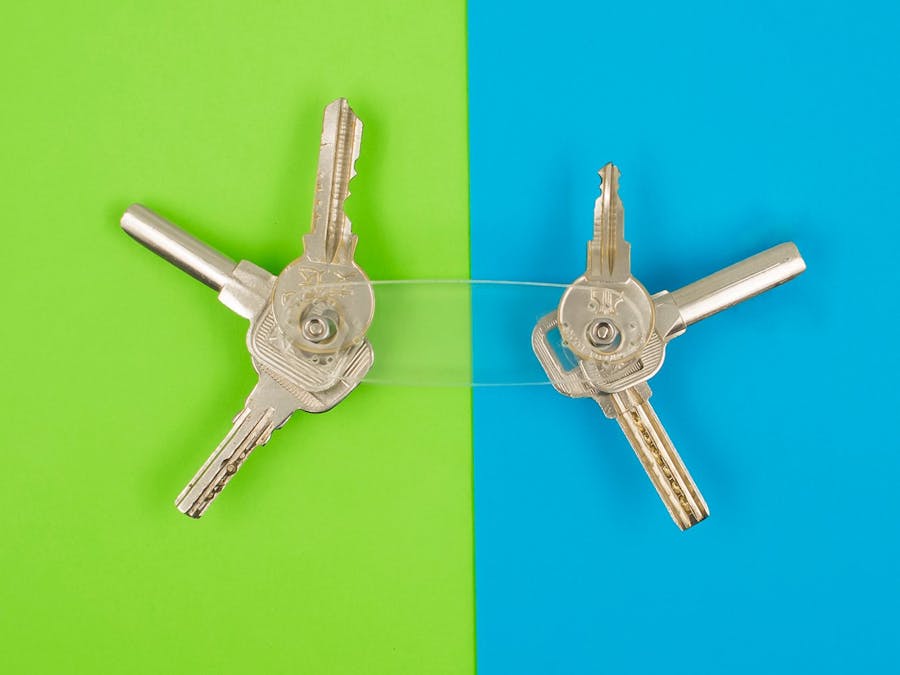
Step 6: Done!
Good job to myself! :D
Step 7: P.S. [1]: How to Make These Two Cover Boards If I Don't Have the SunFounder Robot's Thigh?
Prepare a hard and thick board - better use wood, plastic, polystyrene (EPS) board, or other materials than paper in case of getting wet and soft. Or if you have access to a 3D-printer, you make design and make one. If you really need to use paper cardboards, find one with water-proof film.
I've uploaded a file for this thigh plate and you can download the photo to draw/print your own.
- I just happen to have a disused box and I've printed the thigh plate on a piece of paper (plate in actual size: 73*21mm).
- Cut the plate's shape out and press it on the box board.
- Draw along the outline and cut it out.
- Pay attention to the holes at two ends - you can drill or punch a hole with a drill or knife or just a screwdriver, and the diameter would depend on the screw size you use.
Step 8: P.S. [2]: How to Cut the Cardboard for Washer?
Put the key onto the card, mark the edge with pencil. Cut the washer out based on the mark. Drill/Cut a hole in the middle, diameter a little larger than the screw size 3mm.
Cut more for sufficient thickness.
P.P.S.:Thanks for our customer Seth C who had uploaded his works http://imgur.com/xHbfE2E on our Forum. Thus we are inspired to make this project for all of you. Enjoy!
Comments
Please log in or sign up to comment.