


Hardware components | ||||||
 |
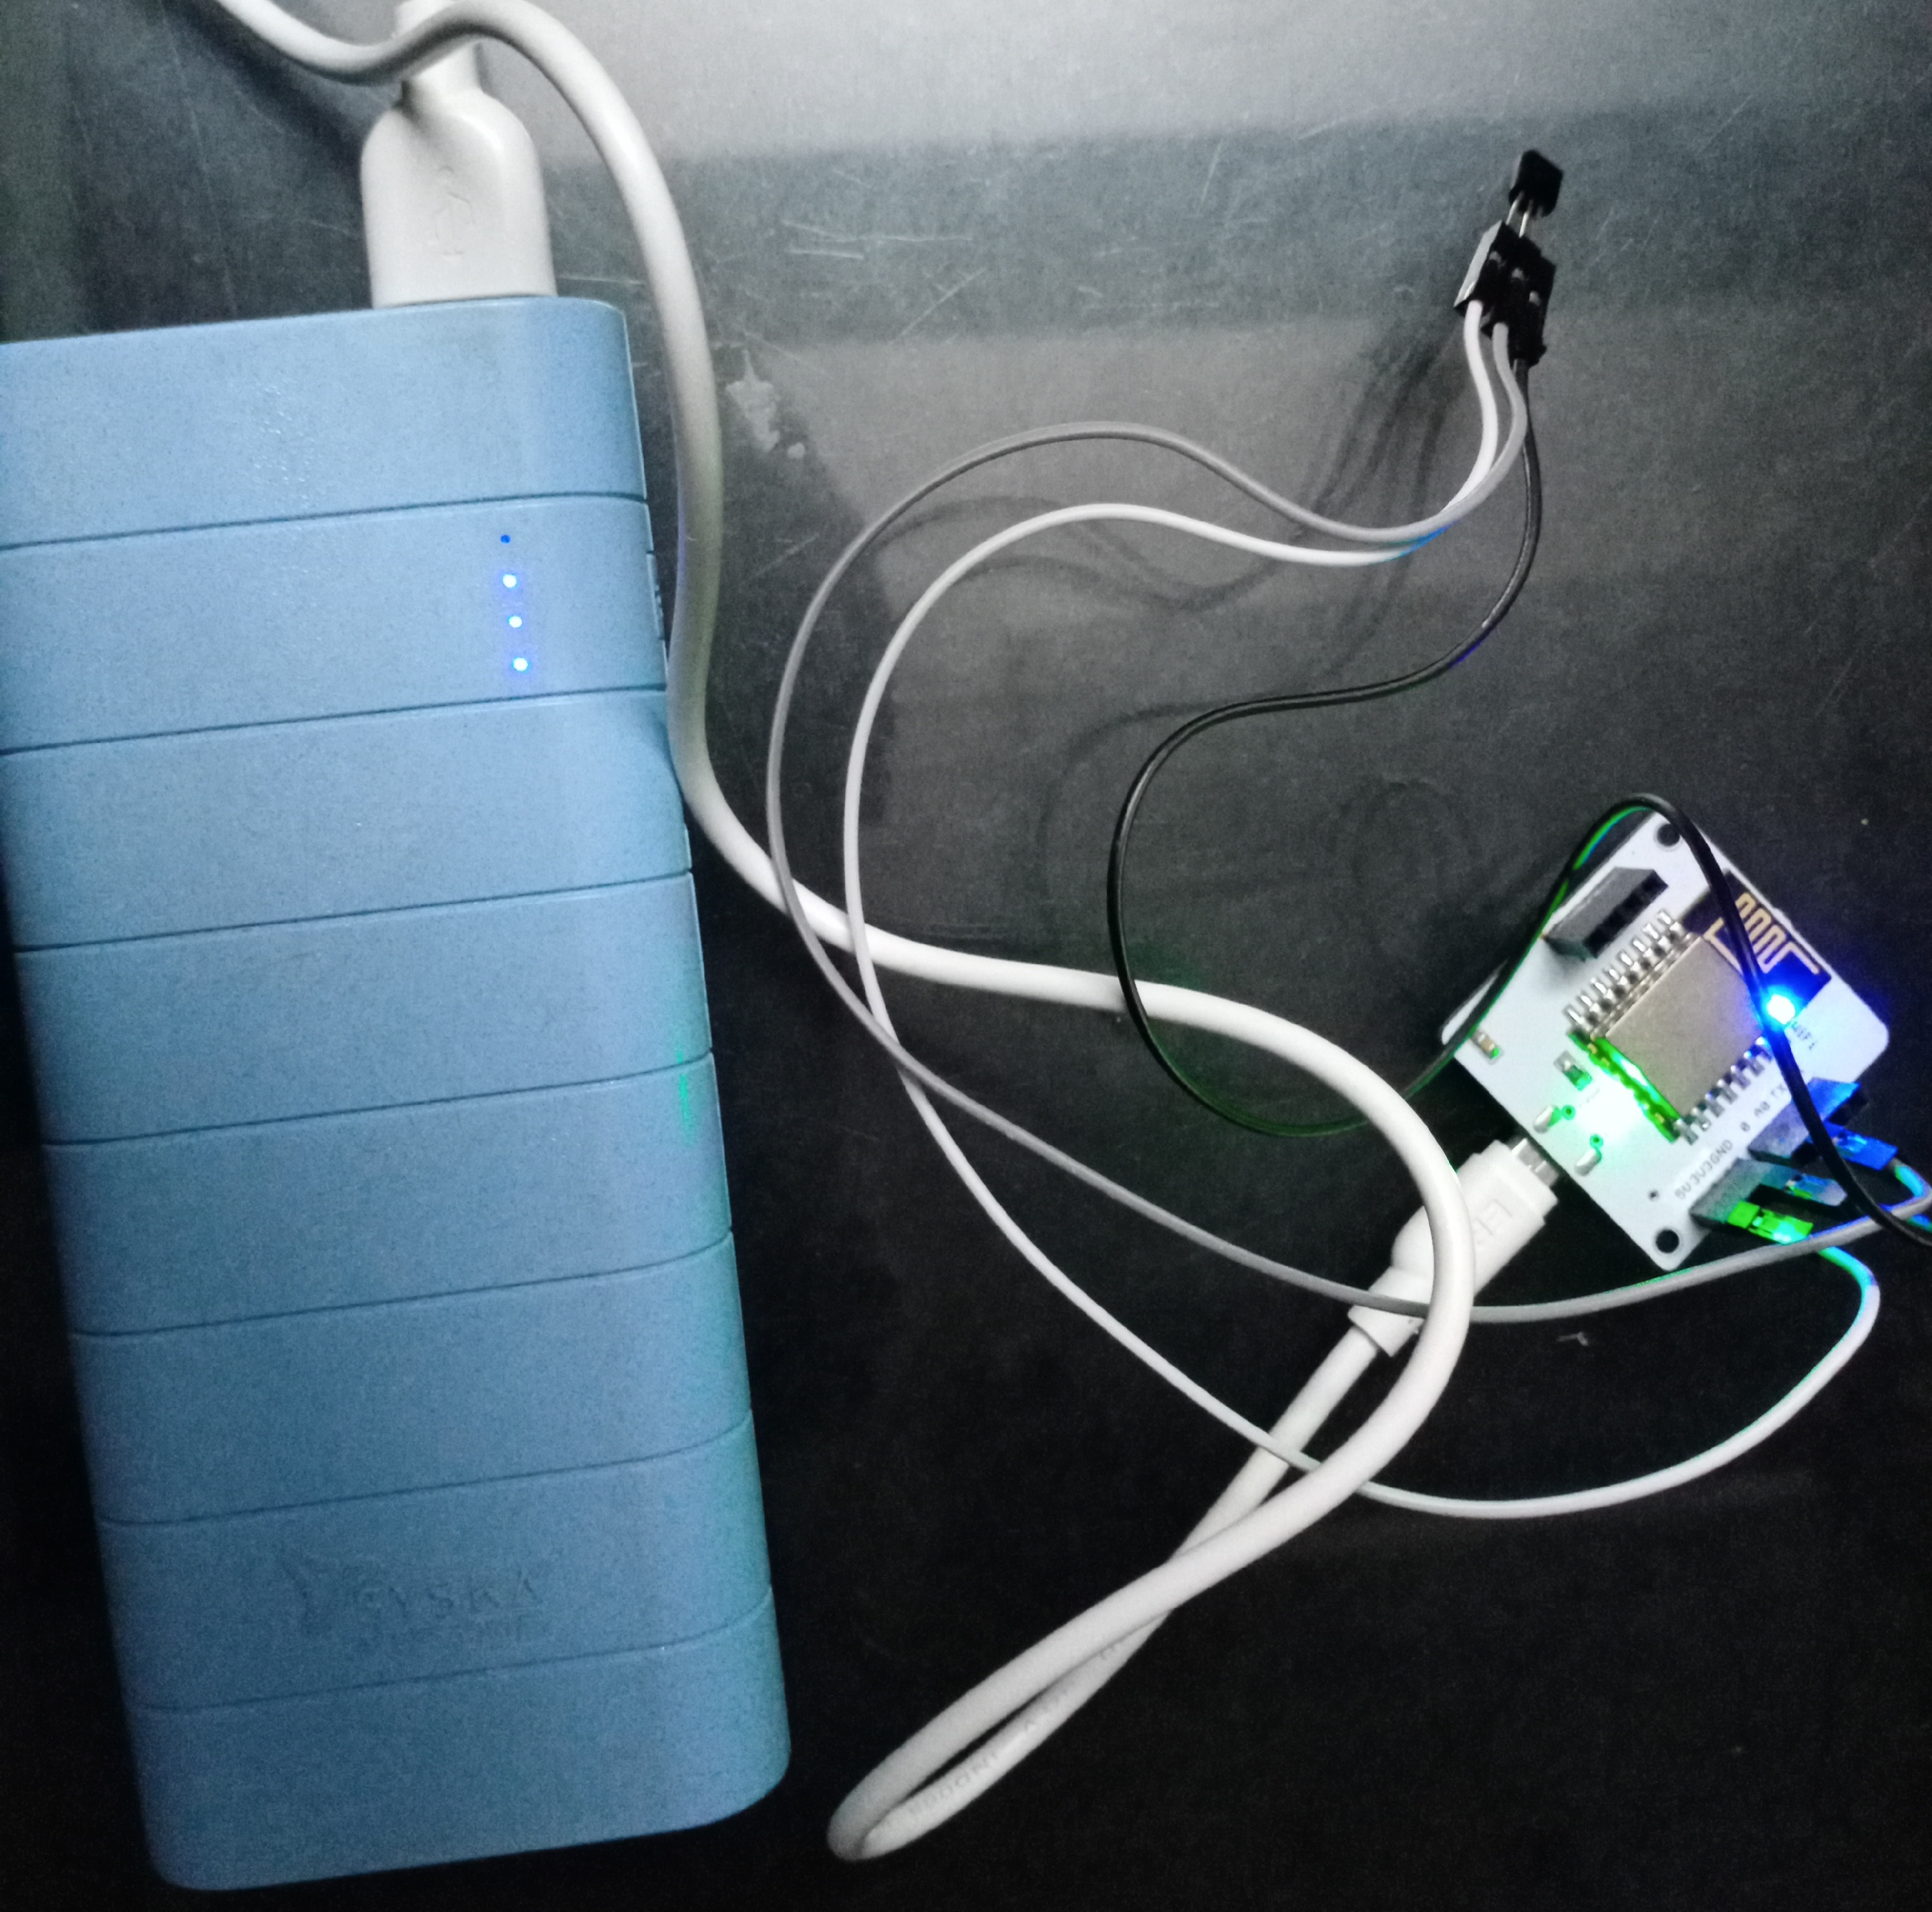
| × | 1 | |||
 |
| × | 1 | |||
 |
| × | 1 | |||
 |
| × | 1 | |||
| × | 1 | ||||
Software apps and online services | ||||||
 |
| |||||
| ||||||
 |
| |||||
| ||||||
| ||||||
We are building this project to detect an anomaly whenever someone opens the fridge. This would help the industry owners to keep a track of temperature ranges. Like in the given example we saw that Mr. Nigel has to maintain certain temperature range in order to avoid destroying the tablets.
Let us Start Building this project.
Steps:1)Connecting the LM35 sensor to the BoltStep 1: Hold the sensor in a manner such that you can read LM35 written on it.
Step 2: In this position, identify the pins of the sensor as VCC, Output and Gnd from your left to right.
- VCC pin of the LM35 connects to 5v of the Bolt Wifi module.
- Output pin of the LM35 connects to A0 (Analog input pin) of the Bolt Wifi module.
- Gnd pin of the LM35 connects to the Gnd.
Refer to the image below.
2)Create a product on the Bolt Cloud, to monitor the data from the LM35, and link it to your Bolt
- Go to 'cloud.boltiot.com' and create a new product. While creating the product, choose product type as Input Device and interface type as GPIO. After creating the product, select the recently created product and then click on configure icon.
Refer to the image below
- In the hardware tab, select the radio button next to the A0 pin. Give the pin the name 'temp' and save the configuration using the 'Save' icon.
- Move to the code tab, give the product code the name 'predict', and select the code type as js and write the code as shown in the image below.
- In the products tab, select the product created and then click on the link icon. Select your Bolt device in the popup and then click the 'Done' button.
- Click on 'deploy configuration' button and then the 'view this device' icon to view the page that you have designed.Wait for about 2 hours for the device to upload enough data point to the Cloud. You can then click on the predict button to view the prediction graph based on polynomial regression algorithm.
- In my case the output looks like this
- This would help us predict the minimum and maximum temperarure range(sensor value)
Note: You need a Digital Ocean, Putty, mailgun and twilio account before proceeding. If you don't know about them please refer to 'Interfacing Sensor Over VPS' in the Bolt Iot Training.
4)Open Digital Ocean account and Putty Terminal- Login into your account and create a new folder by writing the following commands.
mkdir Anomaly_Detection;
cd Anomaly_Detection;- Create a configurations file for this project, using the following command.
sudo nano sms_conf.py and sudo nano email_conf.py
- Under 'sudo nano sms_conf.py' write:
SSID = 'You can find SSID in your Twilio Dashboard'
AUTH_TOKEN = 'You can find  on your Twilio Dashboard'
FROM_NUMBER = 'This is the no. generated by Twilio. You can find this on your Twilio Dashboard'
TO_NUMBER = 'This is your number. Make sure you are adding +91 in beginning'
API_KEY = 'This is your Bolt Cloud account API key'
DEVICE_ID = 'This is the ID of your Bolt device'
FRAME_SIZE = 10
MUL_FACTOR = 6- Press cntrl+x and save the file
- Under 'sudo nano email_conf.py' write:
MAILGUN_API_KEY = 'This is the private API key which you can find on your Mailgun Dashboard'
SANDBOX_URL= 'You can find this on your Mailgun Dashboard'
SENDER_EMAIL = 'This would be test@your SANDBOX_URL'
RECIPIENT_EMAIL = 'Enter your Email ID Here'
API_KEY = 'This is your Bolt Cloud account API key'- Press cntrl+x and save the file
- Now create one more file named anomaly_detction.py, using the following command
sudo nano anomaly_detection.py- Here we will start writing the code. I'm attaching the screenshots of my code that one has to write on the terminal
- NOTE: You can refer to 'project 14' in the 'Bolt Iot Training' for the writing python code in the termonal . It is a similar code with only slight changes
- press ctrl+x to save the file
- Run the anomaly detection code using the following command
python3 anomaly_detection.pyThe code will initially start printing the following.
Thankyou!!


Comments