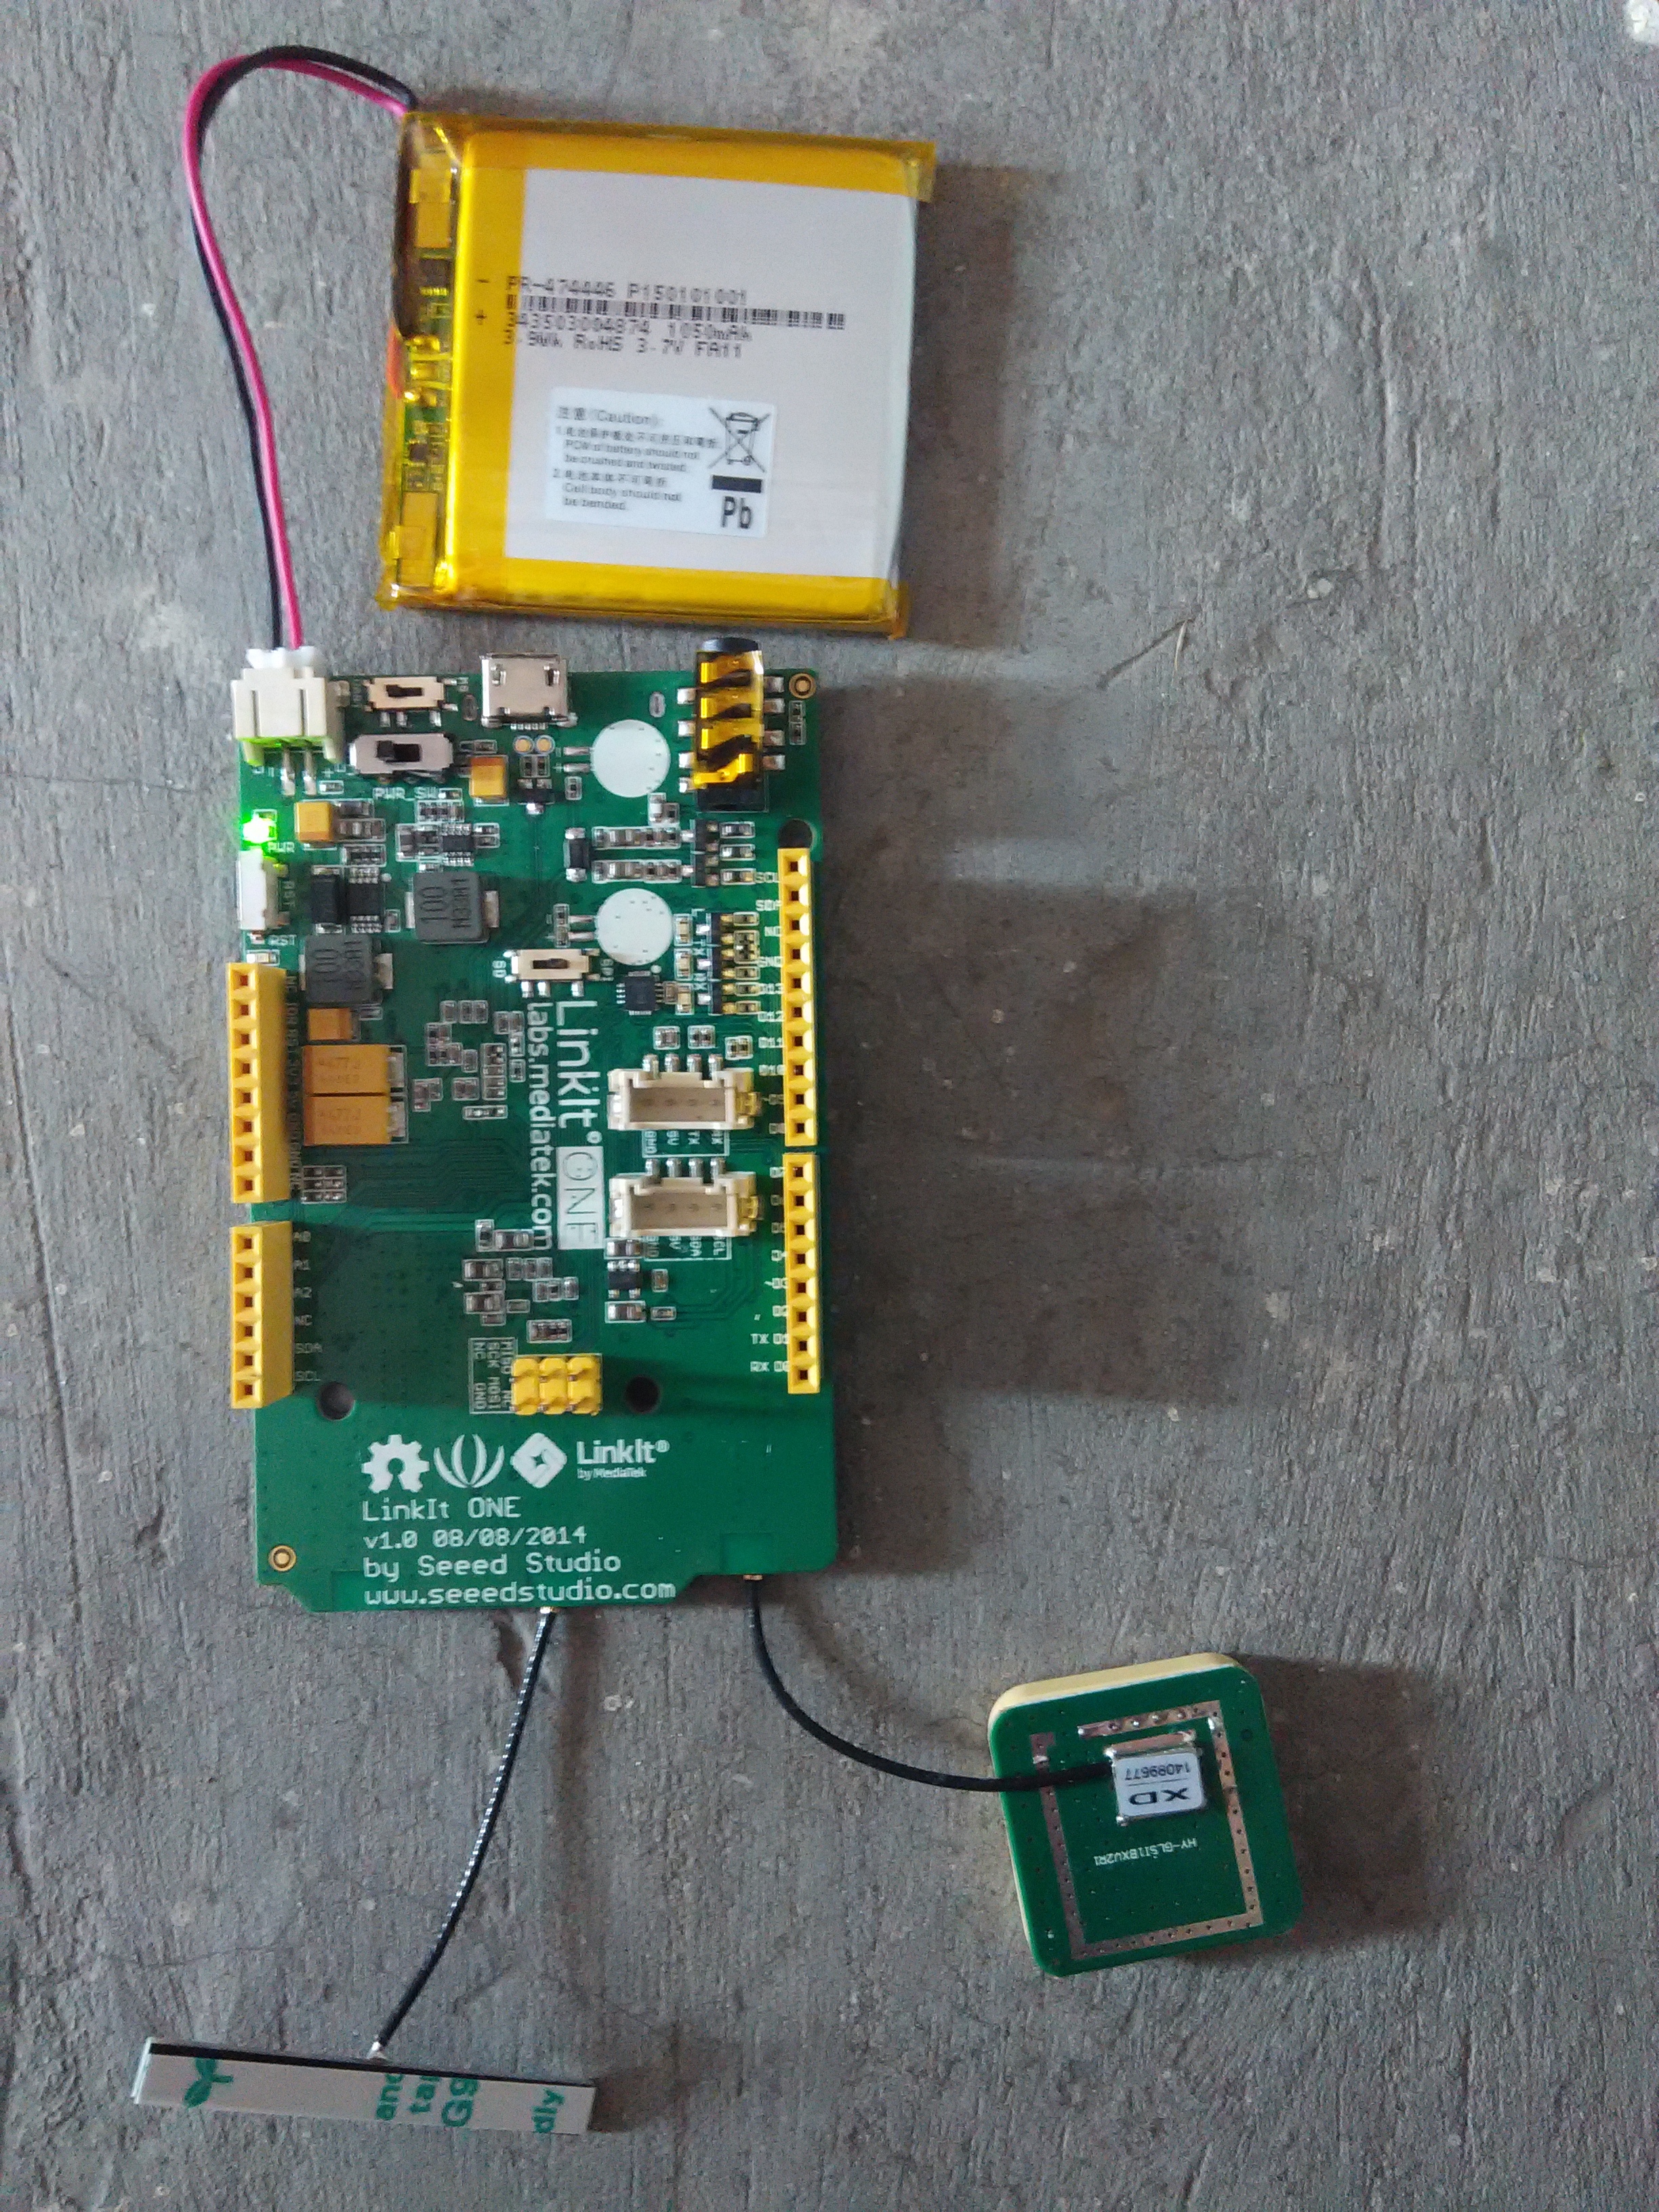
Components used:
- Mediatek Linkit ONE
- 3.7 V Battery
Assemble the components. Attach the GPS antenna to the LinkIt ONE board.
Download the Arduino IDE from https://github.com/Seeed-Studio/LinkIt-ONE-IDE
Install the drivers from the mtk folder in the drivers folder of the Arduino folder. Open Device manager and get the MTK USB Debug COM port to be used to upload the code to the LinkIt ONE.
Configuring the LinkIt ONE GPSOpen the example sketch LGPS in the file dropdown. Upload the sketch on the MTK USB Debug COM port. Switch the port to MTK USB Modem COM port and open the serial monitor to see if the GPS is working perfectly.
Configuring the AWS IOT Service
Download the mbed TLS library for LinkIt ONE from here. Download the AWS IOT services CLI from here.
Install the AWS Iot services CLI. This will help configuring certificates for device recognition and communication with AWS.
Create an AWS user account to setup the CLI. For account creation go to http://aws.amazon.com/ and create an account using the Create an AWS account link. Follow the steps to complete the sign up procedure. For windows we have the MSI installer for the CLI.
Login your aws account and create a new user LinkIt ONE with access keys. For this step go to Security credentials on the dropdown on your username:
Click on get started with IAM users on the message.
Save the User security Credentials.
Open the AWS IoT console and click Create a resource. Click Create a thing and provide a unique name to your device and click create.
Click View Thing to view the created thing details.
Create a policy and attach it to the thing: On the Detail menu in the newly created thing, click Connect a device and select Embedded C. Then, click Generate Certificate and Policy and follow the instructions and download the files for the Private Key and Certificate. Click Confirm and Start Connecting. Select the certificate, and then click Actions, as shown below. Click Attach a policy. Follow the instructions on the screen and confirm the actions. Click Activate to finalize the process. Repeat the process to attach a thing.
Upload the certificates to the Linkit ONE: Switch the board to mass storage and connect the board to the laptop. In the removable disk drive created for the linkit board, copy the certificates you saved in .pem format and the .pem root certificate file. Return the board to UART mode.
Adding the libraries: Copy the libraries from the aws_iot_library and mbedtls folders into your libraries folder. Connect the linkitone to the internet using wifi. Open the aws_paho_shadow.ino sketch. Resolve the hostname for the IP address by running
"ping g.us-east-1.pb.iot.amazonaws.com"
to identify the IP address. Note the IP address in the output and change the variable VMSTR IP_ADDRESS to this IP address in aws_mtk_iot_config.h file. Copy the certificate name copied to LinkIt flash storage into the sketch as:
#define AWS_IOT_ROOT_CA_FILENAME "" //Root CA file name
#define AWS_IOT_CERTIFICATE_FILENAME "" //certificate file name
#define AWS_IOT_PRIVATE_KEY_FILENAME "" // private key
Replace the thing name in the sketch with the one you created.
#define AWS_IOT_MY_THING_NAME "linkit"
Upload the sketch and open the serial monitor to see the device connected to the AWS IoT.


Comments
Please log in or sign up to comment.