


Hardware components | ||||||
 |
| × | 1 | |||
 |
| × | 1 | |||
 |
| × | 1 | |||
| × | 1 | ||||
Software apps and online services | ||||||
 |
| |||||
 |
| |||||
Hand tools and fabrication machines | ||||||
 |
| |||||
So we had these materials lying around...
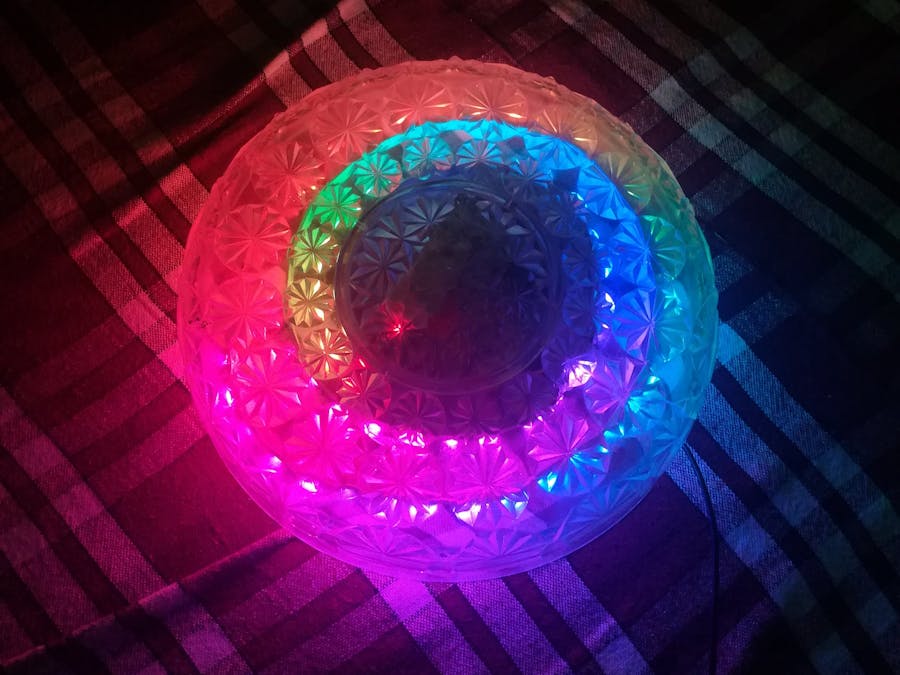
Sometimes you just need a little bit of motivation to make a project. Our motivation being "Dude your wall looks lame!". Then what? We picked up a broken tray, an addressable LED strip, an Arduino Nano and of course, the Bolt WiFi module to create this amazing wall light.
Basic IdeaWe needed to make something to hang on our wall as a blank wall doesn't fit our style. Why settle for a static photo-frame when you can have something that changes patterns at the click of a button? So we used addressable LED's by which we were always fascinated with and we knew the results of using them would be awesome.
Assembling the HardwareConnect the LED strip and Bolt wifi module with Arduino Nano R3. You need to connect the first pin of LED strip to gnd(ground) of Arduino and 2nd to 5V of Arduino and the last one with D3 of Arduino Nano R3.
Lastly, connect the Bolt Wi-Fi module with the Arduino Nano.
Connections:
- Bolt <------> Arduino
- TX -------> RX
- RX --------> TX
- GND <----> GND
Login to cloud.boltiot.com and note the ID of your Bolt WiFi Module. Now click on the API Tab and under the section for Generate Key, click on Enable.
Next click on the copy button to copy your API key. Your API key will may look something like this: f1f918e9-d9c2-4e5b-aed0-b7cb743f74cf
Library UsedTo control LEDs through Arduino we used a library "FastLED".
The ResultDon't know about you, but this definitely looks groovy!


Comments
Please log in or sign up to comment.