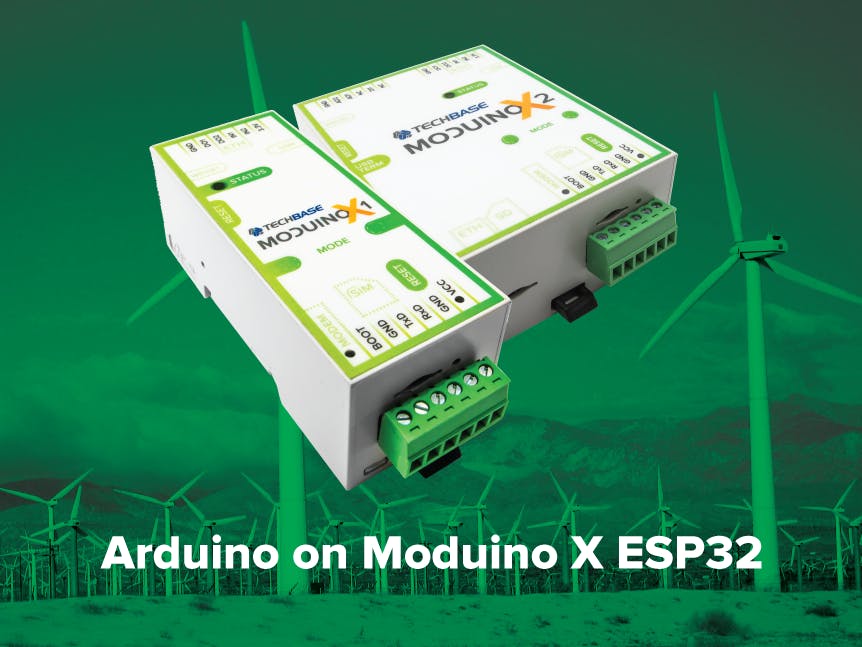
This document describes how to run Arduino examples on Moduino device.
PreparationYou need to prepare environment to program device with arduino code.
- download Arduino IDE for your platform: https://www.arduino.cc/en/Main/Software, install it and run
- add additional board url:
https://dl.espressif.com/dl/package_esp32_index.json
in Preferences → Additional Boards Manager URLs field
- start Board Manager (Tools→Board: xx→Board Manager)
- type ESP32 in seatch box
- install plugin: esp32 by Espressif Systems
- choose ESP32 Wrover Module from Tools→Board xx menu. xx represents currently selected module
- choose Upload speed to 115200 (in Tools menu)
- choose Port to that, you will use (connect USB to COM converter if you don't have COM port in your computer)
After preparing environment you can program Moduino with code for Arduino boards. There is a simple example, which will help you check if everything is set right.
This example sends Hello Moduino string every second to serial port located near power connector (in Terminal 0)
void setup() {
 Serial.begin(115200);
}

void loop() {
 Serial.println("Hello Moduino");
 delay(1000);
}
Put above code to Arduino IDE and compile it (Sketch→Verify/Compile).You should get no errors.
Programming device is similar to flashing Micropython system.Prepare device for flashing/programming:
- connect RS cable to device
- connect NC port (next to GND) with GND
- connect power and reset device with Reset button
When device is connected run Sketch→Upload:
Device is programmed and ready to use after following messages:
Leaving...
Hard resetting via RTS pin...Running a program
After flashing device you can finally run the program.
- run Serial Monitor (Tools→Serial Monitor)
- set baudrate to 115200 in left bottom corner of window
- disconnect NC from GND port and reset the device
- you should receive Hello Moduino messages:


Comments
Please log in or sign up to comment.