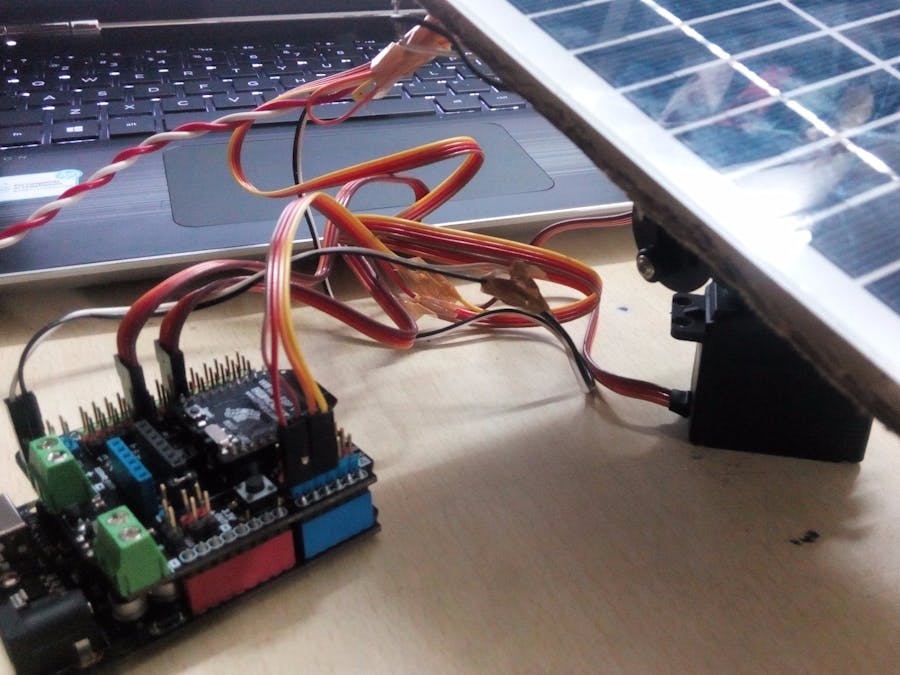
In modern solar tracking systems, the solar panels are fixed on a structure that moves according to the position of the sun.
Let us design a solar tracker using two servo motors, a light sensor consisting of four mini photocells and Arduino UNO board.
Assembly of the Pan Tilt1 / 6
Follow the steps in the images above and assemble the parts.
Remember: Use rubber spacers when using the M1x6.
ConnectionsStack the I/O Expansion Shield on the Arduino.
- Connect lower servo with D9 in shield.
- Connect upper servo with D10 in shield.
- Take +5V and GND to power rails in breadboard.
- Connect +5V in breadboard to each photocell.
- Connect upper left photocell to A0.
- Connect upper right photocell to A1.
- Connect lower right photocell to A2.
- Connect lower left photocell to A3.
- Connect GND terminal of each photocell to GND with 10k Ohm resistor in series.
- Fix the Solar Panel on a cardboard and paste it on the face of upper servo.
- Take out all the wires and give them a play so as to move about 180 degrees.
- Put the system on a stable platform.
- Upload the code and test it with a bright LED or a bulb.
41 projects • 132 followers
Programmer, electronic adept masquerading as Computer Science student. Email for Cooperation/Sponsorships to chauhannaman98@gmail.com


Comments
Please log in or sign up to comment.