1. Smart Home model controlled by Alexa
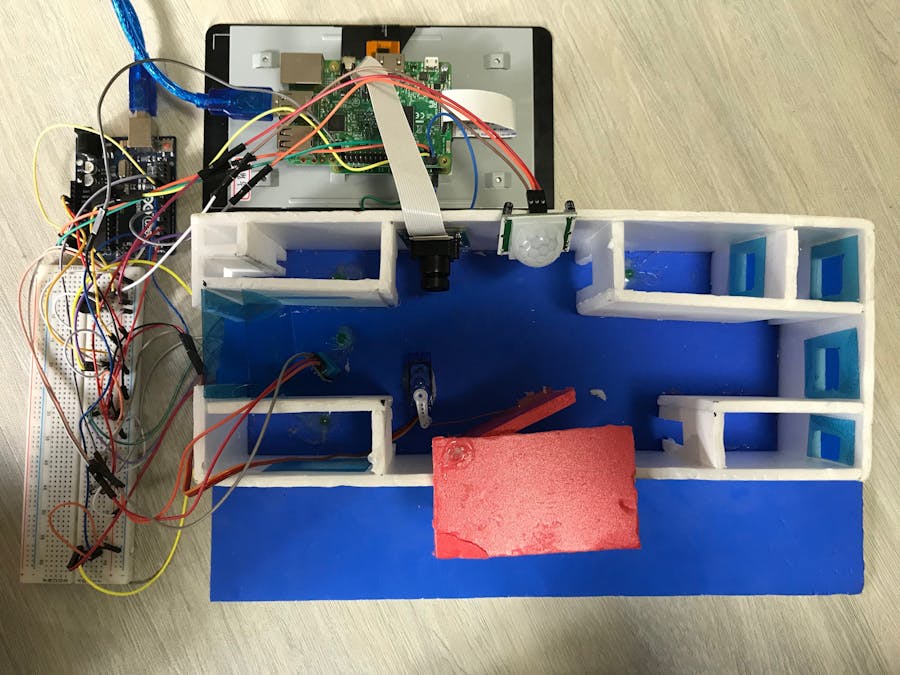
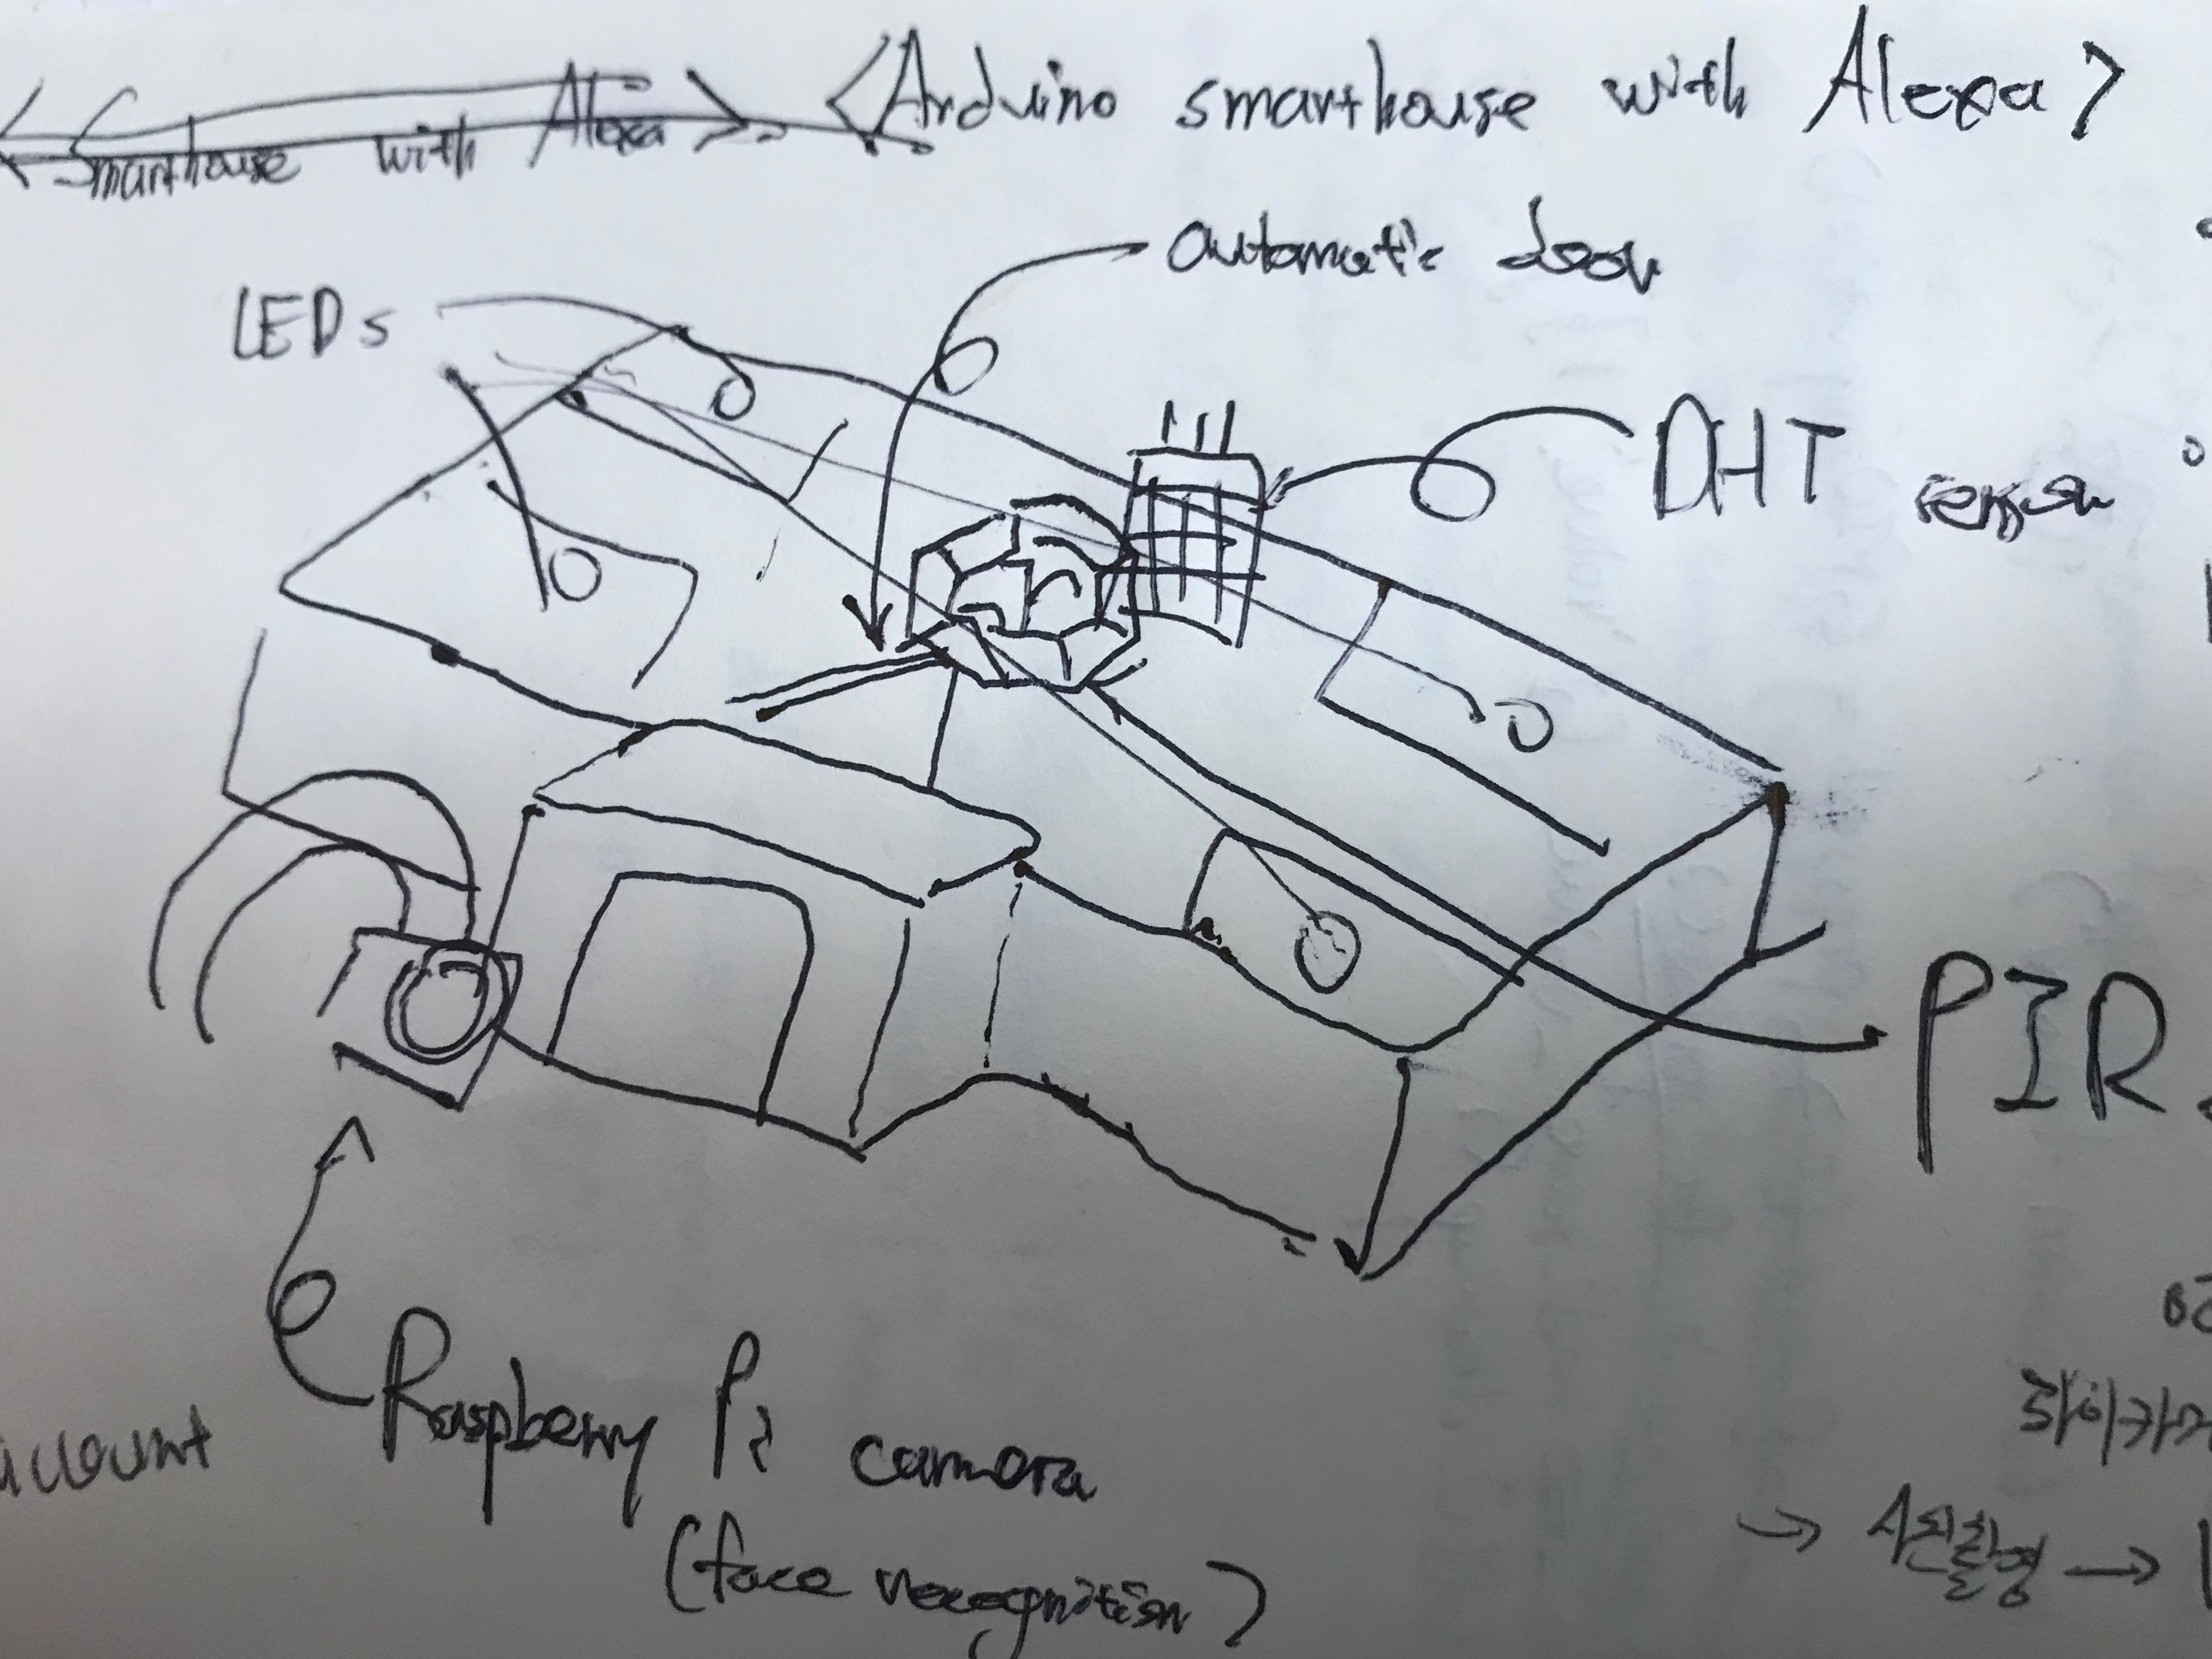
This is the smart home model I've built.
I've decided to make this project because I wanted to design a futuristic home which is made more convenient and relaxing for people through technology.
It has amazing skills such as:
(1) Turning lights on and off
-the four LEDs in the smart home (living room light, kitchen light, bedroom light, bathroom light) can be controlled by saying commands to Alexa. When Alexa hears a command, the Raspberry Pi sends a signal to Arduino via Serial communication and the Arduino activates the LEDs according to the signal. ex) Person: "Alexa, tell smart home living room lights on." Alexa: turns on LED and replies "OK, living room lights are on."
(2) Opening and closing front door
-opening or closing front door by saying commands to Alexa (or smartphone app if you're outside) . When Alexa hears a command, the Raspberry Pi sends a signal to Arduino via Serial communication and the Arduino activates the servo motor according to the signal.
ex) Person: "Alexa, tell smart home open the door." Alexa: opens the door and replies "OK, the door is opened."
(3) Checking the temperature and humidity
- checking the temperature and humidity inside the house when saying commands to Alexa. The data of the temperature and humidity is collected by the DHT11 sensor. When Alexa hears a command, the Raspberry Pi sends a signal to Arduino via Serial communication and the Arduino responds by sending the data of the DHT11 sensor to the Raspberry Pi via I2C communication.
ex) Person: "Alexa, tell smart home what is the temperature?" Alexa: "Temperature is 25 celsius."
(4) Security system
-when someone's in your home after you've activated the security system, the PIR sensor detects the intruder and notifies you by sending a message to your phone and uploading a photo of the intruder on Twitter which was taken by the Picamera module. ex) Person: "Alexa, tell smart home security on." Alexa: "OK, security systems are on." then if someone's in your home smart home sends text message to your phone and uploads a photo of the intruder on Twitter.
(5) Finding your phone
-if your phone's somewhere inside your house but you can't find it, you can activate this Alexa skill which makes the Raspberry Pi call your phone with Plivo API, thus enabling yourself to locate your phone by the sound. ex) Person: "Alexa, tell smart home where is your phone?" Alexa: calls your phone and replies "Here is your phone."
(6) Emergency
-during emergencies such as having a heart attack, you can call 911 by saying a simple command to Alexa. This is also accomplished through Plivo API. ex) Person: "Alexa, tell smart home help!"
Alexa: calls 911 and replies "Calling 911."
(7) SNS X Smart Home
-when you're turning the lights on, opening the door, or asking what the temperature is, smart home uploads your requests on Twitter. That way, you can always know what's going inside your house and whether the lights are on. This is accomplished through Twitter API.
2. Building Smart Home
(1) install the neccessary libraries on Raspberry Pi
open the terminal on your Raspberry Pi and enter the following commands in order to install the neccessary python libraries
- pip3 install flask - pip3 install flask-ask -sudo apt-get install pyserial -sudo pip3 install twython - pip3 install plivo -sudo apt-get install python3-smbus
(2) Write the Python code on Raspberry Pi
open Python 3 IDLE in Raspberry Pi and write the code posted below. Connect the Raspberry Pi with the Arduino with a USB cable. Don't run the code yet, but after you run the code, the Python Shell should look like this.
(3) Run Ngrok
https://ngrok.com/ Go to this website and dowload the zip file on your Raspberry Pi. Unzip the file and go to the directory where the file is on your terminal. Run the following command - ./ngrok http 5000
copy the url (in this case, it's https://4426556f.ngrok.io )
(4) Alexa Skills Kit
https://developer.amazon.com/alexa-skills-kit Go to this website and log in using your Amazon account (if you don't have one, you gotta make one) . Click 'start skill'.
In Skill Information, enter the neccessary information as the picture above. *Invocation Name is the phrase that activates the skill *. Click 'save' below and move on to Interaction Model.
In Interaction Model, click 'ADD+' button next to the 'Intents'. Name the intent and type in the sample utterance. The following are the intents I've created and their sample utterances.
LivingRoomIntent - living room lights on , LivingRoomOffIntent - living room lights off , KitchenIntent - kitchen lights on , KitchenOffIntent - kitchen lights off , BedRoomIntent - bedroom lights on , BedRoomOffIntent - bedroom lights off , BathRoomIntent - bathroom room lights on , BathRoomIntent - living room lights on , OpenDoorIntent - open the door , CloseDoorIntent - close the door , SecurityOnIntent - security on , SecurityOffIntent - security off , TemperatureIntent - what is the temperature , HumidityIntent - what is the humidity , HelpIntent - help , WhereIsMyPhoneIntent - where is my phone
After you're done, click 'Save Model' and 'Build Model' above. Then move on to Configuration.
In Configuration, select HTTPS as service endpoint type and paste the Ngrok url ou copied earlier in Default. Do everything as the picture above, save it , and move on to SSL Certificate.
In SSl Certificate, do as the picture above and then save it. This is all you need to do in Alexa Skills Kit.
If you want to learn more about Alexa Skills Kit, visit codecademy.
(5) Arduino
Connect the sensors and LEDs to the Arduio as the schematics below. Then upload the Arduino IDE code (which is also written below) to the Arduino UNO board. Connect the Arduino and Raspberry Pi with a USB cable and several wires to enable Serial communication and I2C communication. Also, don't forget to connect the Pi camera module to the Raspberry Pi.
(6) Twitter API
https://apps.twitter.com/ Go to this website and click on 'Create New App'. (You gotta have aTwitter account to o this. If you don't have one, make one.) After you've created a new app, copy the Consumer Key, Consumer Secret, Access Token, Access Token Secret and paste it in the Python auth3.py code below.
(7) Plivo API
https://www.plivo.com/ Go to this website, create an account , then copy the auth_id and auth_token, and paste them on the Python 3 (IDLE) code.
(8) Finish!
Run the code and you're all set!


_ztBMuBhMHo.jpg?auto=compress%2Cformat&w=48&h=48&fit=fill&bg=ffffff)


Comments
Please log in or sign up to comment.