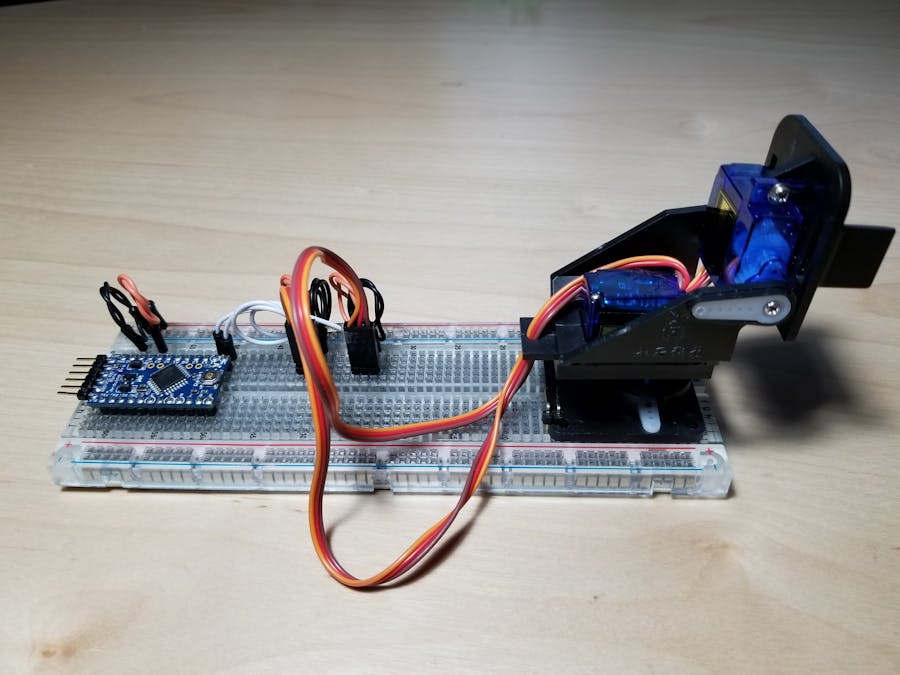
The mini pan-tilt camera mount by Ximimark (from Amazon) is inexpensive and fun to work with. A previous project demonstrated how to build the camera mount. This project demonstrates how to move/test the camera mount with the 5 volt 16 MHz Arduino Pro Mini. The camera mount is also 5 volt compatible, so only a few wires are needed to set it up.
Setting up test on a breadboard- Secure the pan-tilt mount to the breadboard. Use 2 "long" header pins in the front, and 2 pins in the back.
- Add 2 sets of 3 "long" header pins to the breadboard. The servos plug into these pins.
- Add the Arduino pro mini
- Add power and ground jumpers to both servos, the GND and VCC of the Arduino. MAKE SURE YOUR JUMPERS ARE IN THE CORRECT LOCATIONS
- Download the miniPanTiltTest to your Arduino IDE. This test will cycle the pan and tilt servos through a range of motions.
Download the interactive_servo test to your Arduino IDE, compile it, and download it into the Arduino Pro Mini. With this test you can issue commands to the servo through the serial monitor. It's a good way to test the servo limits and the center point. This test only tests one servo, the servo attached to pin 12. So, test one servo, then plug the cable from the other servo in and test it. Once you are satisfied with the tests, move on to the miniPanTiltTest.
The miniPanTiltTestDownload the miniPanTiltTest to your Arduino IDE, compile it, and download it into the Arduino Pro Mini. This test will cycle the pan and tilt servos through a range of motions.
What's next?There is another project, blynk_joystick, that uses the SparkFun ESP8266 Thing instead of the Arduino Pro Mini. That project will control the mini pan-tilt camera mount with your cell phone.


_3u05Tpwasz.png?auto=compress%2Cformat&w=40&h=40&fit=fillmax&bg=fff&dpr=2)
Comments
Please log in or sign up to comment.