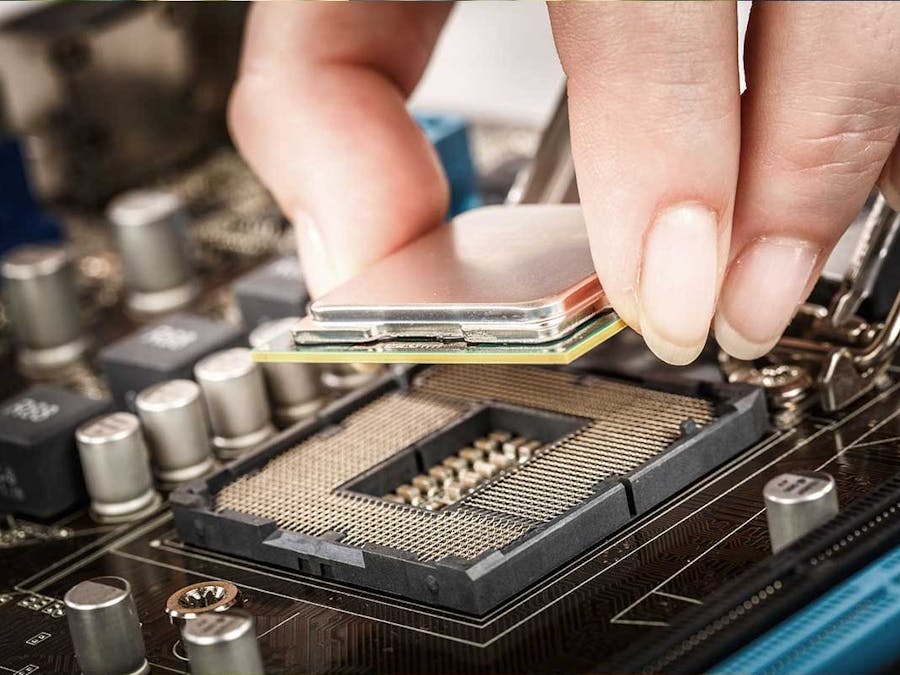
Probably if you are installing the PC for the first time, it is a tricky process. However, if you comply with the basic instructions, it is not as complex as you perceive. Better read the information documented on the motherboard which would avoid subsequent complications. Let’s flip through some important things you should remember including the thermal paste in the process:
Basic Precautions:The foremost caution while installing the processor is to ensure anti-static precaution by standing yourself on any equipment, which is already earthed. It is always prudent to handle the components by holding sideways rather than touching the contacts directly.
Installing a processor into the motherboard is a simple procedure if you comply follows the guidelines summarized.
There is a slight difference for installing the two types of processors and for brevity, the article guides you in installing the processor of AMD (PGA) sockets and also the Intel’s LGA sockets which are available in the market.
AMD (PGA) Processor- As a pre-requisite, you should push the lever from the AMD socket and lift socket upwards up to the angle of 90 degrees.
- Now you can easily fit in the CPU by matching the alignments with its indicators on the CPU and its socket. Ensure that the socket is not going at an angle, but in a straight line down.
- When the indicators of the CPU placement are in accord with the line, insert the CPU into the desired socket. Now, simply press down the lever to lock the same.
Simply apply the thermal paste equally from the center of the CPU and press it in such a way that the thermal paste is spread out evenly ensuring perfect contact.
- In general, the thermal compound is already applied to the CPU coolers. In the case pre-applied thermal compound does not exist before, you can follow the procedure.
- For fitting the CPU cooler, you should flip over the holding clinch to the open point. Ensure both the front and back placing hooks are inside the retaining stock. Now, you can simply bring the retaining lever of the clasp to the sheltered position.
- As a final step, you can connect the CPU fan into the motherboard CPU fan header, and the system is ready.
- As a first step, you should pick up the plate holding CPU to take away the LGA pin guard by freeing up the retaining lever.
- If you press down the lever andmove off from the socket, you can lift the cover.
- Once the above stepsare completed, you will be able to take out the hinged plate holding CPU bylifting the lever upwards.
- Now, you line up thetwo marks on both the surfaces of the CPU with those of the LGA socket.
- After fitting the CPU,simply press down the holding lever. You may experience a little resistancewhile locking in the plate, which is normal.
- Applying the thermal paste is the similar procedure as explained above for the AMD processor. You can follow the same method carefully.
- But in order to mountthe cooler, one should twist the black pins to the extent possible in theclockwise direction. This step is to be repeated for all the four pins andmatches holes provided in the CPU socket.
- Now press down the pinseither individually or in pairs at the same time.
- Once done, you canconnect the header of the CPU fan with CPU fan connector.
You can also use the silicon thermal pads which is used to fill air gaps on your motherboard components. Now, you have installed the processor into the motherboard successfully, and the computer system should be ready for use.


Comments
Please log in or sign up to comment.