

Hardware components | ||||||
 |
| × | 1 | |||
| × | 1 | ||||
Software apps and online services | ||||||
| ||||||
| ||||||
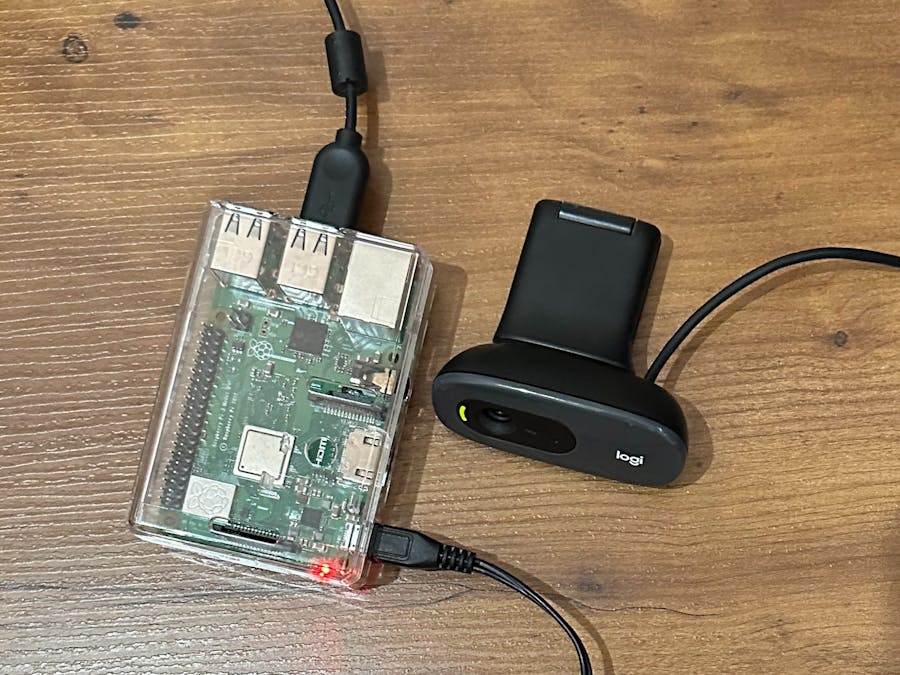
I do not have the real estate to have a separate monitor, keyboard, and mouse to setup my Raspberry Pi, so I had to do what is called a "Headless" setup. This means that I set up the wifi and ssh before booting the board, so that when it boots, I am ready to create a remote connection to the board.
After proper booting, I use my USB webcam to capture a video stream and do some fun processing to convert it to gray scale in real time using the OpenCV API! I hope you enjoy and please leave a like or comment if you found this useful.
1) Writing Image to SD card - SSH and WIFI EnabledThis can be done multiple ways, but the easiest way to do this is using Raspberry Pi Imager:
https://www.raspberrypi.com/software/
Download and install the imager.
I chose to use the default (Recommended) image, but you can also use the Lite version to save some space, if needed, as this will not have the full desktop image.
Next, as seen above, I set up in the advanced options to "Enable SSH", "Set username and password", and "Configure wireless LAN".
- Enable SSH - To allow a remote connection, so a separate monitor, keyboard, and mouse would not be needed.
- Set username and password - Se this up now, so we do not have to change it later
- Configure wireless LAN - To gain access to your home network/WIFI and be able to download packages on the Raspberry Pi
After setting all this up, write the image to the SD card and wait until it is finished.
2) Booting the Raspberry PiInsert the SD card into the Raspberry Pi, and plug in the board's power supply to start the booting process. Wait for 1-2 minutes, then check your router for the raspberry pi.
If you need help doing this, please refer to this article:
https://www.howtogeek.com/204057/how-to-see-who%E2%80%99s-connected-to-your-wi-fi-network/
3) Establishing Remote ConnectionStart your putty/teraterm/mobaxterm application and plug in your Raspberry Pi's IPV4 address to start the remote connection. In my use case I am using Putty, but any SSH client will work.
If everything has been done properly, after clicking open, a connection will be established and you will be asked to log in using the information you set up when creating the image.
4) VNCTo be able to see our image in our headless setup, we need to establish a VNC server. VNC is already preinstalled with the recommended and lite versions of Raspbian, so all that is needed is to start the server using this command in your RPI terminal:
vncserver -randr 1920x1080Go to your VNC Viewer on your host desktop and input the IP address of your RPI and the display number of the session
<RPI IP Address>:<Session Display Number>If you need more help, please refer to the VNC Documentation:
https://www.realvnc.com/en/connect/download/viewer/
After getting into VNC, you are greeted by the Raspbian Desktop screen!
Plug in your USB webcam into one of the USB ports on the RPI. To see if the webcam is being recognized do the following:
Next, install the package fswebcam:
https://raspberrypi-guide.github.io/electronics/using-usb-webcams
If you are not able to install any packages and this error pops up:
Input these commands in the terminal:
sudo rm /var/lib/apt/lists/* -vf
sudo apt-get clean
sudo apt-get update
After installing fswebcam, create a new directory named images.
Lastly, input this command into the terminal:
fswebcam -r 1280x720 --no-banner ~/images/image1.jpgTo install CV follow this guide:
https://raspberrypi-guide.github.io/programming/install-opencv.html
7) Exploring OpenCVAfter properly installing OpenCV, go to the opencv documentation and play around with the different APIs and example code they have there! I was able to run this example that streamed the video and converted it to grayscale in real time!
https://docs.opencv.org/4.5.3/dd/d43/tutorial_py_video_display.html
Please follow along as I continue to explore OpenCV! I hope to add some sort of ML twist to this, like OCR or People/Object Detection. I hope this was helpful and please follow along in future projects!


Comments