This project can be used to help build knowledge and educate farmers of small communities about the crops they are growing and help early identify and prevent the spread of common plant/crop diseases.
How it worksThe device is equipped with a camera, where the farmer can take pictures of their plant leaves, the device has a CNN classifier and a knowledge base where it gives info about the crop being grown and also helps predict the health of the crop.
Many villages and towns do not have access to an active internet connection and hence all the processing and data storage happens on the edge device itself and the device needs to be portable to be carried out and used in their field.
When the farmer captures an image the image first goes through a CNN classier and the image is predicted out of the 38 classes, then the prediction is displayed to the user along with additional data on it.
For this project, I have used the Plant Village dataset which contains images of plant leaves of 38 different categories, which includes images of common diseases of the plant.
Based on the dataset, I decided to build a keras CNN model that would help in classifying any image to one of the 38 different classes. A CNN or Convolution Neural network is a Deep Learning algorithm that takes an input image and generates feature sets that would help it in differentiating it from other images. This way we can differentiate an image of a cat from a dog, or in this case like an image of a tomato plant leaf from that of a potato plant leaf.
I used Keras with tensorflow as the backend to develop the CNN model, which consists of 6 convolution layers. I was able to achieve a validation accuracy of 92% with this model.
Before we feed the data to the CNN we need to pre-process the data, this includes sorting the data into train, test, validation folders, resizing the data and normalizing the data. You should find the pre-processing code in the image_processing.py file, this uses opencv to read and save the images.
After we have pre-processed the data we now need to train our model with the processed images. The train.py file contains the code to train the model you can specify the batch size and the number of epochs based on your computer hardware. You may want to run the training on a GPU, if you don't want to spend many hours just training the model. I have also provided a pre-trained model if you want to skip this step.
Once the model is trained, you should find the trained model stored in the model.h5 file. To run the trained model on test images you can use the test.py file and you should see the prediction based on the plant image you show it.
Once you are done with training the model it is now time to deploy the code onto the Jetson Nano.
Setting up the Jetson NanoTo get the Nano up and running you need to first flash it with the Developer kit SD Card image which can be found in the link below.
https://developer.nvidia.com/jetson-nano-sd-card-imageOnce that is done you need to install etcher or any other similar USB image flashing software to flash the SD card image on to the SD card.
Next, you should mount the SD card on the Nano and plug in a 5V voltage source, make sure the voltage source is rated 3A+, most modern smartphone charging adapters would work fine.
You should now be able to boot into Ubuntu via an HDMI display or you should be able to connect via ssh to the nano if you go the headless route (Make sure you have LAN cable connected).
Once you are booted into the nano you should transfer the code on to the nano, at this step you will no longer need the dataset and training code.
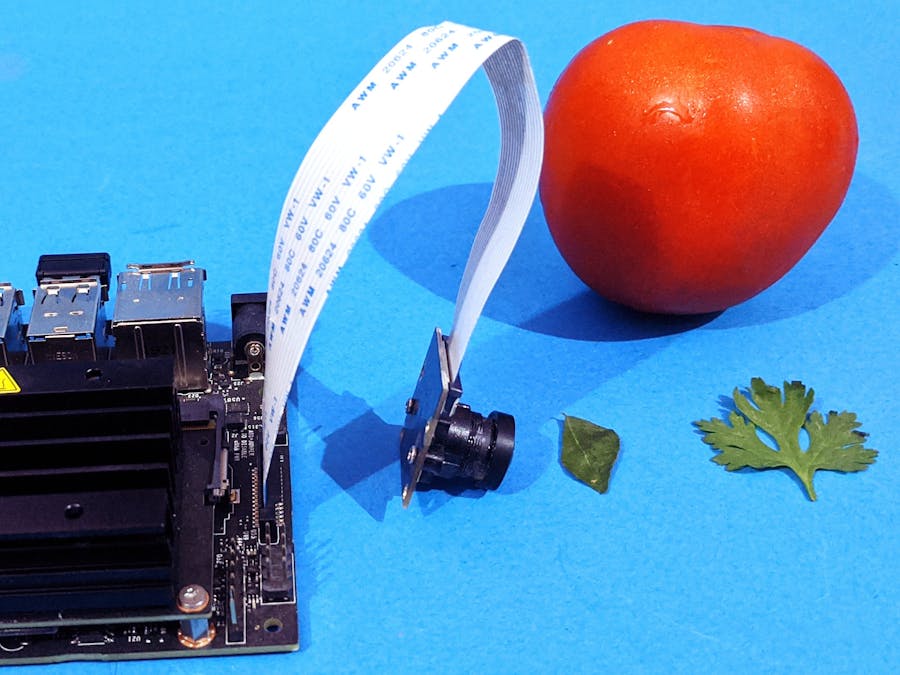
Raspberry Pi CameraNow it is time to mount the raspberry pi camera before we can start running predictions on the nano. To mount the camera you should align the camera connector as seen in the image above and have to push down the clip to lock it in place.
To test the camera you can run the following command on a terminal window and you should see the camera feed being displayed.
gst-launch-1.0 nvarguscamerasrc ! 'video/x-raw(memory:NVMM),width=3820, height=2464, framerate=21/1, format=NV12' ! nvvidconv flip-method=0 ! 'video/x-raw,width=960, height=616' ! nvvidconv ! nvegltransform ! nveglglessink -eOnce you have set up the camera you should now be able to run predictions, you can do that by running -
python server.pyAnd you should see a video feed displayed, you can click "q" to quit the feed and "p" to capture an image and run predictions on that image. You should also see a web page open up with relevant information about the crop.
An AI model is only as good as its data, hence the next steps would be to improve the dataset and add more categories to the existing dataset. Additionally, I would work on improving the knowledge data and possible support of native languages.
I had plans to power this project via a solar panel, for which I had ordered a solar charge controller which did not arrive in time, I will update this article once I receive it and get it working.


_u9J89wMEuk.png)


Comments
Please log in or sign up to comment.