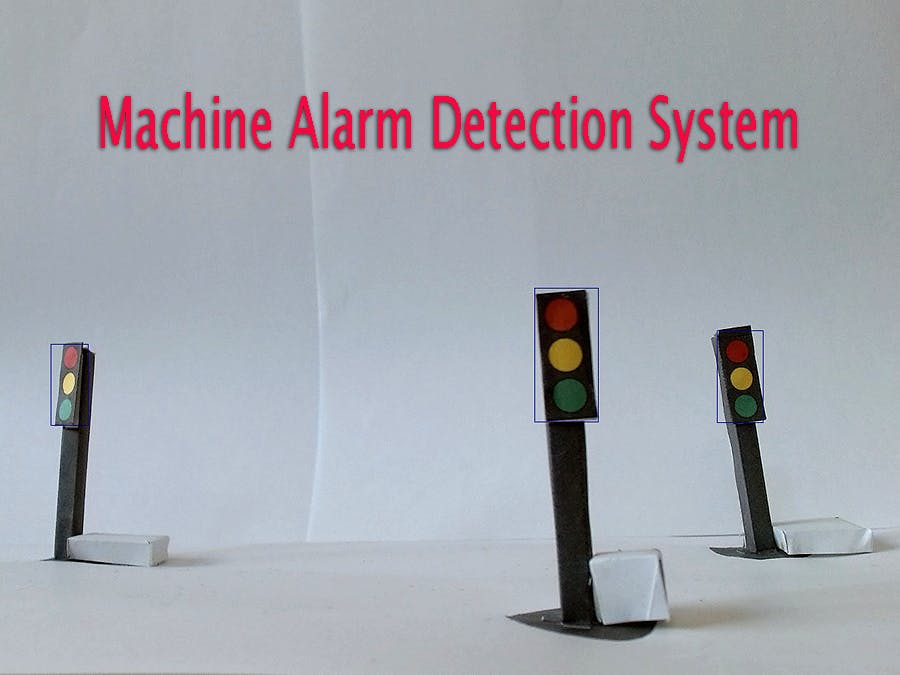
Japanese Government promotes the digitization of small and medium-sized enterprises for productivity improvement. Further Japanese Government provides subsidies promoting digitization, too.
Many small and medium-sized factories are severely deficient in person, funding, and knowledge. These factories can't afford to consider digitization because of full of hands in daily work.
A machine alarm detection system monitors the machine in the factory for finding a machine alarm.
2. How I am trying to solve It?The machine alarm detection system uses the Kria KV260. This system monitors the machine in the factory for finding a machine alarm using Alarm Detection Code and Alarm Detection Model.
Alarm Detection Code created based on Vitis AI Library sample code uses Programming API provided by Vitis AI Library. Alarm Detection Model created based on AI Model Zoo provided by Vitis AI Library uses Yolov4 to detect a machine alarm. The input is a video file captured by a USB camera. The video file includes one or more machine alarms. The output is a vector of the result struct which is composed of the detected information.
3. Flashing Kria KV260 ImageRaspberry Pi Imager (https://www.raspberrypi.com/software/) worked at PC windows 10 writes Kria KV260 image by the following step.
(1) Download Kria KV260 Image from the download link.
(2) Run the Raspberry Pi Imager by double-clicking on the downloaded file “xilinx-kv260-dpu-v2021.2-v2.0.0.img.gz.”
Raspberry Pi Imager launches, as shown in the following figure.
(3) Click “WRITE.”
4. Setting up Kria KV260Kria KV260 inserted the flashed SD card connects the network and the monitor. Turn on the power, wait for the system’s boot, and log in.
Install Vitis AI Runtime by the following step.
(1) Download the vitis-ai-runtime-2.0.x.tar.gz from the download link.
(2) Untar it and copy the following files to Kria KV260 using SCP
tar -xzvf   vitis-ai-runtime-2.0.x.tar.gz
scp -r   vitis-ai-runtime-2.0.x/aarch64/centos root@IP_OF_BOARD:~/
(3) Install the Vitis AI runtime. Execute the following commands in order.
cd ~/centos
bash setup.shDocker installed in Ubuntu 18.04 LTS compiles Alarm Detection Model by the following step.
(1) Clone the Vitis AI repository to obtain the examples, reference code, and scripts.
git clone   --recurse-submodules https://github.com/Xilinx/Vitis-AI
cd Vitis-AI
(2) Run the CPU image from Docker Hub.
docker pull xilinx/vitis-ai:latest
./docker_run.sh xilinx/vitis-ai
(3) Build the CPU image locally.
cd setup/docker
./docker_build_cpu.sh
(4) Run the CPU image.
cd ~/Vitis-AI
./docker_run.sh -v
~/d_Alarm_Detection_Model:/workspace/d_Alarm_Detection_Model xilinx/vitis-ai-cpu:latest
(5) Run the CPU image.
conda activate vitis-ai-caffe(6) Downloading dk_yolov4_coco_416_416_60.1G_2.0 from AI Model Zoo.
(7) Save the downloaded folder as d_Alarm_Detection_Model folder.
(8) Compiling the downloaded model using the following commands.
cd /workspace/d_Alarm_Detection_Model
cp /opt/vitis_ai/compiler/arch/DPUCZDX8G/KV260/arch.json   .
vai_c_caffe --prototxt ./quantized/deploy.prototxt   --caffemodel ./quantized/deploy.caffemodel --arch ./arch.json --output_dir   ./output --net_name Alarm_Detection_Model
(9) Copy the compiled Alarm Detection Model to Kria KV260 using SCP.
6. Compiling Alarm Detection CodeDocker installed in Ubuntu 18.04 LTS compiles Alarm Detection Code by the following step.
(1) Install the cross-compilation system environment.
cd ~/Vitis-AI/setup/mpsoc/VART
./host_cross_compiler_setup.sh
(2) When the installation is complete, follow the prompts and enter the following command.
source ~/petalinux_sdk_2021.2/environment-setup-cortexa72-cortexa53-xilinx-linux(3) Save the following yolo4 folder as d_Alarm_Detection_Code folder.
(4) Compile the following command.
cd ~/d_Alarm_Detection_Code
bash –x build.sh
(5) Copy the compiled Alarm Detection Code in d_Alarm_Detection_Code folder to Kria KV260 using SCP.
7. Preparing video file for detectionPrepare a video file for alarm detection using the USB camera connected to PC windows 10.
(1) Set up a signal light of a factory model and the USB camera as follows.
(2) Start to record the video data of the signal light using the camera app in PC windows 10. The camera app displays a capture screen as follows.
(3) The camera app records video data in MT4 video format. XMedia Recode (https://www.xmedia-recode.de/) converts MT4 video format to WebM video format for alarm detection.
(4) Copy the prepared video file to Kria KV260 using SCP.
8. Running Machine Alarm Detection SystemRun Machine Alarm Detection System in Kria KV260.
(1) Configure X11.
export DISPLAY=:0.0
xrandr --output DP-1 --mode 1920x1080
(2) Run Alarm Detection.
cd /home/petalinux/d_Alarm_Detection_Code
./Alarm_Detection Alarm_Detection_Model WIN02.webm -t 8


Comments
Please log in or sign up to comment.