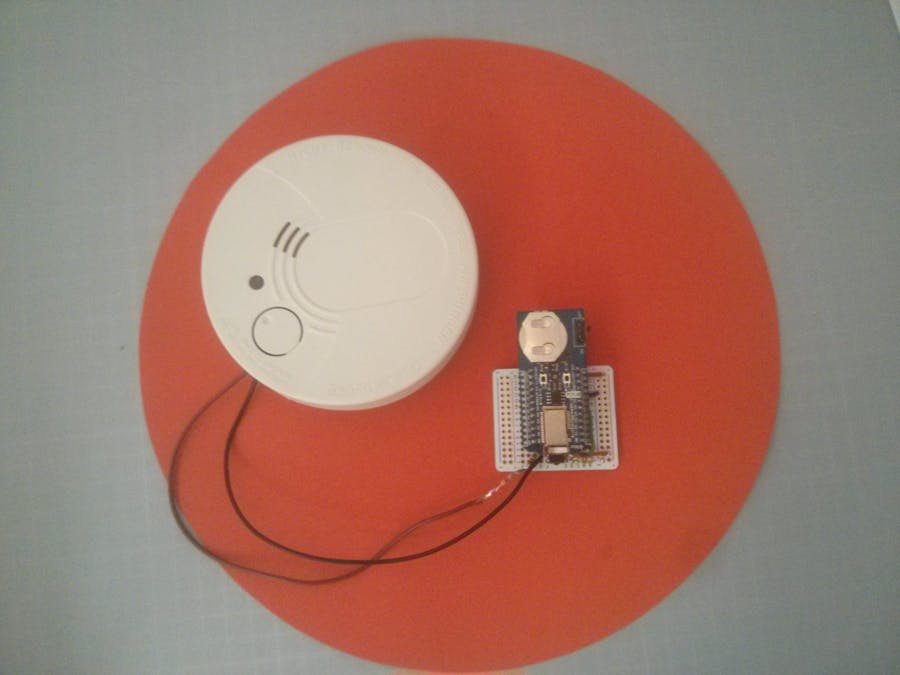
The idea
Smoke alarms are a common feature in homes. They provide an early warning of a fire, giving people additional escape time. According to the national fire protect association three of every five home fire deaths resulted from fires in homes with no smoke alarms or not working smoke alarms. In fires in which the smoke alarms were present but did not operate, almost half of the smoke alarms had missing or disconnected batteries.
But a fire can also happen when you are not at home and cause loss of family members, pets and your belongings. There are GSM enabled smoke detectors that can inform you but they are usually very expensive.
When I've opened an old, broken smoke detector for about 10 € I saw that there are 2 pins which are not connected, GND and I/O.
Pressing the test button of the device showed me 9V on my digital multimeter. For this reason I have born the idea of a cheap internet connected smoke detector.
At the beginning I had three problems:
- the microcontroller has to be very low power
- how to connect the detector to a microcontroller in a save way
- find a wireless solution to inform the owner
Low power microcontroller with wireless communication
My first attempt was a Particle Photon. It worked very well but the power consumption was to high. Of course I could use the supported sleep modes but I wanted that the device stays connected. After some research I came accross the Bluz DK and I have orderd it with a battery shield and a gateway shield.
Connection between smoke detector and microcontroller
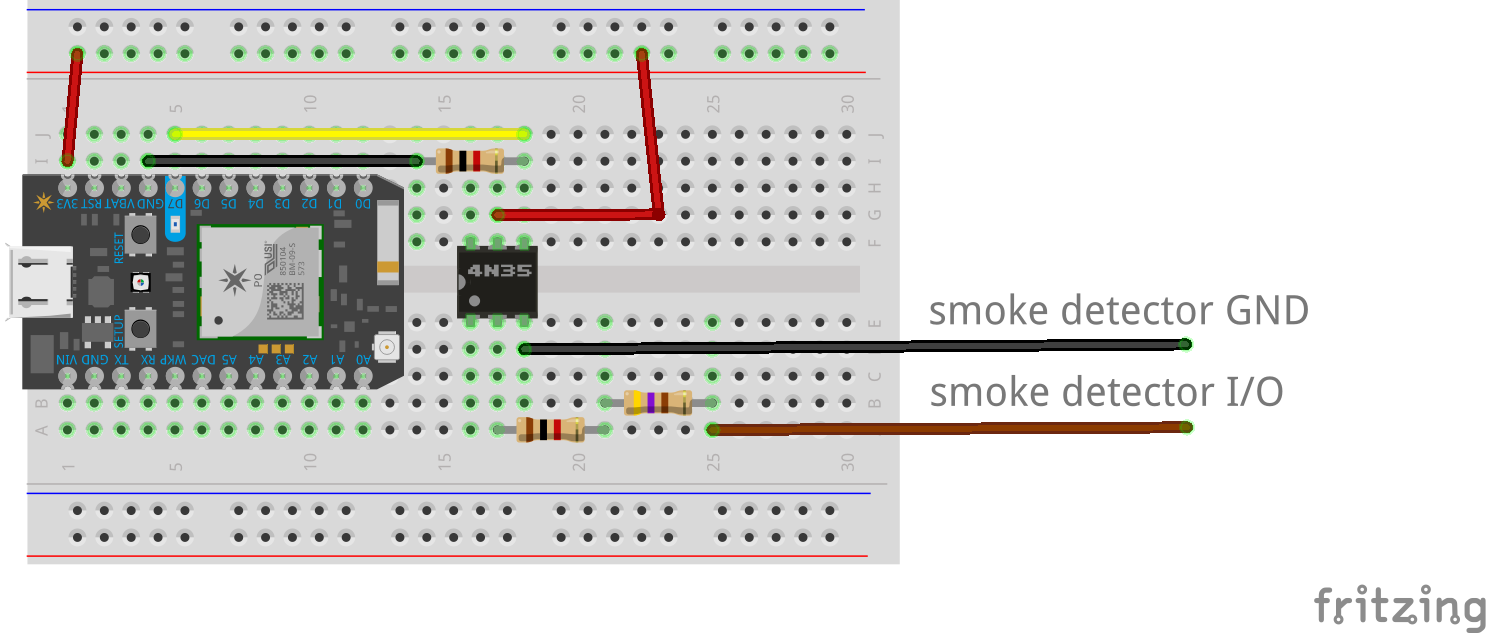
Connecting the 9V of the smoke detector directly to the microcontroller will distroy the digital pin and maybe the whole device. An easy and secure way is to use an optocoupler like the 4N35. It undefined is a component that transfers electrical signals between two isolated circuits by using light. A common type of opto-isolator consists of an LED and a phototransistor in the same opaque package. Through this part we isolate the 9 V from the 3,3 V. I have choosen the not inverting circuit you can see in the picture below.
Therefore we need to calculate two resistors:
It is necessary to limit the current that flows through the LED in the Optocoupler and we need to limit the current that goes to our digital input pin of the BluzDK. For R1 we choose a 4,7 kOhm for Rf one 1 kOhm and one 470 Ohm resistor. Now our Bluz Dk and 4N35 can operate in a safe condition. You can use a breadboard or solder everything to a breadboard PCB. See the schematic for how to connect everything together (a Particle Photon is displayed instead of a BluzDK because the BluzDK is not available as a Fritzing part).
Software
Plug your Photon into the Gateway Shield and flash the particle-gateway-code.ino sketch to it.
After that flash the BluzDK_Smoke_Alarm.ino on your BluzDK.
The firmware running on our BluzDK will publish a cloud event when smoke is detected. We will use a webhook to push a notification to Pushbullet and Pushbullet will send us a notification on our smartphone.
Create an Account at www.pushbullet.com if you don't have one and get your access token from the settings page. Don't forget to install the app on your smartphone! Download the webhook.json file you find below and replace 123456789012345678901234567890 with your access token.
Now you can copy parts of your webhook.json file and insert it like in the pictures below.
Configure the Webhook in the Particle Dashboard
Visit dashboard.particle.io, go to integrations and create a new webhook with the following configuration:
Everything together
Fire!
You are now able to test everything and see if it works. Therefor make sure all devices are powered and then press the test button on your smoke detector. If everything works you will get a notification on your smartphone.
Can I build this with a Particle Core, Photon or Electron too?
Yes, just remove the following line in BluzDK_Smoke_Alarm.ino:
System.sleep(SLEEP_MODE_CPU);
I can confirm it works on a Photon and Core. And I am sure it will work on an Electron too. But be aware that the power consumption will be much higher!
I can also recommend to prototype with a Photon or Core and switch to BluzDK when you have everything finished because it is easier to debug.
Future
The support for mesh networks on BluzDK will be a great addition for this project. It will expand the range and maybe it will be possible to sound the sirene of all other smoke detectors in your house. Because the pin on the smoke detector is called I/O I assume that I can trigger the sirene with a 9 V signal. I will investigate this and update this project according to my findings.
Alerting other BluzDK connected smoke detectors will also be possible through subsrcibing to the published events.
It is also possible to expand this to a complete security system. Imagine reed sensors on doors and windows, temperature/ humidity sensors, pir sensors, microphones,...
To-Do
- 3D printed case
I am happy to hear your feedback and suggestions!


Comments
Please log in or sign up to comment.