Microsoft Kinect is a popular, and relatively cheap device, which has multiple applications both in amateur and professional robotics. One of the cases is man-following robot. Instead of using single camera and complicated image recognition algorithms we can take advantage of already-established Kinect libraries.
Preparing Kinect to workOfficial libraries are designed only for Microsoft Windows, but fortunately we have a strong community of developers and they ported most of the functionality to Linux. What’s more they work with ARM processors, therefore we can even use the popular minicomputer Raspberry Pi!
The easiest way to implement these libraries is to use ROS – Robot Operating System. Installation is quite straightforward and is described here - http://wiki.ros.org/ROSberryPi/Installing%20ROS%20Indigo%20on%20Raspberry%20Pi
The next thing to do is to figure out how the ‘looks-like-USB’ Microsoft Kinect connector works. Basically it’s USB combined with 12 V power supply. To connect the sensor to a Raspberry Pi you will need the adapter from the photo and then modify it to your power output.
If you have the access to the computer with any Linux distro, you can use RViz software to visualize data from Kinect.
The next step into taking control of our robot with Kinect is to read the position of the human body in 3 dimensions. Below you can find an example piece of code:
#!/ usr/bin/env python
import roslib
import rospy
import tf
import os
def cls () :
    os. system ('clear ')
import numpy as np
if __name__ == '__main__ ':
    rospy . init_node (' kinect_listener ', anonymous = True )
    listener = tf. TransformListener ()
    rate = rospy . Rate (10.0)

    while not rospy . is_shutdown () :
        try:
        cls ()
        (trans , rot) = listener . lookupTransform ('/ torso_1 ','/ openni_link ', rospy . Time (0) )

        rospy . loginfo (" Torso coordinates :\n\n")
        rospy . loginfo ("\t\tX = {0:f}". format ( trans [0]) )
        rospy . loginfo ("\t\tY = {0:f}". format ( trans [1]) )
        rospy . loginfo ("\t\tZ = {0:f}". format ( trans [2]) )
    except (tf. LookupException , tf. ConnectivityException , tf. ExtrapolationException ):
        continue

    rate . sleep ()
And here is the result visible in the console:
The last thing which we have to do is to connect our sensor with a robot. At first we’ve connected it to the simple, three-wheel platform:
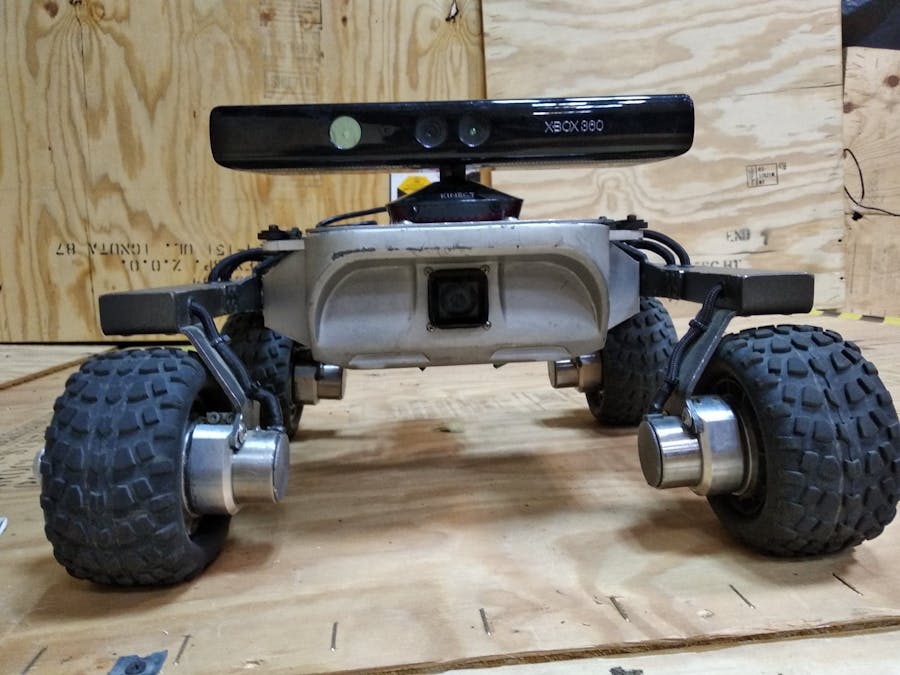
Later on, to take full advantage of the system, we mounted it on the serious mobile platform – Turtle Rover. We used the built-in Raspberry Pi and provided power supply.
Now it looks nice and clean and can be used everywhere!
Want more? Check out what Turtle can do!


Comments
Please log in or sign up to comment.