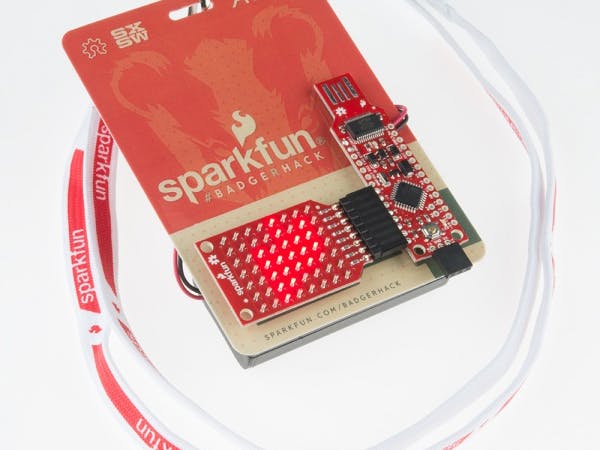
This tutorial will help you program an old BadgerStick (from SXSW 2015) with a new bootloader, so that you can then use it as a regular Arduino device and load new sketches on it.
What's a bootloader?
First of all, let's explain what a bootloader is. In a nutshell, it's a small program that runs when your Arduino (or other similar device) first powers up. This is responsible for talking to your computer to see if you are trying to program a new sketch, and if so, accepts the new sketch.
What's the issue?
The first batch of BadgerSticks that were distributed in SXSW 2015 were programmed with an old version of the bootloader, that works at a very slow speed. This is no longer supported, so we need to re-program, or "flash" the new bootloader to our BadgerStick.
Fixing the issue
To flash the new bootloader to the BadgerStick, you will need something called an ISP programmer. If you already have one and know how to use it, just move on to the last section. If you don't have an ISP programmer, you can set up an Arduino to act like one. In this case, we will use an Arduino Pro Mini, but you can also use an Arduino UNO if you want.
Setting up your Arduino
First of all, you will need to program your Arduino with the ArduinoISP sketch, which is the code embedded below. This will make your Arduino act as an ISP programmer.
Go to the code section below, and install the codebender browser using the Learn More link on the bottom right. This plugin allows your browser to talk to your Arduino, and program it with new sketches.
If you already have the codebender browser plugin, just select your Arduino device, select the right Serial (COM) port, and click Run on Arduino. After a few seconds, you should get a success message. This means your Arduino is now set up to act as an ISP programmer.
Note: We assume that you already have the necessary FTDI drivers installed on your computer. If not, I encourage you to go to codebender's Getting Started Walkthrough which will help you set up and configure your computer.
Connect your Arduino with the BadgerStick
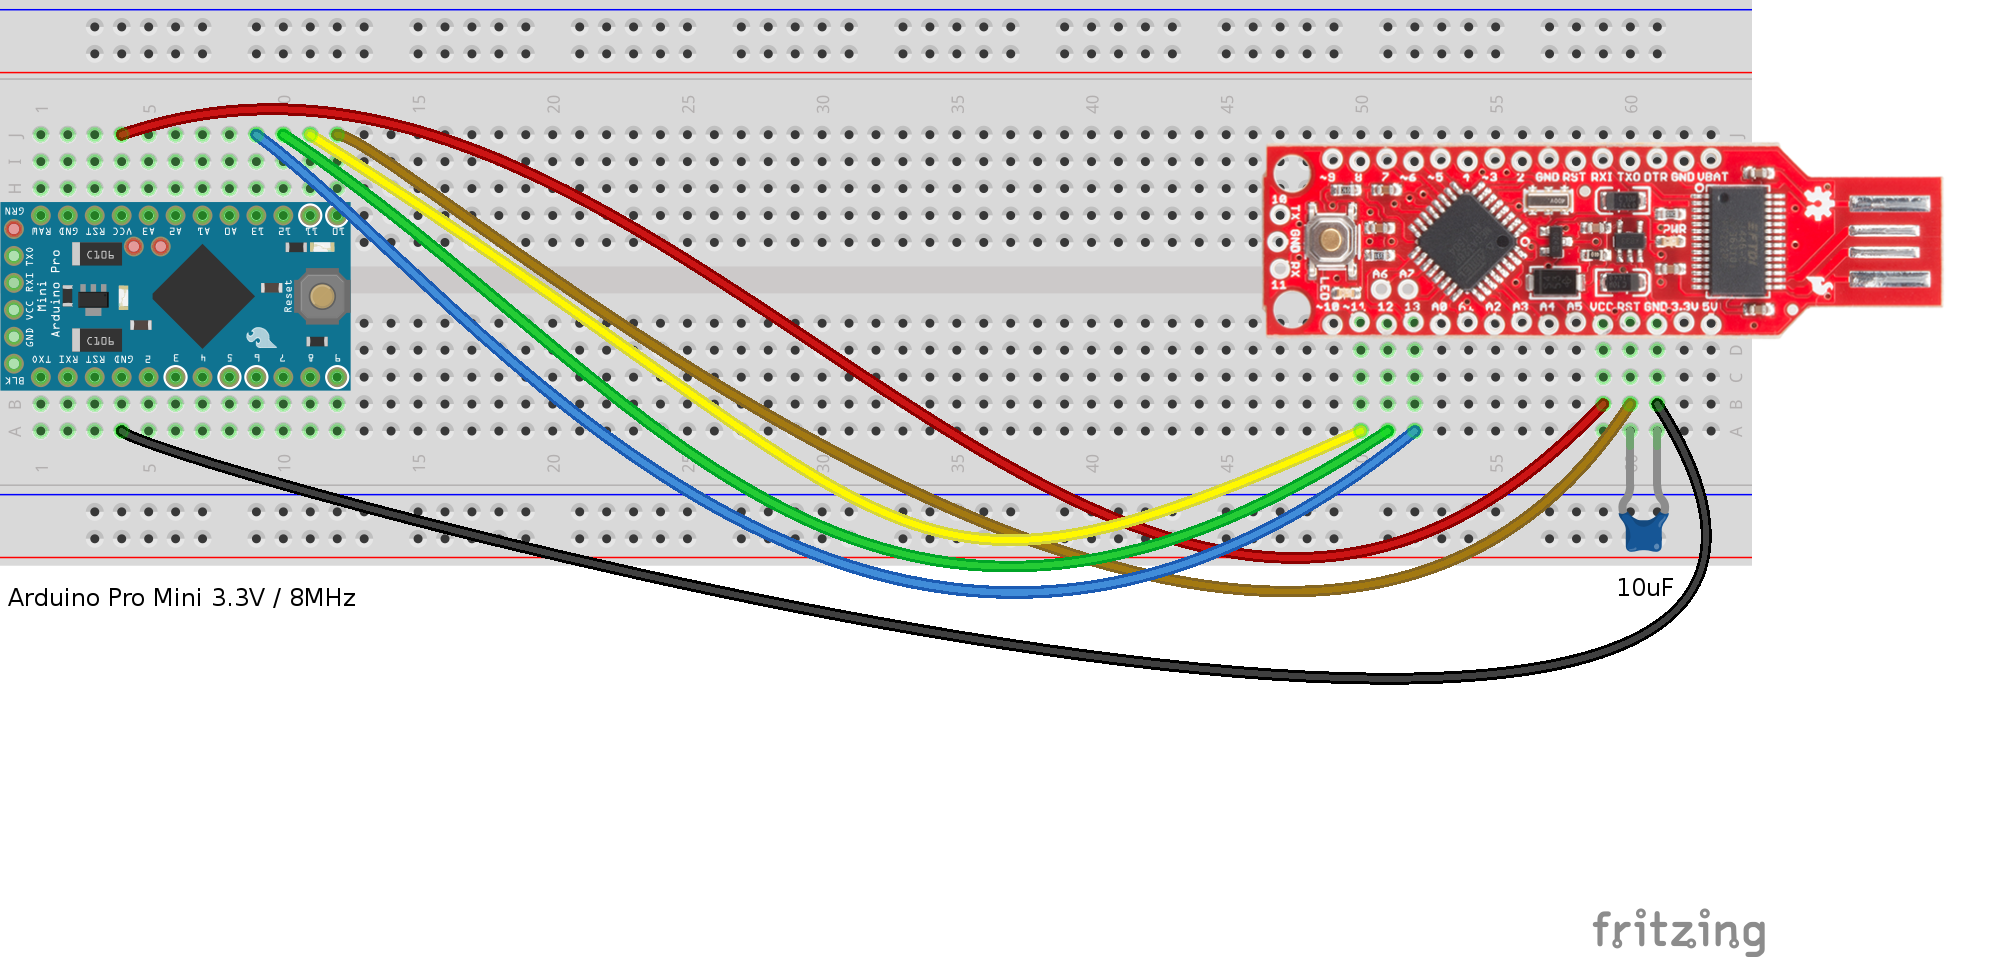
Use the schematic below to connect your Arduino to your BadgerStick. Again, this shows an Arduino Pro Mini, but you can also use an UNO with the same pins.
Flashing the new Bootloader
Now go to codebender's Burn Bootloader page.
Select BadgerStick as the board.
Select the programmer. If you already have one, select the type you have. If you have been following this tutorial, select ArduinoISP.
If you selected ArduinoISP, another selection box will appear asking you to select a Serial (COM) port. Select the one that belongs to your Arduino.
Click Burn Bootloader. After a while, a success message will appear.
Congrats, you just flashed your BadgerStick with a new bootloader! You can now use codebender to load new sketches, just by selecting BadgerStick as the board.
Try it out, program this Hello World sketch.


_3u05Tpwasz.png?auto=compress%2Cformat&w=40&h=40&fit=fillmax&bg=fff&dpr=2)


Comments
Please log in or sign up to comment.