Ever since I have got Google Assistant working on my phone, I have wanted to control my house appliances with it. I have spent quite some time trying to figure this out, but when I saw PPV's blog, something just clicked.
This blog is kind of a replica of the earlier blog, the only difference being that I have used Google Assistant in the place of Amazon Alexa. This gives me the freedom to control home appliances from anywhere in the world, using my voice. The only things that I need is my phone and a good internet connection.
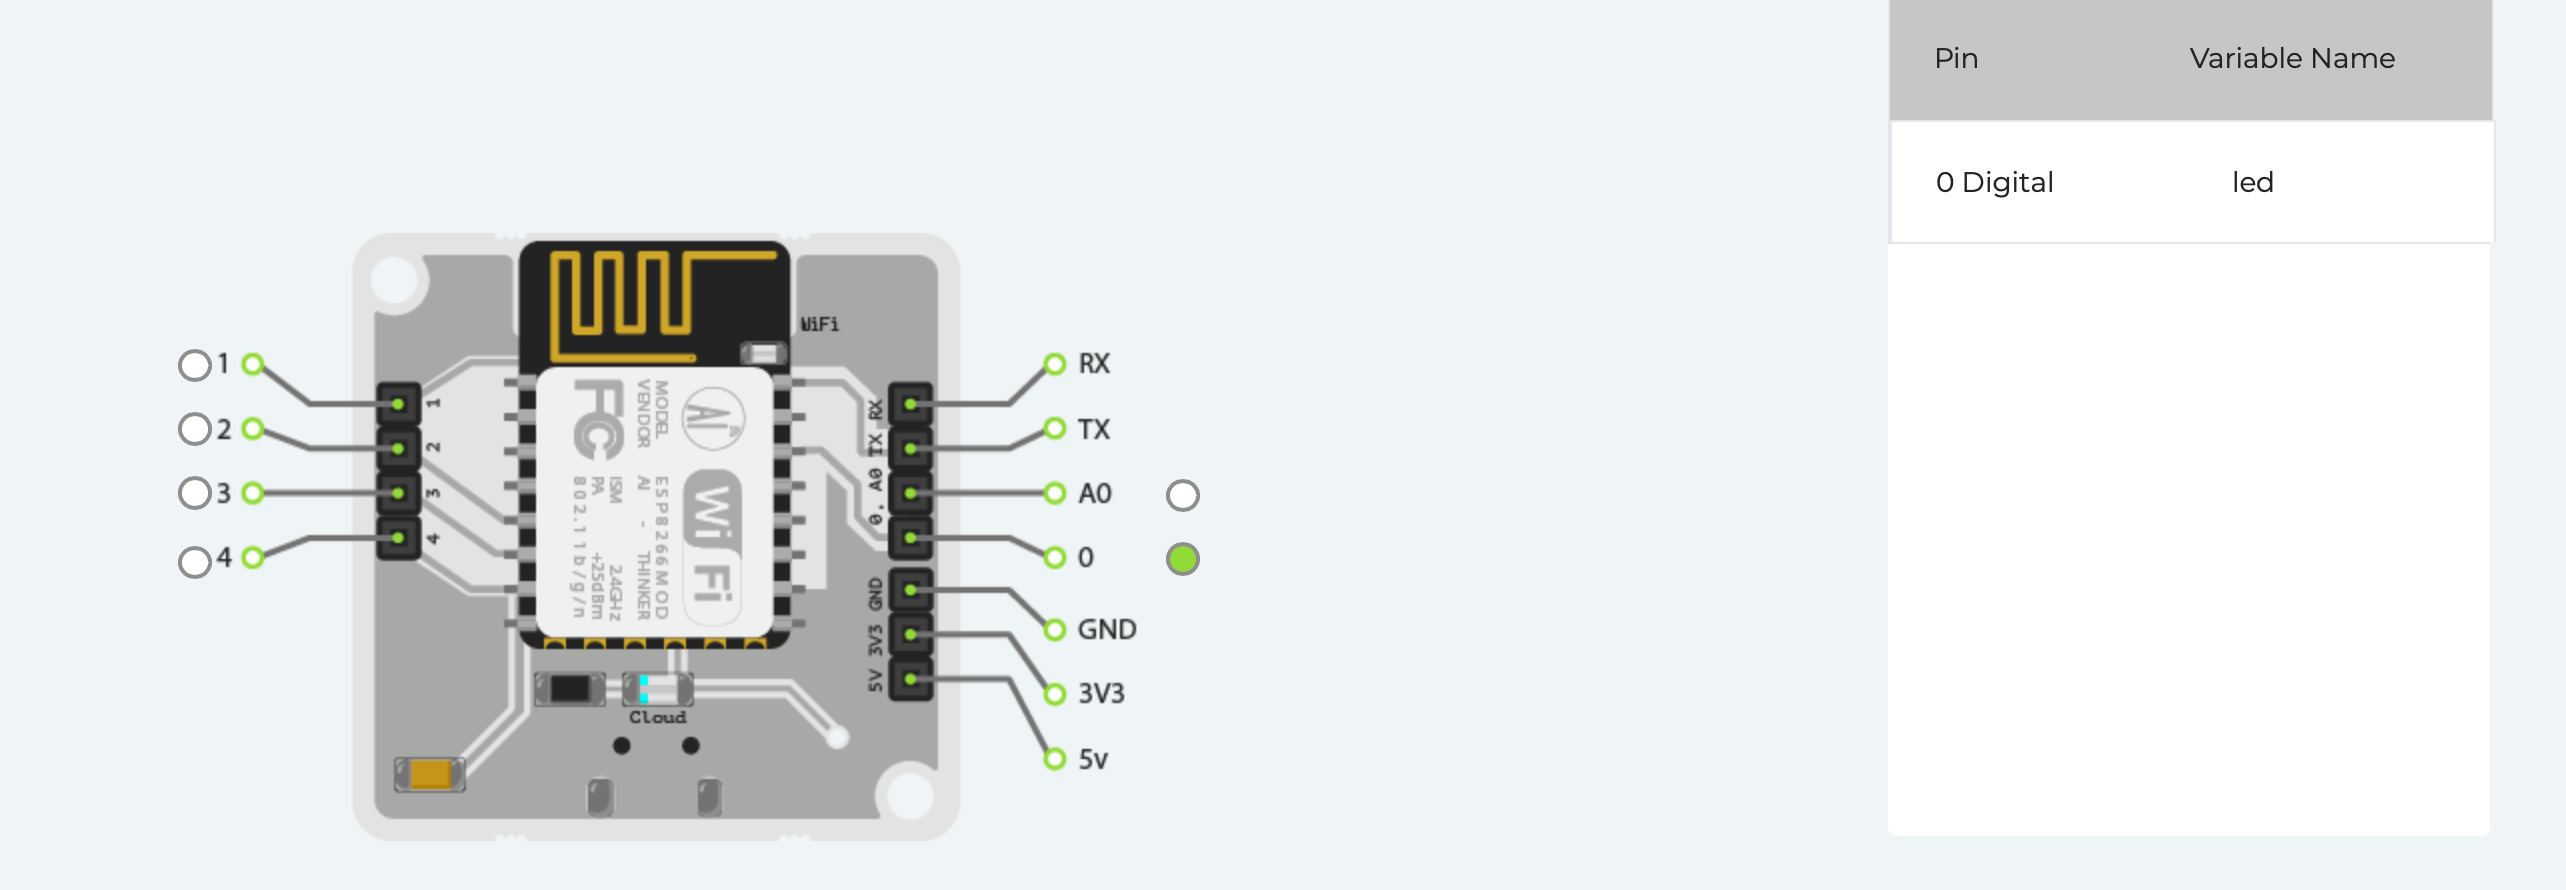
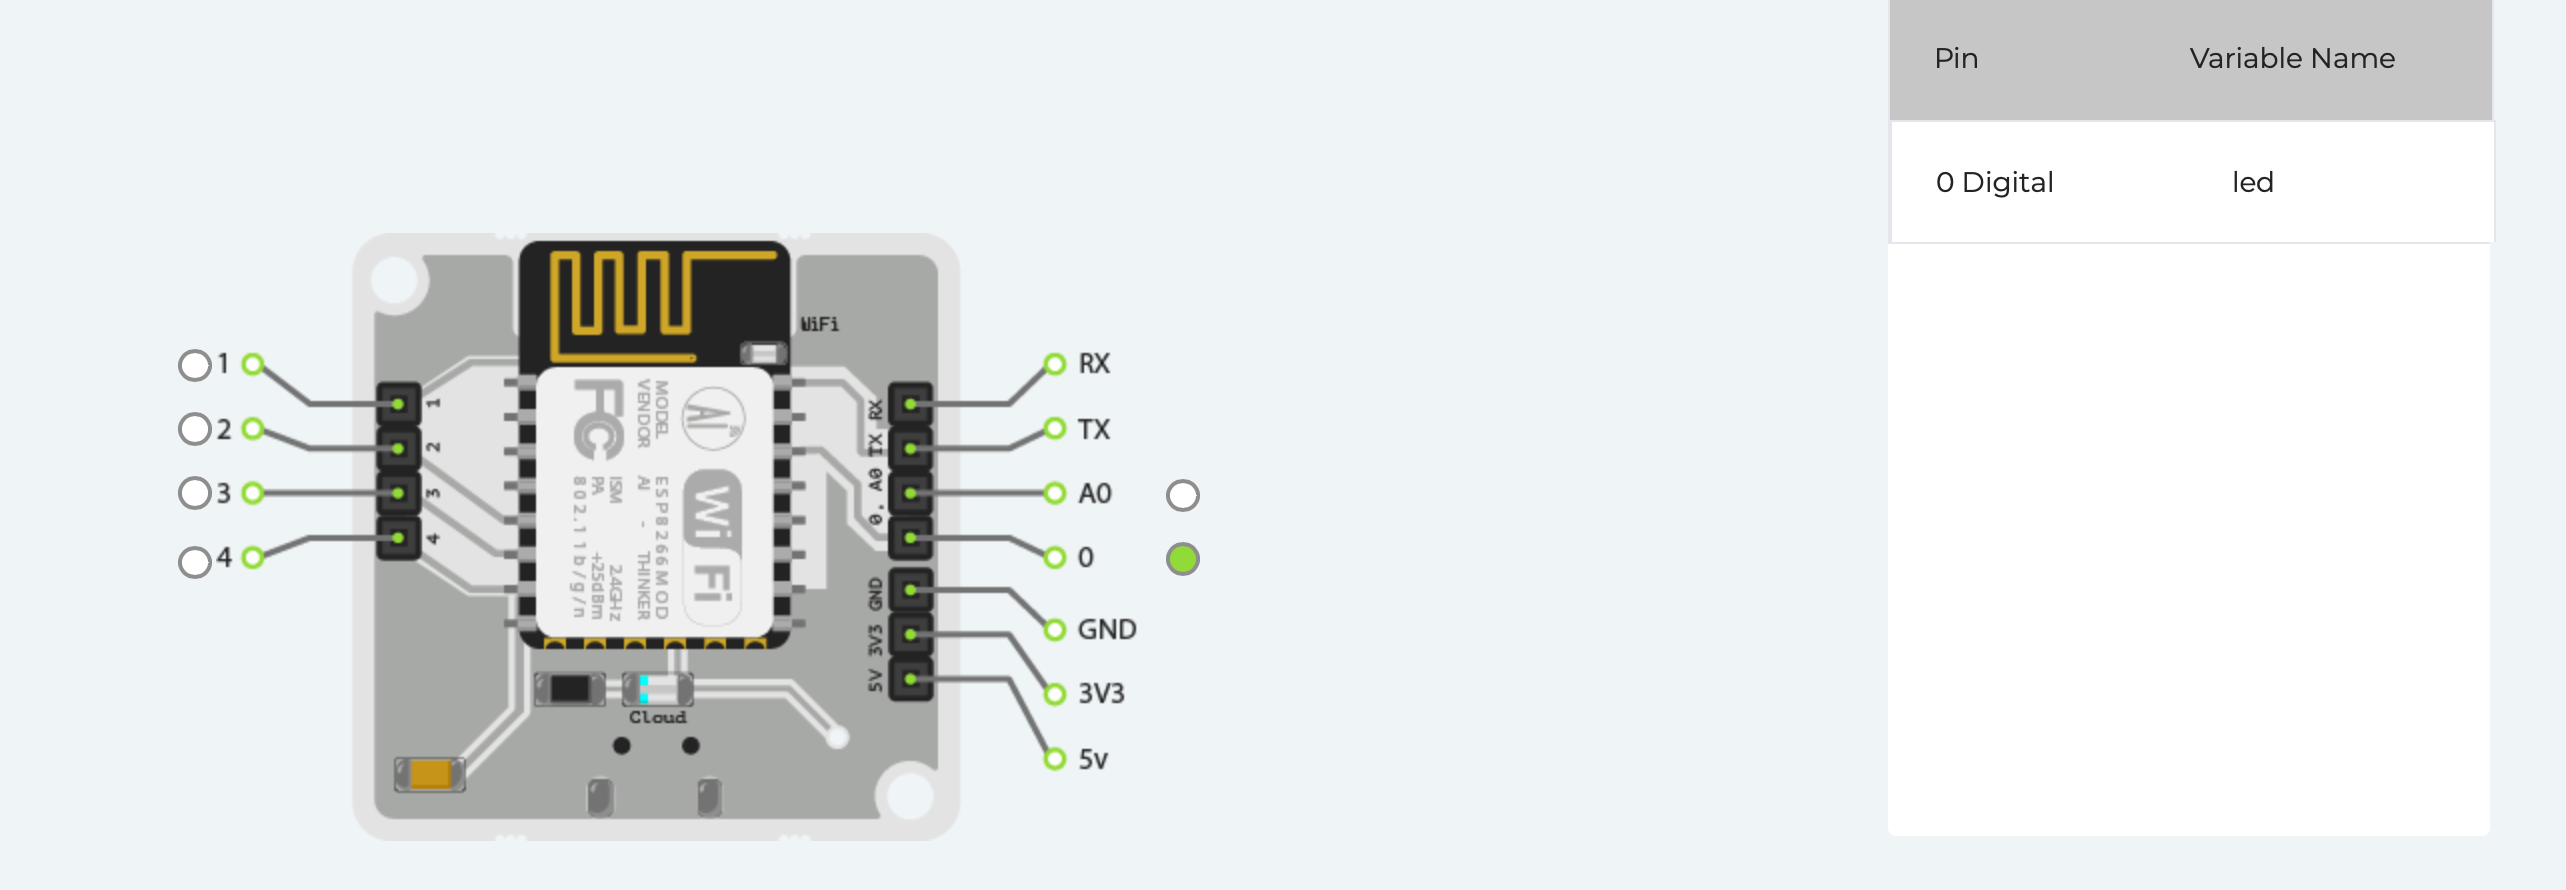
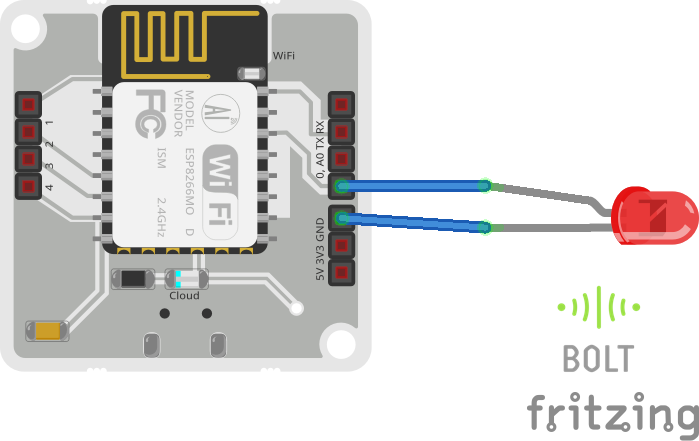
Step 1: Hardware SetupPlug the longer end of the LED in the Pin 0 of Bolt WiFi module shorter end to the ground pin (GND), and power on the Bolt WiFi module.
Step 2: Getting the Bolt API Key and Device IDLogin to cloud.boltiot.com and note the ID of your Bolt WiFi Module.
Now click on the API Tab and under the section for Generate Key, click on Enable.
Next click on the copy button to copy your API key. Your API key will may look something like this: aec57de3-ee8d-4f34-af09-9377a90b6986
Step 3: Creating the GPIO Control CommandSince LED is a digital output device, we will need to get a Digital Write command that can be sent to Bolt over the Internet to switch on the LED.
Click here Bolt Cloud go to Docs Tab -> API Documentation -> GPIO Commands API -> Write Digital Output, to understand how to create a API command link to turn on or turn off a pin of the Bolt.
The structure of the command is:
https://cloud.boltiot.com/remote/API_KEY/digitalWrite?pin=PIN_NUMBER&state=HIGH/LOW&deviceName=DEVICE_ID
The parameters that you need to replace are:
API_KEY: You can get it from API tab on cloud dashboard.
PIN_NUMBER: Pin to which you have connected the LED. Values can be either 0,1,2,3 or 4
HIGH/LOW: This value indicates if you want to turn on/off the LED. HIGH will turn it on, LOW will turn it off.
DEVICE_ID: The id of your device. You can get it from cloud dashboard.
The sample command to turn the led ON connected to device having ID BOLT14854942 to PIN 0 is:
https://cloud.boltiot.com/remote/aec57de3-ee8d-4f34-af09-9377a90b6986/digitalWrite?pin=0&state=HIGH&deviceName=BOLT14854942
Make sure that you change the API Key to your own API Key and device ID which you got in the previous step.If you have connected the LED to any other pin other then Pin 0 then make a suitable change in the pin no in your code.
Step 4: IFTTT integration via Google Assistant and WebhooksGo to IFTTT to create a new applet by clicking here
Login using your Gmail account. Make sure you use same account which you'll be using on your mobile to interact with Google Assistant.
Click on '+This' to create the trigger.
Choose Google Assistant -> Say Specific Phrase
Type the phrase you want to trigger the action. Make sure to specify the trigger command in different ways for example I used
a) Turn the lights on
b) Turn on the lights
c) Lights on
Click on 'Create Trigger'
Click on '+That'
Select Webhooks and then Make a web request.
Enter the API URL you got in the previous Step. Make sure that you change the API Key and device name.
Method will be GET
Content type will be Application/json
Here is how your screen will look like
Click on 'Create Action' and then Click on 'Finish'
Steps to turn OFF the LED
Now do the same process for a command to switch of the LED. Here you will change the state to LOW i.e. state=LOW in your code. Here is a sample of the code. Also, add a suitable phrase to switch off the LED.
That's it. You are done.Now wake your Android phone by saying "OK Google" and say the phrase you had set while creating the trigger to see the magic happen.
ConclusionHave a go at this project and in case you like our Cloud Connected Display, check out our store by clicking here You can check out some other projects from Bolt IoT here.
Full Disclosure: I am an Embedded systems developer of the Bolt IoT Platform. So I will praise it quite frequently during this blog, not only because I have to sell it but also because I sincerely believe that one of the best IoT platform ever. I have used many other IoT Platforms in the past and Bolt makes IoT development seamless like none other.


Comments
Please log in or sign up to comment.