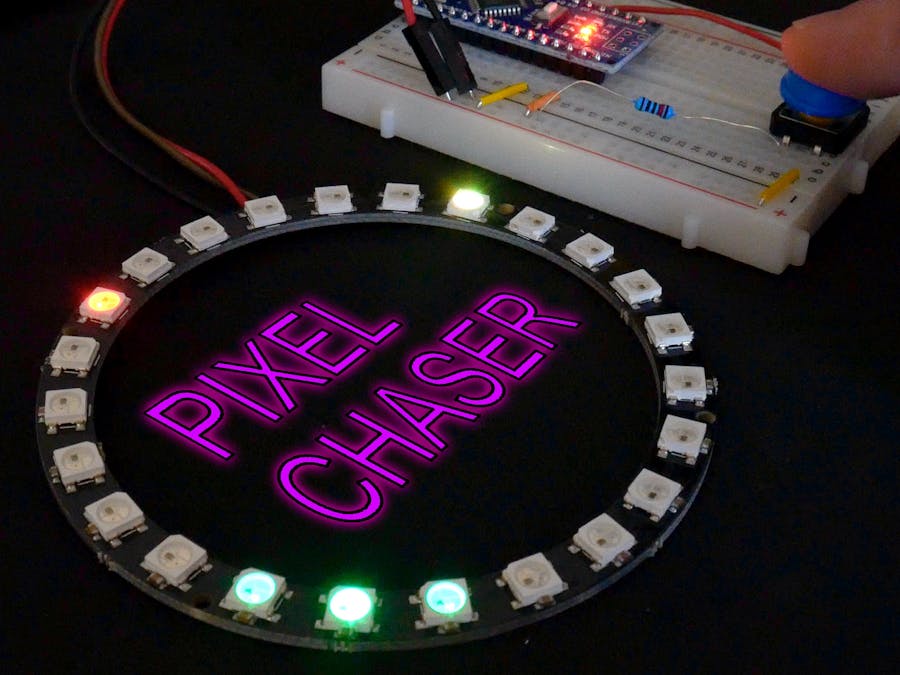
I used to be a game developer, and one of the holy grails in mobile game development is to make the ultimate "one tap" game.
I wanted to see if I could make an awesome one click "physics" game using a micro-controller, a button and some form of visual feedback.
Introducing PIXEL CHASER!
It's a fairly easy build, so let's get right to it!
What parts do we need?We need the following:
- Arduino Nano (or any micro-controller with 2 available IO pins )
- RGB "NeoPixel" ring or strip
- Momentary button
- 10k resistor
- Breadboards
- Wires
Place the Nano at one end of the breadboard with the USB connector at the edge.
Place the button at the other end of the breadboard, as close to the edge as you can get so it's easy to get to.
Add the 10k resistor between one of the sides of the button and the GND rail of the breadboard. This will be the default LOW state of the button. We use a resistor to ensure there is not short between VCC and GND when the button is pressed as that can damage the micro-controller and other components.
Connect a jumper wire from the opposite side of the button to the VCC rail. The button will go high when it is pressed.
Connect a jumper wire from the GND side of the button to D3 on the Nano. We will read D3 to determine the state of the button.
Wire up the RGB strip/ring to the breadboard. Connect the VCC wire to the VCC power rail, the GND wire to the GND power rail and the DI (Data In) wire to D4 on the Nano. We will be controlling the pixels with D4.
Connect a wire jumper from the 5V pin on the Nano to the VCC power rail, then connect a jumper wire from the GND pin on the Nano to the GND power rail.
Upload the code and play!
I hope you enjoyed this project!
You can find more fun projects like this on my YouTube channel.
Follow Me:http://twitter.com/unexpectedmaker
https://www.facebook.com/unexpectedmaker/
https://www.instagram.com/unexpectedmaker/


_3u05Tpwasz.png?auto=compress%2Cformat&w=40&h=40&fit=fillmax&bg=fff&dpr=2)
Comments
Please log in or sign up to comment.