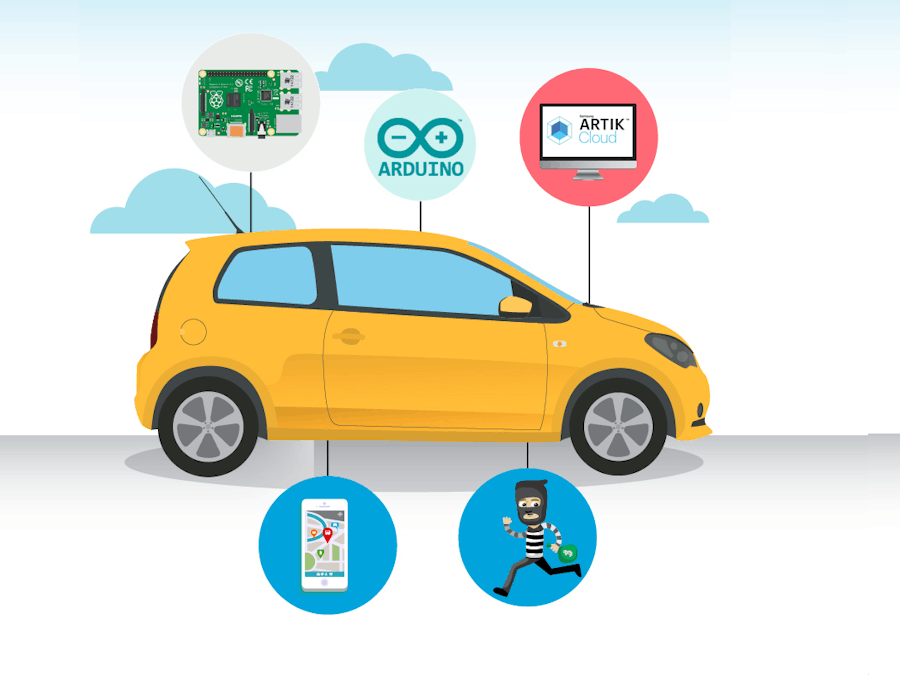
How many times have you parked your car and forgot where it is?
How hard is it for you to park your car and know the distance between you and the car behind you ?
Sometimes you give your car to your son and don't know where he is .
With this device you can easily track the position of your car.
This kit helps you find your car's location and activate an alarm using your mobile phone. You can get your car's position by reading Latitude and Longitude and putting the coordinates into google maps.
This is a step by step tutorial showing how to make this system, including components.Ultrasonic sensorBasic Ultrasonic sensor code that prints the distance between the sensor and object in front of it:
//ultrasonic Arduino code
#define echoPin 7 // Echo Pin
#define trigPin 8 // Trigger Pin
long duration, distance ; // Duration used to calculate distance
void setup() {
pinMode(trigPin, OUTPUT);
pinMode(echoPin, INPUT);
Serial.begin (9600);
}
void loop() {
/* The following trigPin/echoPin cycle is used to determine the
distance of the nearest object by bouncing soundwaves off of it. */
digitalWrite(trigPin, LOW);
delayMicroseconds(2);
digitalWrite(trigPin, HIGH);
delayMicroseconds(10);
digitalWrite(trigPin, LOW);
duration = pulseIn(echoPin, HIGH);
//Calculate the distance (in cm) based on the speed of sound.
distance = duration/58.2;
Serial.println(distance);
//Delay 50ms before next reading.
delay(50);
}
Buzzer Code that will be used to indicate the distance of object in front or behind the car during parking mode also will alarm user if car is switched on when it is in security mode:
const int freq = 500;
const int dur = 20;
const int buzzer = 3;
void setup() {
 // put your setup code here, to run once:
 pinMode(buzzer, OUTPUT);
}
void loop() {
 // put your main code here, to run repeatedly:
 tone(buzzer, freq, dur);
 delay(50);
}
GPS NMEA 6m code that will give us latitude and longitude that we will use to get the car position at any time the commented lines with // at the beginning we wouldn't use also you are free to uncomment them if you want
Here is the video explaining how it works :
#include "TinyGPS++.h"
#include "SoftwareSerial.h"
SoftwareSerial serial_connection(10, 11); //RX=pin 10, TX=pin 11
TinyGPSPlus gps;//This is the GPS object that will pretty much do all the grunt work with the NMEA data
void setup()
{
 Serial.begin(9600);//This opens up communications to the Serial monitor in the Arduino IDE
 serial_connection.begin(9600);//This opens up communications to the GPS
 Serial.println("GPS Start");//Just show to the monitor that the sketch has started
}
void loop()
{
 while(serial_connection.available())//While there are characters to come from the GPS
 {
   gps.encode(serial_connection.read());//This feeds the serial NMEA data into the library one char at a time
 }
 if(gps.location.isUpdated())//This will pretty much be fired all the time anyway but will at least reduce it to only after a package of NMEA data comes in
 {
   //Get the latest info from the gps object which it derived from the data sent by the GPS unit
   Serial.println("Satellite Count:");
   Serial.println(gps.satellites.value());
   Serial.println("Latitude:");
   Serial.println(gps.location.lat(), 6);
   Serial.println("Longitude:");
   Serial.println(gps.location.lng(), 6);
   Serial.println("Speed MPH:");
   Serial.println(gps.speed.mph());
   Serial.println("Altitude Feet:");
   Serial.println(gps.altitude.feet());
   Serial.println("");
 }
}
/*
* $GPRMC,183729,A,3907.356,N,12102.482,W,000.0,360.0,080301,015.5,E*6F
$GPRMB,A,,,,,,,,,,,,V*71
$GPGGA,183730,3907.356,N,12102.482,W,1,05,1.6,646.4,M,-24.1,M,,*75
$GPGSA,A,3,02,,,07,,09,24,26,,,,,1.6,1.6,1.0*3D
$GPGSV,2,1,08,02,43,088,38,04,42,145,00,05,11,291,00,07,60,043,35*71
$GPGSV,2,2,08,08,02,145,00,09,46,303,47,24,16,178,32,26,18,231,43*77
$PGRME,22.0,M,52.9,M,51.0,M*14
$GPGLL,3907.360,N,12102.481,W,183730,A*33
$PGRMZ,2062,f,3*2D
$PGRMM,WGS 84*06
$GPBOD,,T,,M,,*47
$GPRTE,1,1,c,0*07
$GPRMC,183731,A,3907.482,N,12102.436,W,000.0,360.0,080301,015.5,E*67
$GPRMB,A,,,,,,,,,,,,V*71
*/
PIR motion detection sensor is a sensor that feel infra red emitted by any living body so it will detect the presence of anybody in the car if you are activating the secure mode the buzzer will make alarm give high voltage if it senses anybody and low if there is no body you can simulate this sensor by using button connected to same pins with a resistance
/* PIR sensor tester*/
int ledPin = 13; // choose the pin for the LED
int inputPin = 2; // choose the input pin (for PIR sensor)
int pirState = LOW; // we start, assuming no motion detected
int val = 0; // variable for reading the pin status
void setup() {
pinMode(ledPin, OUTPUT); // declare LED as output
pinMode(inputPin, INPUT); // declare sensor as input
Serial.begin(9600);
}
void loop(){
val = digitalRead(inputPin); // read input value
if (val == HIGH) { // check if the input is HIGH
digitalWrite(ledPin, HIGH); // turn LED ON
if (pirState == LOW) {
// we have just turned on
Serial.println("Motion detected!");
// We only want to print on the output change, not state
pirState = HIGH;
}
} else {
digitalWrite(ledPin, LOW); // turn LED OFF
if (pirState == HIGH){
// we have just turned of
Serial.println("Motion ended!");
// We only want to print on the output change, not state
pirState = LOW;
}
}
}
Here are steps how to create artik device and connect it to cloud and make rule for it :
========================================
here i am testing ultrasonic sensor and the buzzer that increase it's sound when my hand comes nearer (sorry there was a problem with the sound in the video i will update it ) you may also notice that a switch is used instead of PIR sensor to detect the theft mode i made it like this to be easier with less wiring on the breadboard just for demo but the concept is the same
Adding web appfollow this tutorial to create web app with dashboard to monitor the data
https://developer.artik.cloud/documentation/tutorials/your-first-application.html
here is the final website dashboard


Comments
Please log in or sign up to comment.