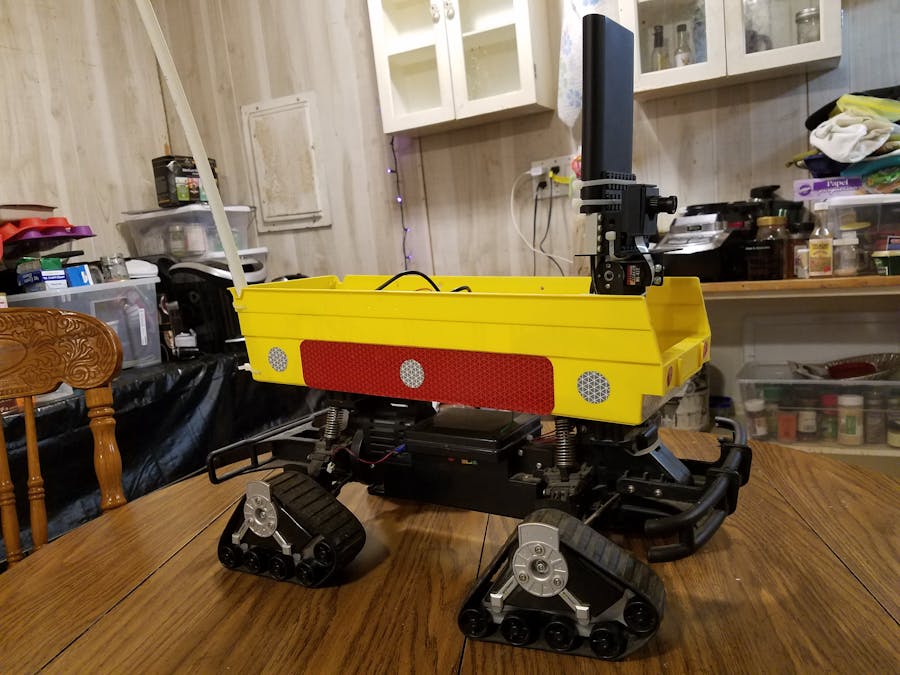
This is the continuation and improvement of a project I had started earlier on Hackster.io.
Improvements over the previous project
- The Walabot device is moved to an Azimuth Elevation servo controlled mount. This increases the ability of the robot to observe its environment.
- Alexa voice skills will be used to control the robot's motions and direct the use of the Walabot device and a camera
- Alexa voice skills used to control multiple robots. Two will be demonstrated, until I get more project funding.
A very IoT thing
My previous IoT project was a Medicine Reminder . Portions of the Medicine Reminder project will be reused to control the robots.
Voice User Interface
The voice user interface is like a voice operated joystick for operating the robot. Any command can issued in any order. There is a single level to the operation there are no sub-levels to the command structure. This makes it similar to operating a car, your car does not care when you open or close the windows on the car.
- Alexa, Ask Freedom Security Robot , this is the invocation for the Alexa skill to operate the robot
- Direction Left Turn (number) , this sets the next motion to be a left turn with a radius of (number) centimeters. The command immediately sends a MQTT command to the robot with turn radius. The AMAZON.NUMBER slot type is used, because I want to pick up any improvements that the programmers at Amazon come up with without changing my code.
- Direction Straight, this sets the next motion to be straight ahead.
- Direction Right Turn (number) , this sets the next motion to be a left turn with a radius of (number) centimeters. The command immediately sends a MQTT command to the robot with turn radius.
- Motion Forward (number), this sets the next motion to be a forward motion of (number) centimeters. The command immediately sends a MQTT command to the robot with the forward motion distance to the robot.
- Motion Backward (number), this sets the next motion to be a backward motion of (number) centimeters. The command immediately sends a MQTT command to the robot with the backward motion distance to the robot.
- Move, initiates a move with the turn radius and the forward or backward distance set by the previous commands. The robot will use the same turn radius and motion distance if several Move commands are given.The command immediately sends a MQTT command to the robot causing motion.
- Set Automatic mode, gives the robot permission to look around on its own. It still accepts commands to move and commands to direct the camera and Walabot .
- Clear Automatic mode , tells the robot to stop looking around on its own.
- Look Left (number), pan the az-el camera mount left (number) degrees. The command immediately sends a MQTT command to the robot to pan left.
- Look Right (number), pan the az-el camera mount right (number) degrees. The command immediately sends a MQTT command to the robot to pan right.
- Look Up (number), tilt the az-el camera mount up (number) degrees. The command immediately sends a MQTT command to the robot to tilt up.
- Look Down (number), tilt the az-el camera mount down (number) degrees. The command immediately sends a MQTT command to the robot to tilt down.
Step by Step Instructions
1) Download Walabot API into RPi
A link to the Walabot getting started page use this link on the Raspberry Pi chromium web browser to go to download the installer for Raspberry Pi.
A download occurs and places the installation file in the downloads directory.
Open a terminal window to run the dpkg installer program. Note that the current directory is changed to /home/pi/Dowloads before starting dpkg.
cd /home/pi/Downloads
sudo dpkg -i walabot_maker_1.0.34_raspberry_arm32.deb
A EULA screen will appear when the dpkg program is started. The TAB key is used to select <Ok> and make it turn red.
TAB to select that yes you agree with the agreement.
Then dpkg will work its magic and all the library files and example source is copied to the correct places on Raspberry Pi! Now we can start writing code after looking at the example code a little.
2) Make Azimuth Elevation Servos Move
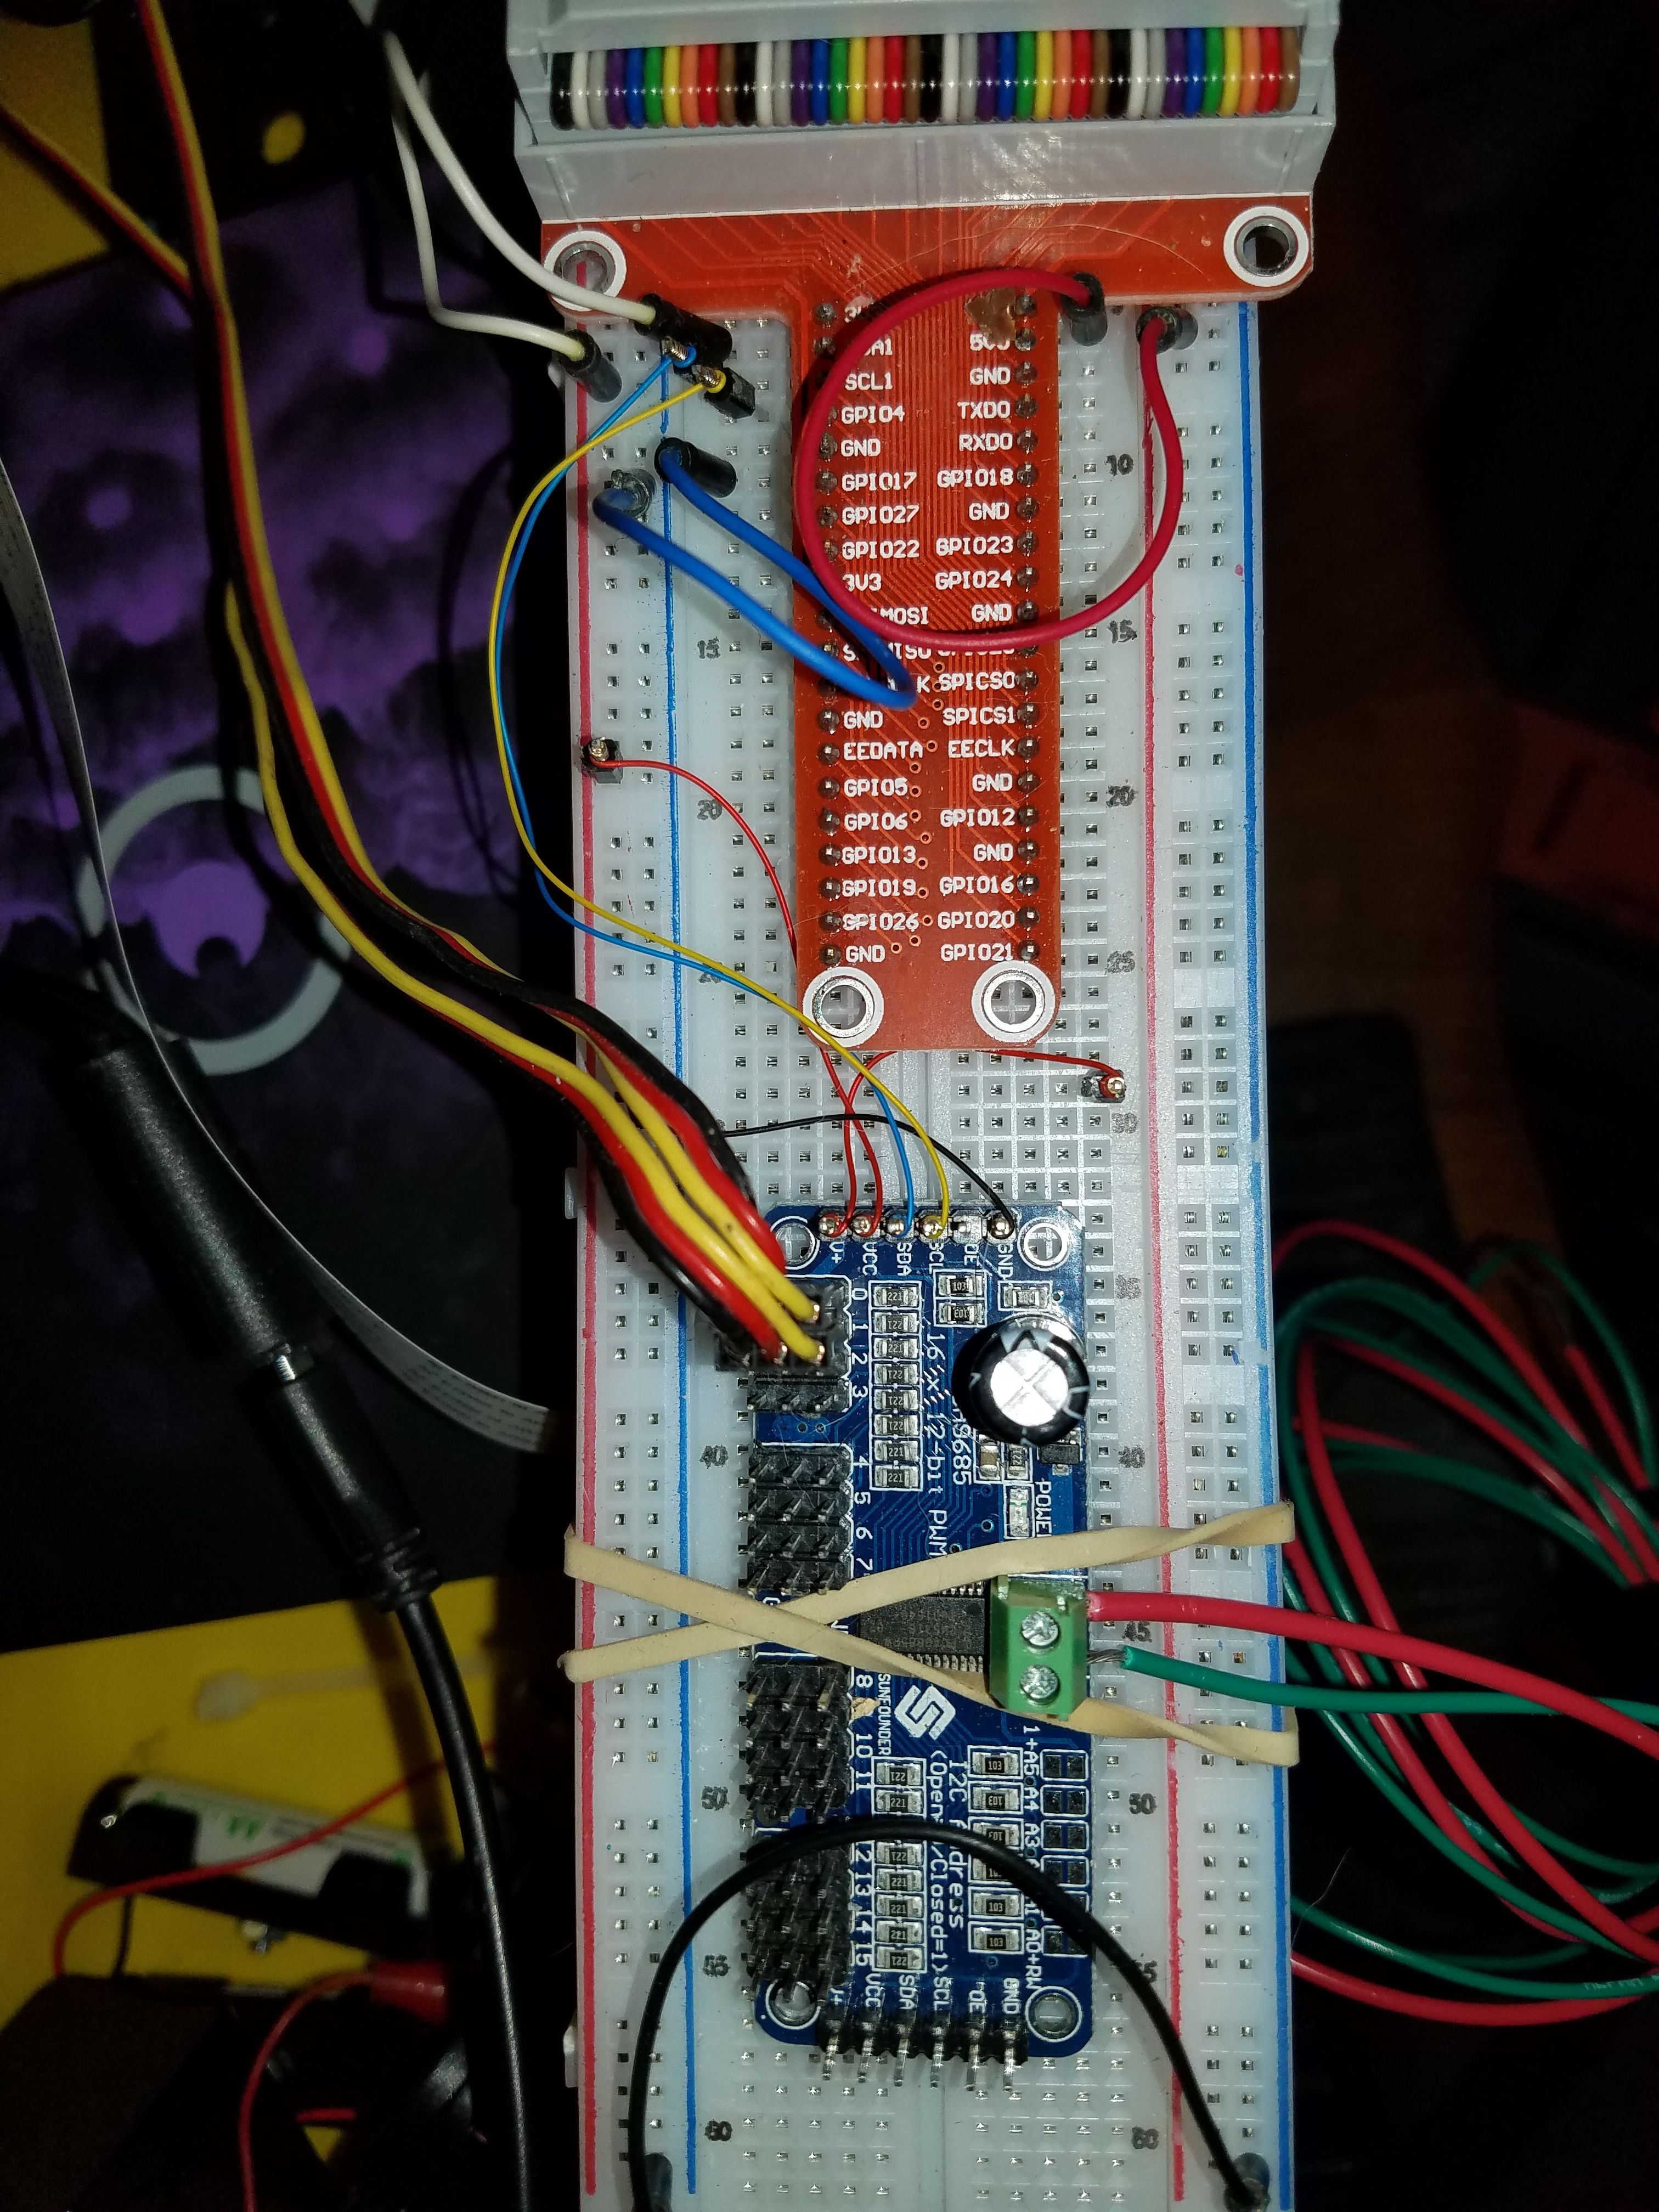
The process for getting the 16 channel PWM controller board is well documented on the Adafruit website. Here is the link to the web page.
adafruit-16-channel-servo-driver-with-raspberry-pi/using-the-adafruit-library
I have included slight changes to the demo example code since I have two servos to move and I want to set a much smaller range of motion when I test the servos for the first time.
3) Merge Walabot sensor.py example code with tom_simpletest.py (servo test program).
The merged code has the Walabot measurements and PWM commands going on with each loop. I have also added the target tracking code. The idea is to track a Walabot radar sensor detected target with the azimuth and elevation servos.
4) Install camera on Raspberry Pi
A link for installing a Camera on Raspberry Pi
5) Work on Alexa Skill
I have to get the intents filled in , here are some examples. Several different sample utterance approaches are taken, because I want the user interface to work in a natural fashion. AMAZON.NUMBER is used as the slot type to handle all of the number voice based data entry.
6) Create the Lambda function
The first test of the Lambda function will be a private test that I don't intend to publish as a formal Alexa Skill. After I prove the connectivity with RPi I will change the Lambda function for Account Linking and make it like a real Alexa based product.


_copy_P5AWOdT4dX.png?auto=compress%2Cformat&w=48&h=48&fit=fill&bg=ffffff)


Comments
Please log in or sign up to comment.