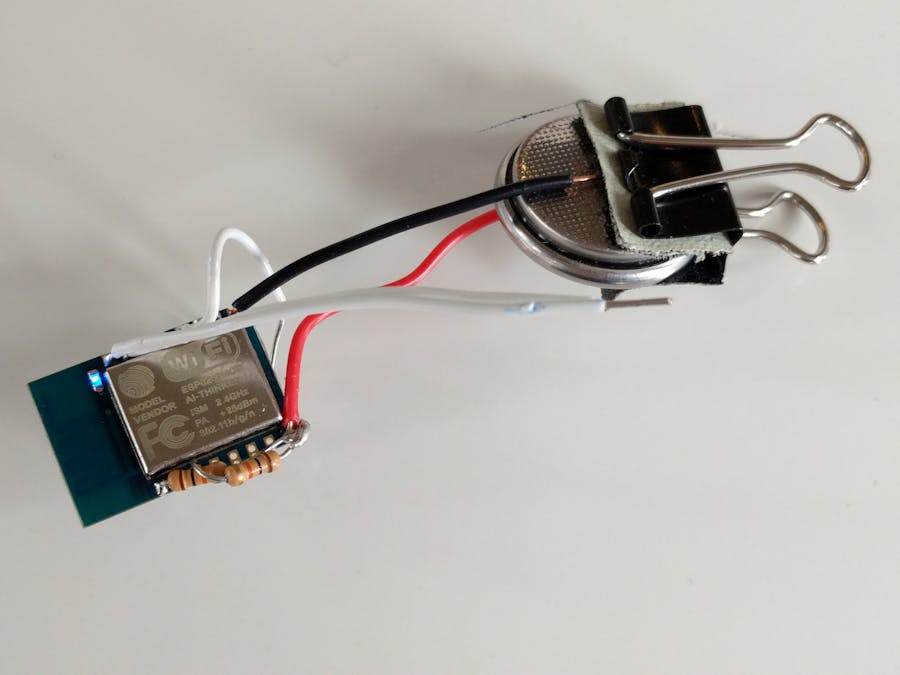
GPS location tracking has many use cases in our lives. There are many small GPS devices available in the market that can be used for location tracking. For example we can track our bicycles with such devices or even can hide them in our precious belongings, in case if it gets stolen. Or even better we can spy on any person using such devices, or can use such devices for kids.
Thus location tracking has many use cases in our lives, but unfortunately these devices have some limitations. They require a network to transmit the location co-ordinates to a server, they are expensive, have poor battery life, and GPS doesn't work inside buildings, tunnels etc.
So I thought using some alternative to GPS and fortunately there are many API's that provide location using the mac addresses, cell tower information etc. So one can use API's like Google's Geolocation to get the location through WiFi mac addresses, and there have been some projects that have showed the use of such API's to get location co-ordinates. But still they miss some functionalities like remote location tracking, uploading the mac addresses and rssi values to a database so that it can be processed and displayed on a web page or a mobile application, working with poor WiFi connectivity for uploading the values to a database, enhanced battery life. After browsing through the internet searching for such a project that solves the above problems, I had no luck. Thus I thought of building such a device on my own with all the functionalities and creating such a DIY project, so that everyone can use my code and modify it with ease according to his/her needs.
Procedure:Step 1: Getting the ESP8266 readyESP-12E is a miniature WiFi module present in the market and is used for establishing a wireless network connection for microcontroller or processor.
- We will use the ESP-12E in station mode to scan and connect to a access point.
- By using the scanning feature we will scan for the nearby WiFi BSSID and RSSI values, and save them to the ESP-12E internal memory.
- When a WiFi network, whose password is known and saved in the ESP-12E's memory appears, then the ESP will connect to that network and transfer all the BSSID and RSSI values to the AWS Lambda Function.
- Thus our ESP will not require continuous connection to the internet.
To get the ESP ready connect it to the FTDI board as shown in the below figure:
Make sure to connect the Tx of ESP to Rx of FTDI board and vice-versa.
In the arduino sketch that is available in the code section, make sure to fill all the values like your WiFi SSID, password, and AWS Lambda Function API url. There are some more details that have to be filled, you can follow the next steps first and then come to this section again.
Then simply upload the sketch given it the code section of this project.
I have attached the Serial Monitor image below, you can simply comment out all the print functions in the sketch (I have only added them for the debugging purpose)
I have used the GeoLocation API of UnwiredLabs, only because it works like a charm and most importantly it is free. The free account features 100 requests per day, which is not that great but don't forget its free. Simply go to UnwiredLabs signup page ( https://www.unwiredlabs.com/trial ) and create a free account. They will mail a token to your mail id, simply save that token for future use.
Step 3: Setting a DynamoDB database:I assume that you have the AWS Free tier account, if not then there are many great tutorials, simply google it and follow and good tutorial.
- Login to the AWS console and select DynamoDB
- Create a new table with Table Name "bssid_rssid_values"
- Enter Primary Key value to "main_index"
- Enter Sort Key value to "secondary_index"
- Create the table.
- Enter an item to the table "main_index" value to "0" and "secondary_index" value to "0" and "index" value to String "0"
- Login to the AWS console and go to Lambda Function
- Create a new Lambda Function
- Select Create from Scratch
- Enter any function name according to your like
- Select Runtime to Python3.8
- Create the role with though the IAM console with policies AWSLambdaBasicExecutionRole and add an inline policy whose service should be DynamoDB and should have full access to all DynamoDB resources
- Select this created role for Lambda Function
- Finally the Lambda Function is created
- Upload the Lambda Function Code to an index.py file in root directory of Lambda Function.
- Login to the AWS console and go to API Gateway Services
- Here create a new API with any name
- Make 2 resources in that API
- In each resource create a GET and POST method
- Set the Lambda Function Trigger to this API
- Finally deploy the API
Connect the ESP-12 through the FTDI board to the computer and upload the sketch through the code section.
Run the HTML script in the computer. If the script is running correctly then it will output the present location in the browser window.


Comments
Please log in or sign up to comment.