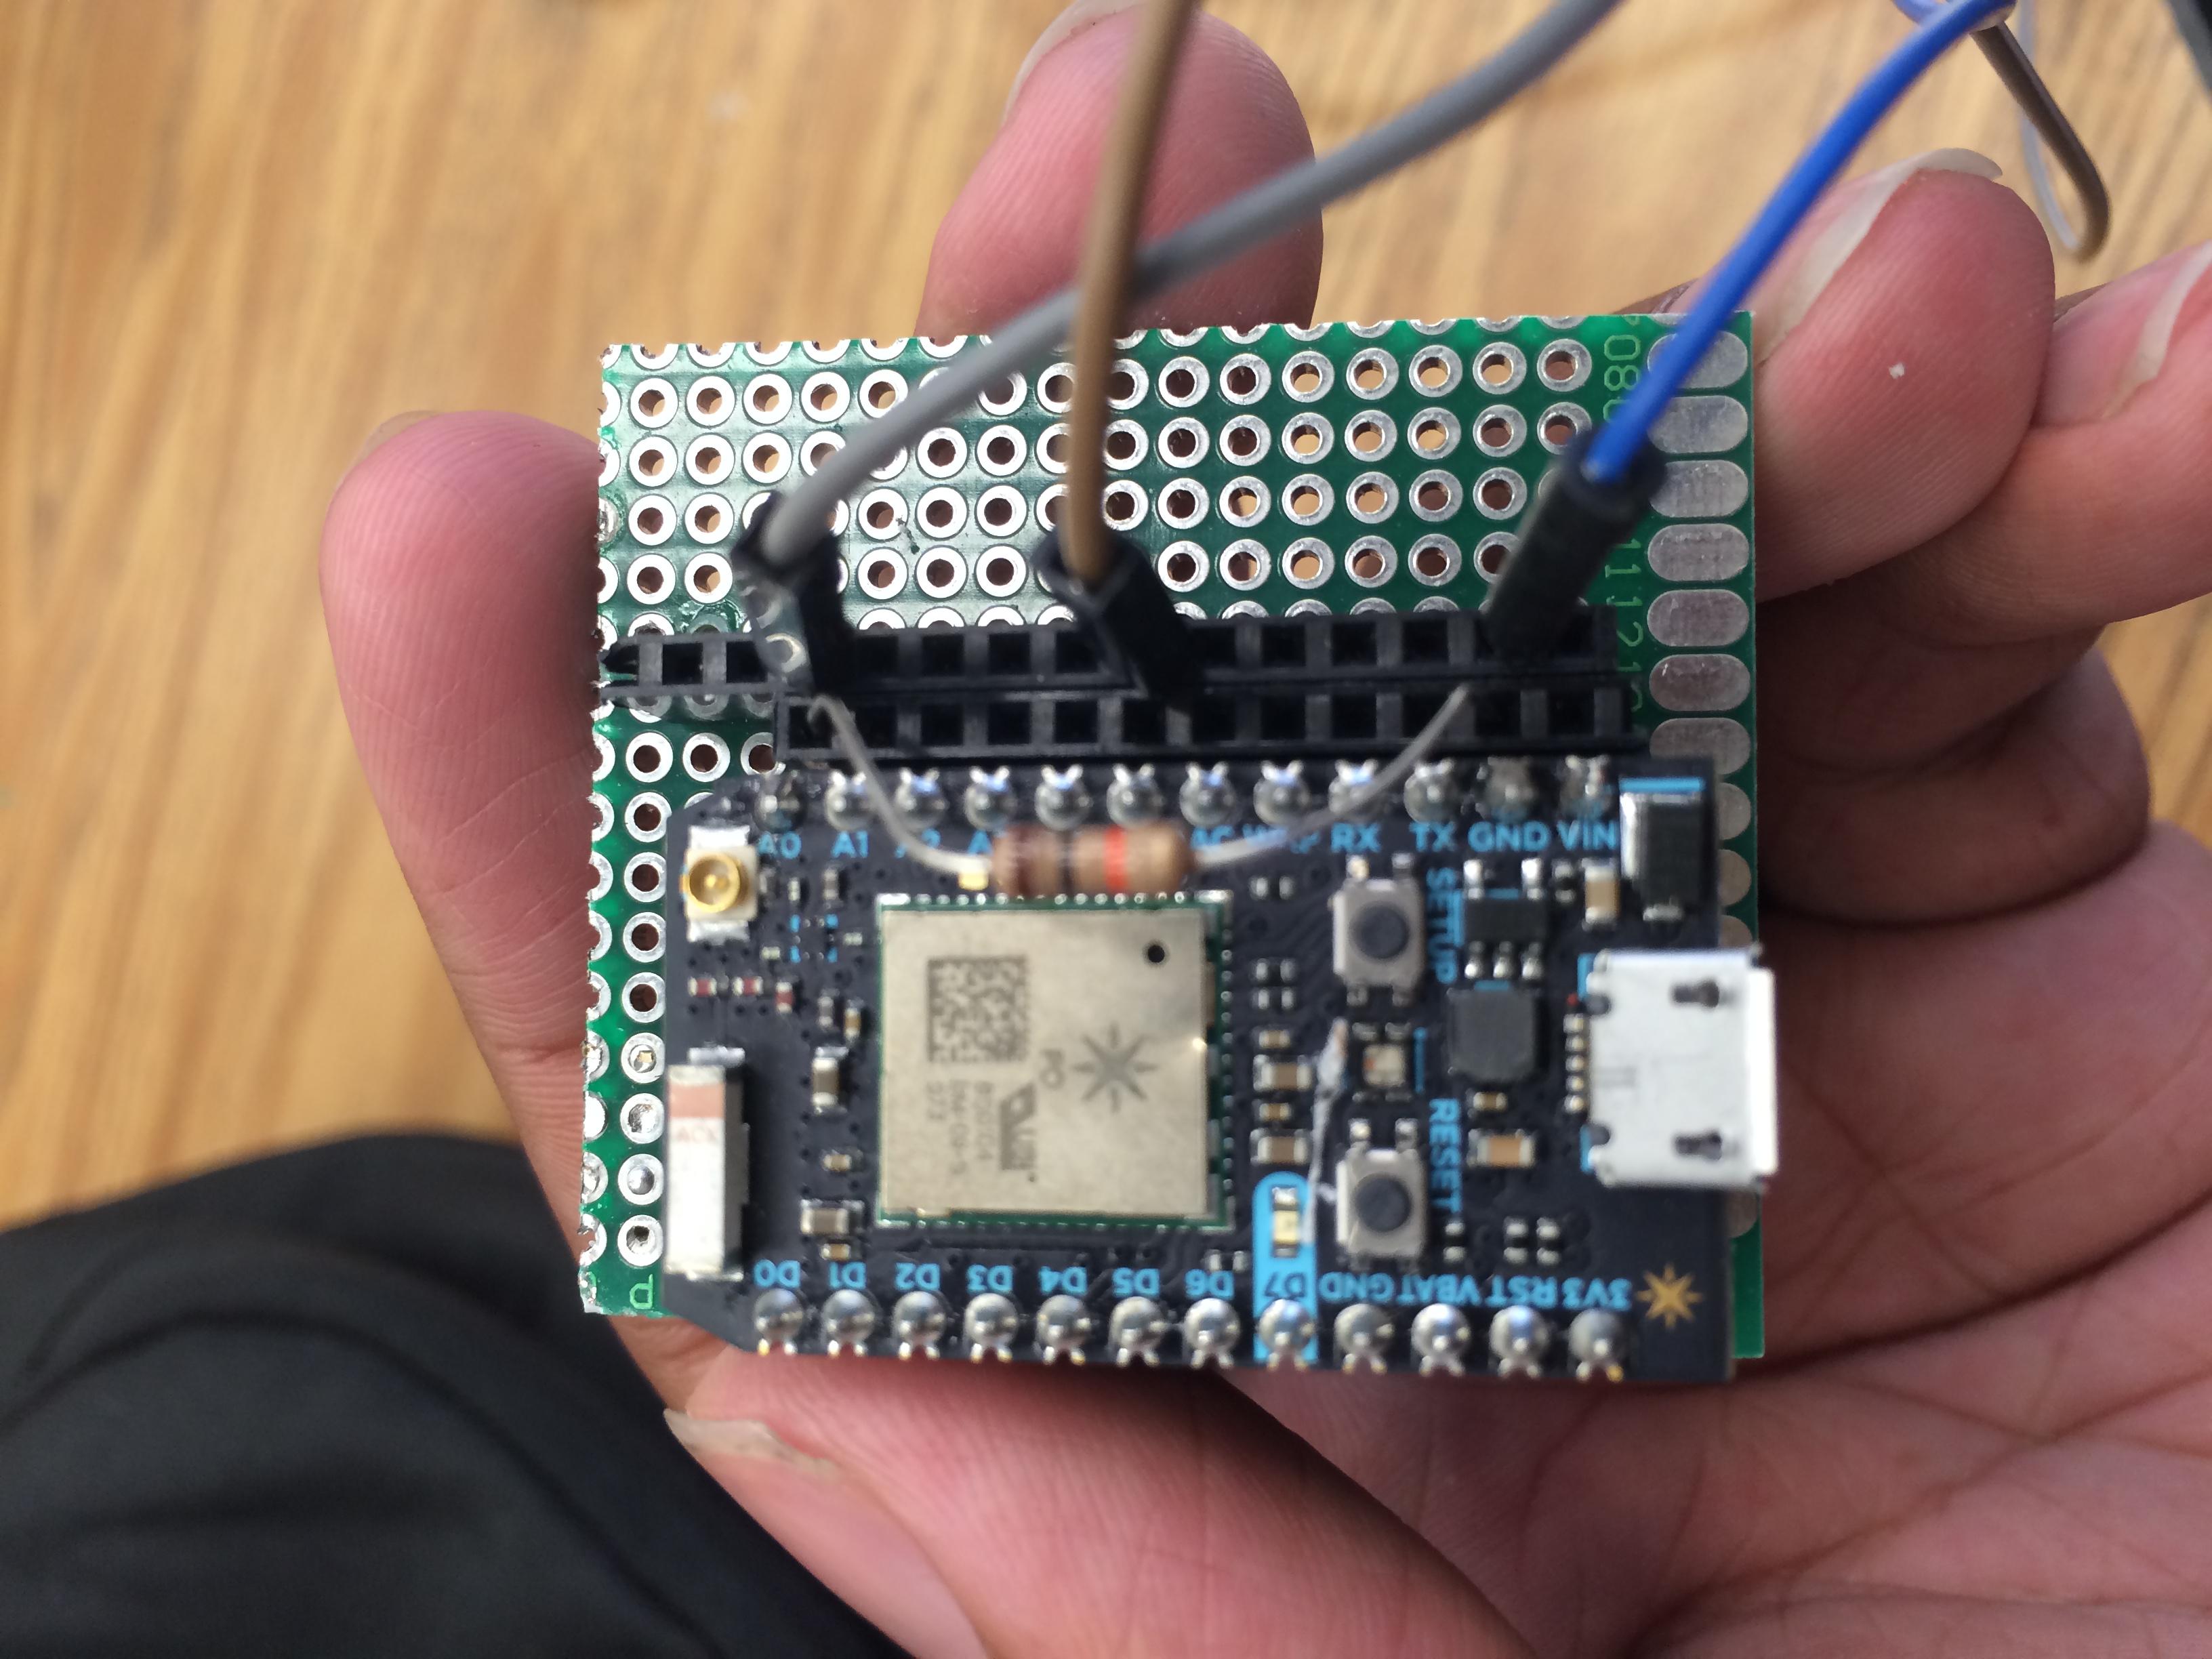
This project is very easy if followed step-by-step. The project is very simple, as we build the particle application to read the moisture of the soil using the sensor that we have on the breadboard. The code in this project is able to work with multiple sensors and LEDs, but we have specifically modified it so that we can access the soil sensor portion only. To start off the project, lets get the Particle code out of the way.
Particle Photon Code
- To enable the Particle end of the code, make an account onhttps://www.particle.io/.
- Drag and drop the files from github in the firmware folder (ONLY THE ALEXA.INO FILE)
- Connect your Particle Photon to wifi and go through the steps of linking it to your account. ( You will need to download the app on your phone)
- Once the Photon is linked to your account, flash the code to Photon from the build page. (LED on Photon should glow magneta when flashing the code)
- This code also involved communicating with IFTTT which will be explained later.
-
We will have to create an Amazon Alexa Skill set so that we can interact with Amazon Alexa. For example:
Person: "Alexa, open particle." Alexa: "Connected to Particle. You can..."
When we make a Alexa Skill Set we need both an Intent Schema ( defines what actions to do for our voice input) and sample utterance ( all the voice inputs we say and the responses from Alexa). Both of these files can be found in the github link under ASK/speechAssests.
Installation of Alexa Skill Sets.
AWS Lambda Setup
- Go to the AWS Console and click on the Lambda link.
- Click on the Create a Lambda Function
- Name the Lambda Function "Photon".
- Go to the the src directory in the github link, select all files and then create a zip file, ( GO INTO THE FOLDER AND INDIVIDUALLY SELECT THE FILES)
- Upload the .zip file to the Lambda
- Keep the Handler as index.handler (this refers to the main js file in the zip).
- Create a basic execution role and click create.
- Return to the main Lambda page, and click on "Actions" -> "Add Event Source"
- Choose Alexa Skills Kit and click submit.
- Click on your Lambda function name and copy the ARN to be used later in the Alexa Skill Setup
Alexa Skill Setup
- Go to the Alexa Console (https://developer.amazon.com/edw/home.html)and click Add a New Skill.
- Set "Particle" as the skill name and "particle" as the invocation name, this is what is used to activate your skill. For example you would say: "Alexa, tell Particle to turn on red light"
- Select the Lambda ARN for the skill Endpoint and paste the ARN copied from above. Click Next.
- Copy the Intent Schema from the included IntentSchema.json. (github)
- Copy the Sample Utterances from the included SampleUtterances.txt. Click Next. (github)
- You are now able to start testing your sample skill! You should be able to go to the Echo webpage (http://echo.amazon.com/#skills) and enable your skill.
- In order to test it, try to say some of the Sample Utterances from the Examples section below. (DOES NOT NEED TO BE PUBLISHED)
Before moving on, link your Amazon Alexa to the wifi using their mobile app also. (Both the Photon and Alexa should be on the same wifi network).
THERE WILL BE AN ERROR WHEN UPLOADING ZIP FILE AT THE END (IGNORE IT, PROJECT WILL WORK)
{
  "errorMessage": "Cannot read property 'application' of undefined",
  "errorType": "TypeError",
  "stackTrace": [
    "AlexaSkill.execute (/var/task/AlexaSkill.js:72:62)",
    "exports.handler (/var/task/index.js:152:19)"
  ]
}
COMMUNICATING ON CLOUD
Now to get Alexa and Photon to actually communicate with each other, there is some info that must be changed in the .zip files that were uploaded.
- Find the src directory downloaded from git and open the index.js file in Particle build.
- Now there are some key things that must be updated for particle to communicate with AWS Lambda.
* App ID for the skill
*/
var APP_ID = "amzn1.echo-sdk-ams.app.c4cbe4a8-2f9c-4386-a274-0a595b7b3c54"; //replace with "amzn1.echo-sdk-ams.app.c4cbe4a8-2f9c-4386-a274-0a595b7b3c54";
null
Where it says var APP_ID, you should update your APP ID link. By going to this link https://developer.amazon.com/edw/home.html#/skills/list and clicking "edit" on your particle skill, you will see the APP ID link.
- Then later down in the code you need to upload some of the Particle info. so AWS Lambda can communicate with Particle device.
		// Replace these with action device id and access token
		var deviceid = "440035001247353138383138";
		var accessToken = "afcea4ef5081dc8b9063e0b979cd7fe5c0884973";
null
- The Particle Device ID can be found on your dashboard on Particle.io
- The access token can be found on on the particle build page (click on the settings icon at the bottom left hand corner and the access token will show).
- Once you update the index.js file with this information, you must compress both the index.js file and the other file in the src directory and then upload then back onto AWS Lambda.
IFTTT PORTION:
- The IFTTT code is already inputed in the alexa.ino file.
- Use this IFTTT recipe that I have already made: https://ifttt.com/recipes/search?q=vikrantmannemela.
- The Event Name should be put as SoilStatus.
- You will get email reminders based of the delay number that is set on the alexa.ino file.


Comments
Please log in or sign up to comment.