Two-factor authentication (2FA) is a subset of multi-factor authentication, which uses two tokens of identification to validate your identity. Usually these tokens are a password and a verification code using a register cellphone number or a landline number.
This project presents a homemade two-factor authentication device using NFC communication and text messages. The external device is connected through a WIZ750SR device into the local network and a serverwith the register valid users.
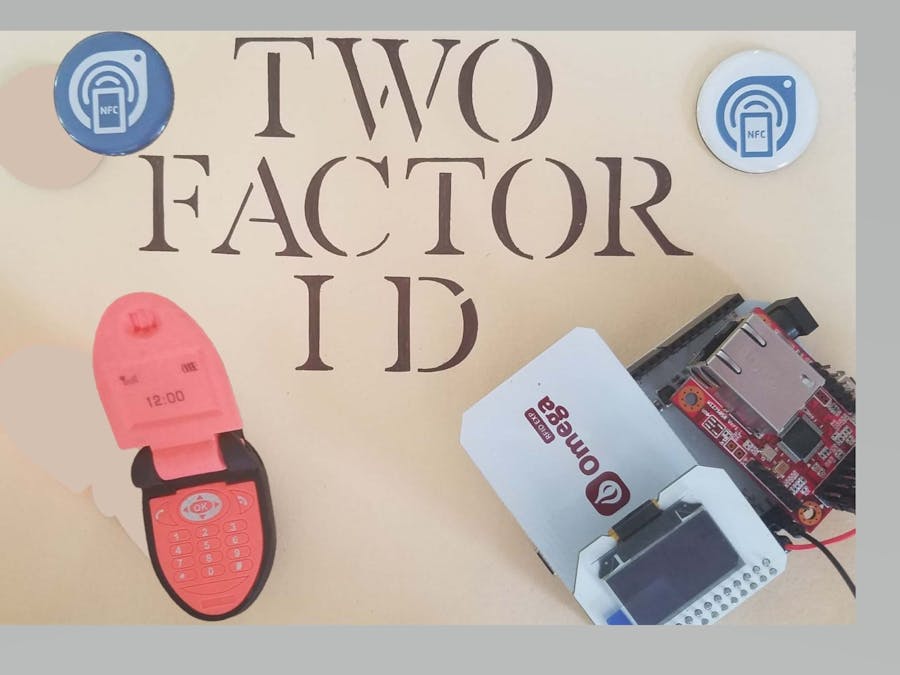
Here are the components used in the system. Mentally add a picture of a Samsung S7 phone I used as second identification factor.
Two-Factor Authentication
Our two-factor authentication method makes use of NFC tags as a first identification token and a verification code received through a text message.
The tag requires the following information recorded:
- Unique serial user number
- Telephone number
- User password
On that specific order. The data forms the First Factor Vector (FFV) as (IdNo, TelNo, Password). The tag is read by the NFC expansion board and the FFV is sent to the server. If the user tag is registered in the system, the server then sends a text message to the phonenumber in file with a random code generated.
The second token of identification thenreceives the text message and Android Beam's it to the NFC expansion board, which transmits to the server for verification. If matched the server Grantsaccess to the system, if not it DENIED it.
This approach enforces that the register cellphone is physically in possession of the user at the time he is close to the security access device.
Omega Onion Dock Mini or Arduino ShieldThe Omega Onion core board has different dock boards. I started with the Power Dock 2 interface board, but the NFC expansion board uses the only expose UART port, and there would be not available port to connect the WIZ750SR.
The Arduino Dock 2 exposes UART1 and UART0 serial ports. UART1 will be use by the NFC expansion board and UART0 will be use for communicating with the WIZ750SR board.
A word of warning, the UART0 is primarily used for the command line. At first I thought I had some sync problem with this and my port, but it ended up being the debugger in Python on the server side. Serial communication is very picky when it comes to buffer read. Once I run the program without debug, it worked like a charm.
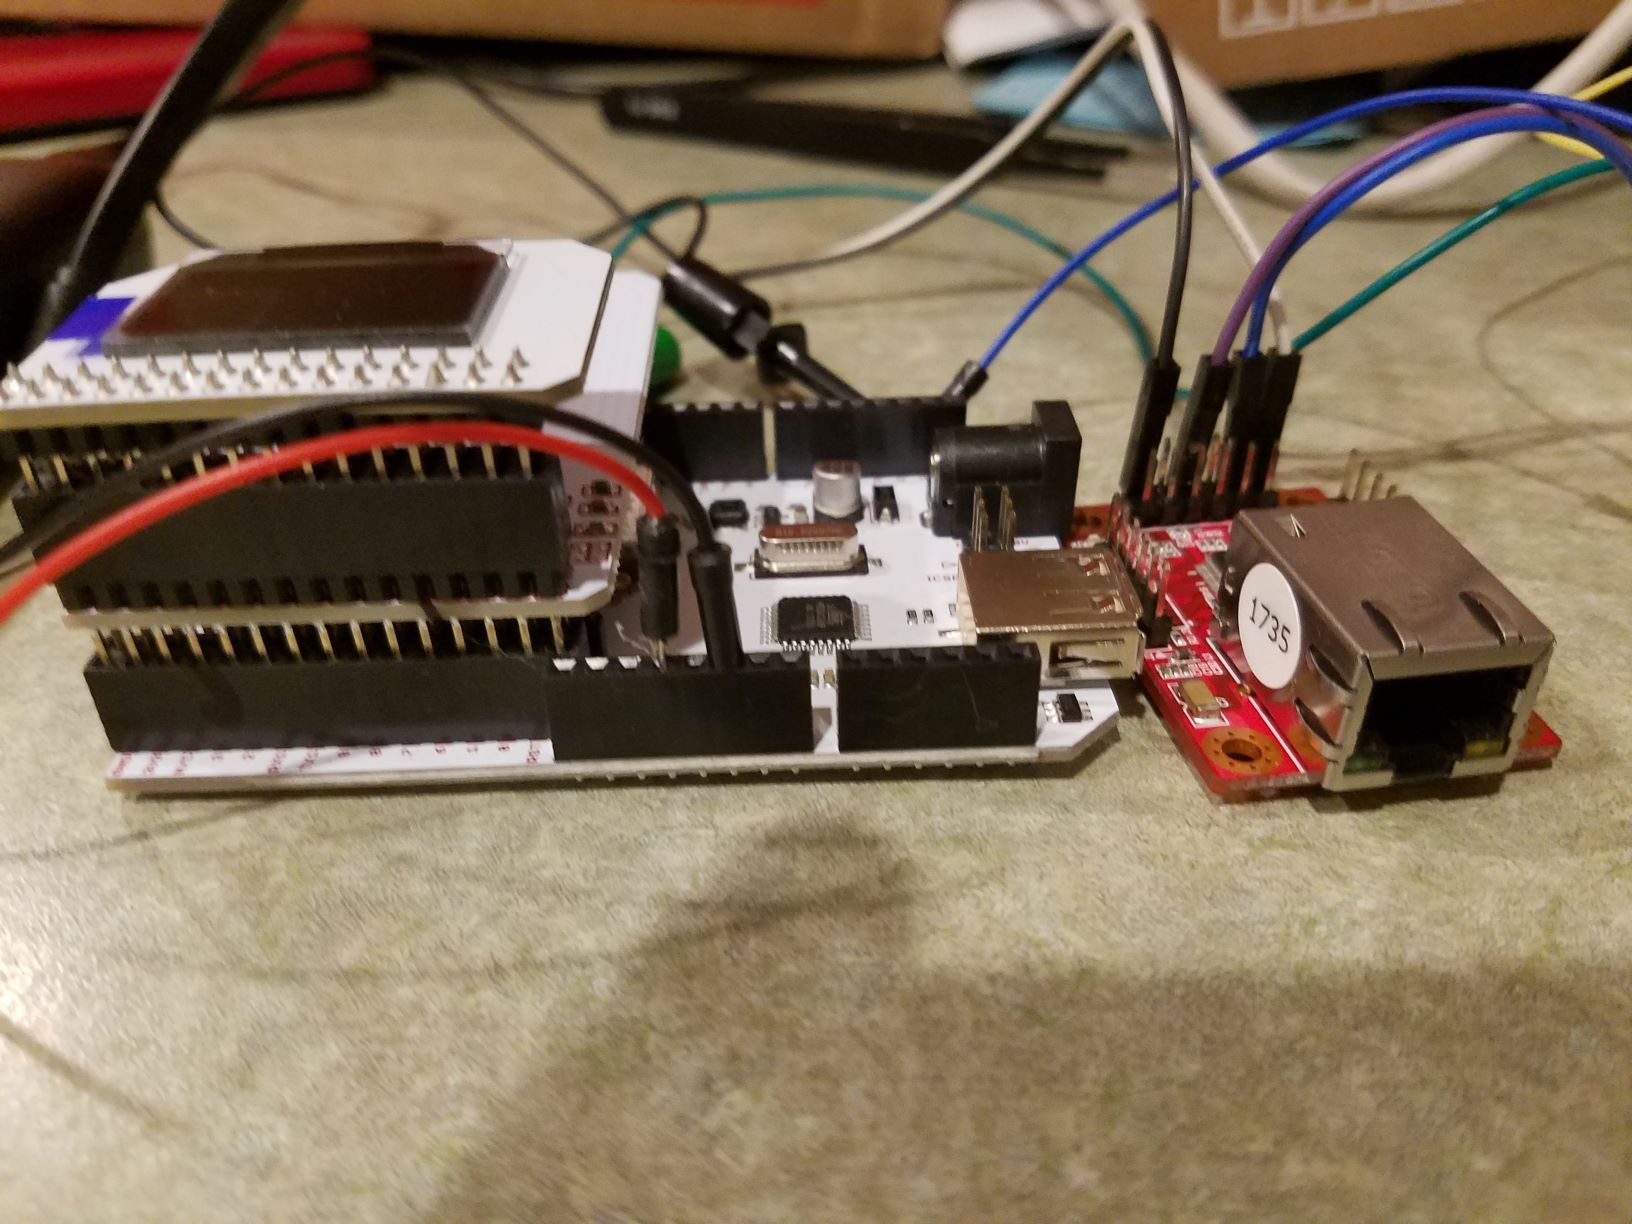
Here is a screenshot of the final device. Notice that the power 3V and ground are being taken from the Onion Dock board.
Near-field communication (NFC) is a communication protocol that works on close proximity electronic devices. The standard is so power saving that a device with no electrical power can be activated by the electromagnetic field of the other device.
The Onion Omega 2+ has an expansion board for NFC and RFID support. The board supports sever NFC and RFID protocols at 13.56 Mhz using the PN532 chip.
Note that the Onion board runs on the Linux Embedded Development Environment (LEDE). In order to use the NFC expansion board you will need to install the libnfc libraries, you can find the tutorial here. Then in order to have a Python program the nfcPy libraries are also needed, together with PySerial and libusb1. To install these libraries at an ssh session on the Onion board run
$ pip install -U nfcpy
An in-depth explanation with examples can be found at the official nfcPy web page here.
Record an NFC Tag.I use MiFare UltraLight tags with a capacity of 64 bytes.
I use NFC Tools from wakdev in order to write the First Factor Vector (FFV) data.
Once the tag is created and pass to the user. The programming of the Onion NFC expansion board follows.
The system requires two different approaches to read from the NFC device. The first one reads the NFC tag, and the second part starts a communication link with an NDEF device (the cellphone) to transfer the verification code.
Let us start with the NFC tag. The InitNFC function initializes the device and opens the link port with the specified chip set.
The ReadTag function starts a connection and waits until a tag is presented. The function then parses the record read from the tag and constructs the First Factor Vector to be send to the server.
#Initialize the Onion Omega NFC expansion board
def InitNFC():
	global clf
	clf = nfc.ContactlessFrontend()
	clf.open('tty:ttyS1:pn532')
	return True
#Start NFC transaction and wait for a tag to be presented
def ReadTag():
   global clf
   global TagStr
	#Read tag
   tag = clf.connect(rdwr={'on-connect': lambda tag: False})
	#Build the tag record to be submitted to the server
   if tag.ndef is not None:
   	TagStr = "("
       for record in tag.ndef.records:
           print(record)
           print(record.text)
           TagStr += record.text + ","
       TagStr = TagStr[:-1]+")"
   clf.close()
   return True
The second stage establish an NDEF communication between the NFC expansion board and the cellphone. The cellphone uses Android Beam to send the verification code received through a text message.
In order to accomplish a NDEF link we need to create a server that will be listening for a connection. We do this by defining a class use as a snep server. The startup function creates an instance of the class and connect starts the server.
#Define the server class for NDEF data exchange
class DefaultSnepServer(nfc.snep.SnepServer):
   def __init__(self, llc):
       nfc.snep.SnepServer.__init__(self, llc, "urn:nfc:sn:snep")
   def put(self, ndef_message):
   	global CodeStr
       print "client has put an NDEF message"
       print ndef_message.type
       print ndef_message.pretty()
       myrec = ndef_message.pop()
       print myrec.type
       print myrec.data
       find = re.search("/",myrec.data)
       CodeStr = "(" + myrec.data[find.start()+2:-1] + ")"
       return nfc.snep.Success
#Initialize server task for NFC
def startup(llc):
   global my_snep_server
   my_snep_server = DefaultSnepServer(llc)
   return llc
#Start server for NFC
def connected(llc):
   my_snep_server.start()
   return True
Start the snep server and wait for a client. Once a connection is establish the put function is used as a callback function and data is stream from the client into our program.
#Read verification code received as a text and transmitted thru Android Beam
def Read_NDEF():
	global clf
	global CodeStr
	clf = nfc.ContactlessFrontend("tty:ttyS1:pn532")
	clf.connect(llcp={'on-startup': startup, 'on-connect': connected})
	return True
Setting the configuration for the WIZ750SR was the easiest part of the project. The operation mode is set to TCP client and the remote IP / port is set to 192.168.1.23 port 5075, which is the static address assigned to the MSi mini PC device.
The following program runs in the server. Sets its static IP address and opens port 5075.
#get the hostname
host = "192.168.1.23"  #Server host
port = 5075 #Server port
#Create a communication socket and bind
server_socket = socket.socket()
server_socket.bind((host,port))
#Wait and listen for client
server_socket.listen(2)
conn, address = server_socket.accept()
...
data += conn.recv(1024).decode()
#check if we got the server passcode
found = re.search("\)", data)
#Clean the receive string to get access to just the passcode
if (found):
    startpass = re.search("\(", data)
    recdata = data[startpass.start() + 1:found.start()]
#Verify passcode
if (recdata == serverpasscode):
The client, Onion Omega board, initializes the UART0 port and sends the passcode to connect to the server. The server verifies the passcode and accepts the connection.
#Verify serial communication with the server via WIZ750SR
def InitServer():
	retVal = False
	#open serial port
	com0 = serial.Serial("/dev/ttyS0",115200)
	com0.write("(servpassword)")
	#wait until complete reply is received
	incoming = com0.read_until("]")
	print incoming
	find = re.search("\[",incoming)
	last = re.search("\]",incoming)
	resStr = incoming[find.start()+1:last.start()]
	print resStr
	if (resStr == 'OK'):
		retVal = True
	#close port
	com0.close()
	return retVal
The server will send a text message with the verification code to the telephone number register in the NFC tag. I used my gmail account to send an email to the tmobile server which will in return forward a SMS text message to the cell phone. I should mentioned that every cellphone number has an email assigned on each carrier. The address differs on each carrier but it is possible to send a text message via email. Now, be aware that some concessions might need to be done, in the case of gmail a lowering security to allow this program to connect to the server is necessary. Note, that you will have to provide your credentials in order to connect to the gmail server.
#Function that sends a text message using Google gmail account.
def SendText(phoneNum):
    global rndStr
    fromaddr = "yourgmail@gmail.com"
    #use the number on file to text to.
    toaddr = phoneNum+"@tmomail.net"
    msg = MIMEMultipart()
    msg['From'] = fromaddr
    msg['To'] = toaddr
    #Create random code to text
    CreateRandomcode()
    body = rndStr + " 33"
    msg.attach(MIMEText(body, 'plain'))
    part = MIMEBase('application', 'octet-stream')
    server = smtplib.SMTP('smtp.gmail.com', 587)
    server.starttls()
    server.login(fromaddr, "password") #insert your gmail creadentials here
    text = msg.as_string()
    server.sendmail(fromaddr, toaddr, text)
    server.quit()
Once we received our verification code via text message, we can share the code using Android Beam. In the Samsung S7, press the text message you want to use and select Share, then a popup menu will show the options, select Android Beam. Then move the phone close to the NFC expansion to start the NDEF link.
Here is some testing done. The GIF shows a granted access, an invalid tag and a denied access experiment. Below, I add the screenshots of the gif for a more detailed review of the tests.
Access Granted
Invalid Tag Test
Denied Access: I am showing only the last part since the first stage is shown on the access granted test.
Create an Android program that uses the phone serial number as part of the code and drop the tag. Create an mySQL database to save the tag registration, and connect the system to different IoT devices.
Thanks for reading!


Comments
Please log in or sign up to comment.