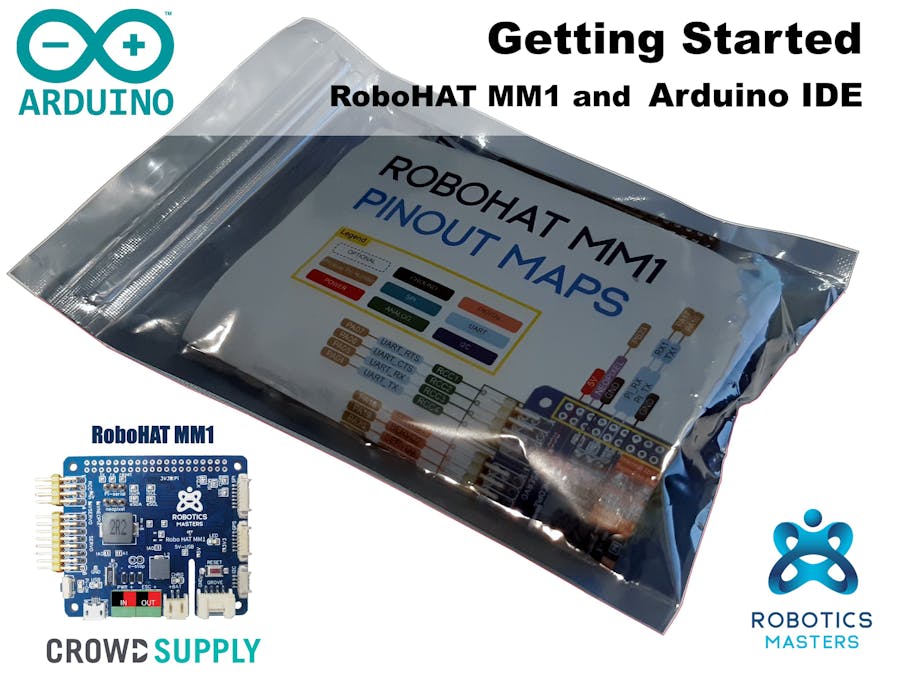
With the Robo HAT MM1 now being received by backers, there has been a few questions about getting things up and running. This guide is for people looking at writing or using Arduino programming environments with their new Robo HAT MM1 board from Crowd Supply.
Most of the Robo HAT MM1 kits will contain a Robo HAT MM1 board, pin out guide and an assortment of accessories. This is enough for you to get up and running with a multitude of projects and sensors.
- Robo HAT MM1
- Pin out map
- Power Fly-Lead
- 2 x Green Connectors for ESC and Power
- Stand-offs
- Assortment of cables for each of the three ports
All the Robo HAT MM1 boards were flashed with CircuitPython at the factory. Arduino IDE does not come standard with the Robo HAT MM1 board. This means that to run Arduino IDE with the Robo HAT MM1 you will need to install the board.
We will assume that you already have Arduino IDE downloaded and installed. If not, pop over to Arduino's site and download the latest IDE: https://www.arduino.cc/en/main/software
Step 1 - Add Board Definition FileOpen Arduino IDE so that you can see the blank example sketch. Then go to the top left to the File Menu, go down to Preferences and click on it..
This will open up the "Preferences" dialog box. This allows you to put in a custom URL for adding boards using a JSON file. Copy the below URL into the white text box near the bottom that says "Additional Boards Manager URLs".
https://raw.githubusercontent.com/robotics-masters/mm1-hat-arduino/master/custom_board/package_robohat_index.jsonOnce done, click the OK button in the bottom right to bring you back to the example sketch.
Step 2 - Install Robo HAT MM1 BoardNow that the URL has been given to Arduino IDE, you should be able to download the required files that allow Arduino IDE to use the Robo HAT MM1.
To do this, go to “Tools” then expand the ”Board” menu. At the top of the “Board” menu will be the “Boards Manager." Click on this menu option to bring up the Boards Manager. See the below screenshots if you need assistance.
With the boards manager now open, we are able to download and install the Robo HAT MM1 files. Use the search bar to type "Robo HAT" to bring up the Robotics Masters Robo HAT MM1 board.
Click on the Robo HAT Boards by Robotics Masters package and then on the "Install" button when it appears.
A bar will briefly appear on the bottom of the Boards Manager dialog to indicate that the board is installing.
Once completed, click the "Close" button in the bottom right corner to bring you back to the example Arduino sketch.
You can ignore any warnings that are displayed in the console box. There is a warning about script execution but it does not impact on the operation of the Robo HAT MM1.
Step 3 - Configure IDE for Robo HAT MM1Now that the board files are installed, they will appear in the list of boards available for the Arduino IDE to use.
It is very important that you set the correct board and settings at this point before you plug your Robo HAT MM1 into your computer. Incorrect settings can cause your Robo HAT MM1 to become faulty.
Go to the Tools Menu. Hover over "Board: xxx" (there could be another board name here not Robo HAT MM1 at this stage). Scroll down to where the Robo HAT MM1 (SAMD51) board is listed and click on it.
This should cause the "Board: xxx" option to read Board: "Robo HAT MM1 (SAMD51)".
You can safely ignore all the other options. The only option that you should be changing the the Port. Make sure you select the Port that your Robo HAT MM1 is connected to (this is different in Windows and Mac).
ConclusionYou should now be able to push a test sketch to the Robo HAT MM1 using the normal Arduino IDE processes.
Just note that there is a lot of extra output in the console. This is normal for SAMD processors in Arduino IDE and is not something to be concerned about.
What do I do now?Well, now that you have Arduino IDE up and running - you can do anything!
Arduino has a number of example projects on their website involving LEDs, buzzers, sensors and more. The Robo HAT has an IMU included so you can use the existing Arduino code for the MPU9250 to create a project.
Where to purchase the Robo HAT MM1?


Comments
Please log in or sign up to comment.