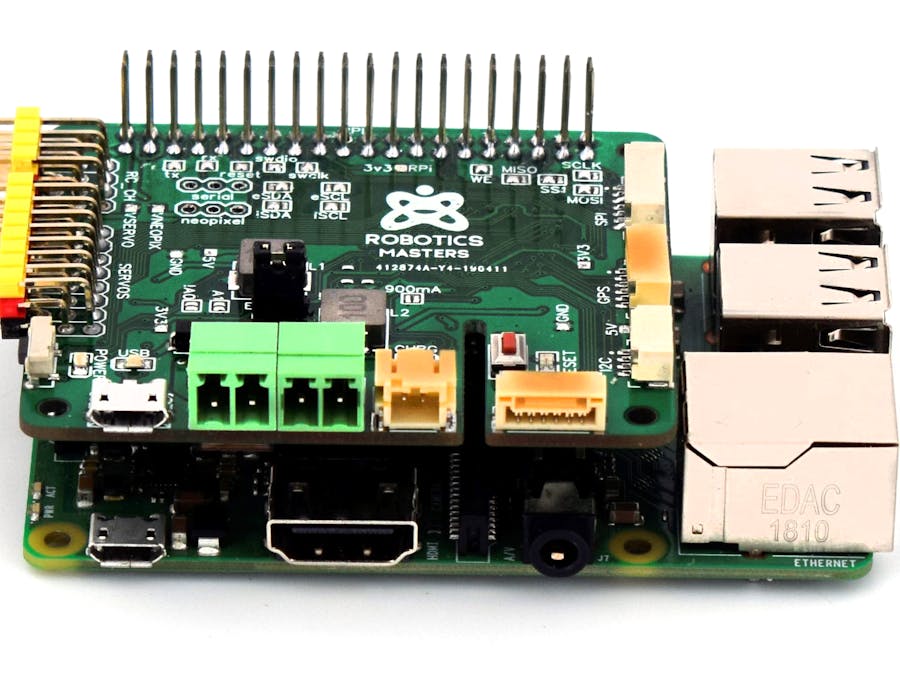
There are many cool thinks you can do with a Raspberry Pi. One that I discovered last year was using a Raspberry Pi as a board programmer to flash bootloaders. In my experience, flashing bootloaders can sometimes be a bit tricky when you don't have a proper programming tool kit or are only casually burning bootloaders.
With the Raspberry Pi, it is super easy to just wire up the right pins and get right to it with a few simple commands. An added bonus is that you can compile your bootloader on the Raspberry Pi and flash it right away without changing devices.
So with your next custom bootloader project, you can compile and flash with one device.
So let's get into how to do it!
Set Up EnvironmentI use the Open OCD Toolkit running on the Raspberry Pi to flash bootloaders. It is very well documented and easy to set up. I was making bootloaders for SAMD processors, so there maybe be a few extra steps below that have also been included for this purpose.
This guide will use the uf2 bootloader as an example. You can see that guide here if you are creating a custom bootloader for your board.
Let's first install all the dependencies for OpenOCD to work. This may take some time as it needs to download a lot of tools.
sudo apt install gcc-arm-none-eabi dirmngr libtool autoconf libusb-devThen clone the OpenOCD repository, configure the program and install it:
git clone https://git.code.sf.net/p/openocd/code openocd-code
cd openocd-code
./bootstrap
./configure --enable-sysfsgpio --enable-bmc8235gpio
make
sudo make install
You may notice in the above set of commands there is a ./configure step. This is very important because it tells OpenOCD that you are using the Raspberry Pi processor (BCM) as a programmer via the GPIO pins.
Compiling OpenOCD takes a while, so be patient with this process.
Exploring the EnvironmentOnce you have got OpenOCD installed and configured. You will end up with a openocd folder with the following structure:
openocd
  ./firmware
      - bootloader.bin
  ./interface
      - pi-gpio.cfg
  ./target    - contains atsamd21 for openocd
      -
  openocd.cfg - configuration file for openocd
You will want to keep this in mind when you modify the openocd.cfg file as it references the other folders.
UsageNow that everything is setup and installed, you are ready to start wiring up the Raspberry Pi to your chip and use openocd.
You may want to check these pins for your chip however these are the defaults for the Raspberry Pi:
SWD - connects to GPIO24 on Raspberry Pi Header
SDO - connects to GPIO25 on Raspberry Pi Header
GND - connects to any Ground Header on Raspberry Pi
POWER (Check voltage of your chip before connecting) - Recommend 3v3 but check.


Comments
Please log in or sign up to comment.