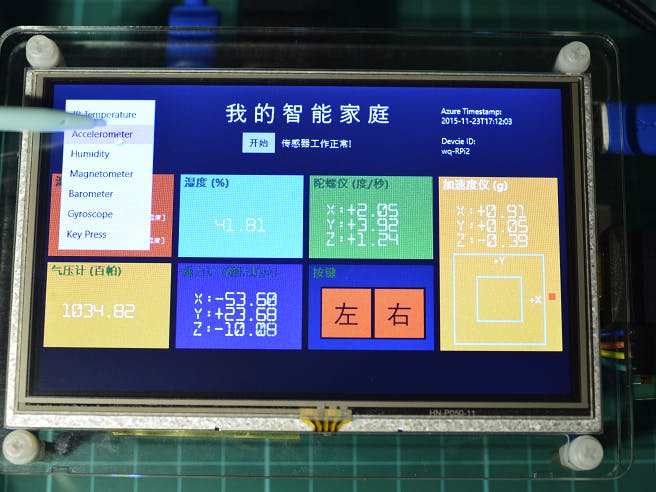
There are many folks like me, who has touch enabled LCD screen connected with a Raspberry Pi 2 running Windows 10 IoT Core, but having trouble to enable the touch functionality because of lacking of the compatible driver, my 5'' Touch LCD from Waveshare as an example. While I was waiting for a Windows 10 IoT driver ready for my touch LCD, I decided to explore the possibility from the existing ecosystem, which takes the full benefits of a massive Windows install base. After some online search and trial & error, I found an USB touch controller which works out of box on Windows IoT Core. After some soldering and wiring, I can finally use my touch LCD as it is designed to be. This touch controller has a Windows/Windows IoT Core compatible driver which could be used to drive any 4-wire or 5-wire resistive touch panel (you can find some good information about touch technology from HERE.
Following the same concept, you could try any existing Windows compatible touch panels on Windows IoT Core devices, as long as it is driven from a USB connection (which should be most of the cases anyway). Here is another example. Though I have not tried on a capacitive touch panel, this approach opens a door for many good alternatives.
Here are the steps. I use my Raspberry Pi 2 connected on a Waveshare 5'' LCD touch screen as example.
1. Remove your Raspberry Pi 2 from the LCD display rack.
2. Loosen up the two fasten pins of the FPC connector (marked in red circle) and release the FPC cable from the connector.
3. Get a hot air gun (or your hair dryer) to heat up the two adhesive tapes between the LCD display control board and the LCD screen. After the tapes are heated up, it is easy to remove the control board away from the screen. Please note that the touch panel (on the other side of the screen) is also glued on the LCD display. Don’t heat up the LCD display too much to damage the LCD or the glue-connection between LCD and the touch panel.
4. You should notice there is a small 4-wire FPC cable from the touch panel on the front side of the display soldered on to the wider FPC cable connected with the control board at the back side of the display. Use the soldering iron to take it away from the bigger FPC cable. Be careful not to break the wires of the FPC cable when you take it away after applying the soldering. Just in case you break it with too much force (it happened to me once), you could use a fine sandpaper to carefully sand-away the plastics covering the wires until the metal film exposed. You can then connect 4 extension wire with 4 wires on the FPC cable with your soldering iron.
5. Here is a trick to connect the extension wire from your USB Touch Controller to the FPC cable from touch panel. As the 4 wires from touch panel represents the two axels of X1, Y1/X2, Y2 (if it is 4-wire connection) and different touch panel might follow the different order of the wires, you should either check the spec sheet of your touch panel and USB controller to make the correct connections, or in my case, as I have done the homework, you should just follow the order as seen from the picture.
7. You should now connect the USB cable into your Raspberry Pi 2 running Windows 10 IoT Core. Boot up your Raspberry Pi 2. Deploy an UWP app which has touch interface, and enjoy organic touch functionality from a Windows IoT Core powered Raspberry Pi 2. I have also made a tutorial of a Windows Azure connected UWP on Raspberry Pi 2 powered by Windows IoT Core. You could try this two together. It is pretty fun. Here is the picture.


Comments
Please log in or sign up to comment.